Mobile Mode in Document Viewer Application for ASP.NET Core
- 4 minutes to read
The Web Document Viewer in Mobile Mode allows you to navigate and export reports on mobile devices.

Switch the Document Viewer to Mobile Mode
Do the following to switch the Document Viewer on your application’s page to Mobile mode:
Use the WebDocumentViewerBuilder.MobileMode method to enable Mobile mode. The Document Viewer has no default height, so you should position the Document Viewer on a page and specify its height depending on the size of the target viewport in the mobile browser.
@{
    var viewerRender = Html.DevExpress().WebDocumentViewer("DocumentViewer")
        .Height("600px")
        .MobileMode(true)
        .Bind("TestReport");
    @viewerRender.RenderHtml()
}
Use the viewport meta tag to inform the Document Viewer about the viewport width to properly render the document on mobile devices. Include the following tag in the <head> section on the _Layout.cshtml page:
<head>
<%-- ... --%>
<meta name="viewport" content="width=device-width, initial-scale=1, user-scalable=0" />
</head>
The “content” attribute defines the following options:
- The page width is set to fit the device screen.
- The initial zoom level when the browser first loads the page.
- The zoom feature is disabled for the web page. (Users can zoom only the displayed document.)
Mobile Viewer Features
Navigation
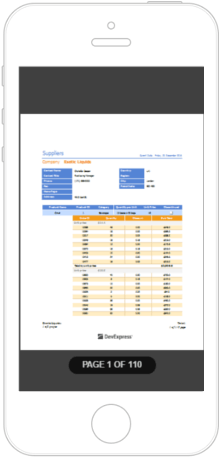
Swipe the screen to the left or right to navigate between document pages.
When end-users navigate between pages, the Mobile Viewer displays the current page number and the total number of document pages.
Zoom
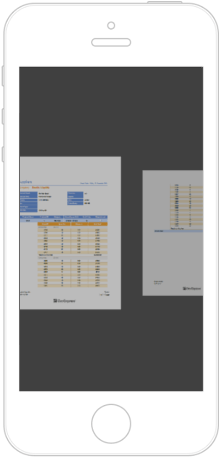
The Mobile Viewer supports touch gestures that enable you to zoom into or out of a document.
| Zoom In | Zoom Out |
|---|---|
 |
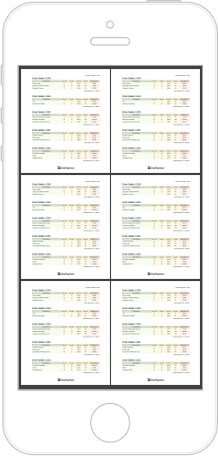 |
End-users can zoom out to display multiple pages on screen. The maximum number of document pages depends on the mobile device’s screen size.
Text Search
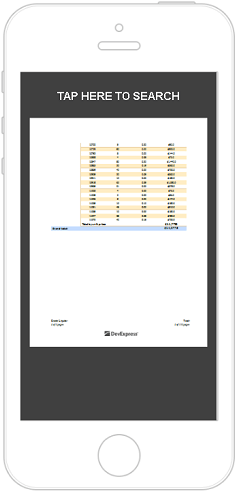
Tap a document and then tap the  button in the displayed toolbar to search for specific text.
Alternatively, swipe down on the document page and tap the dedicated area at the top.
In the search editor, enter the text and tap ENTER.
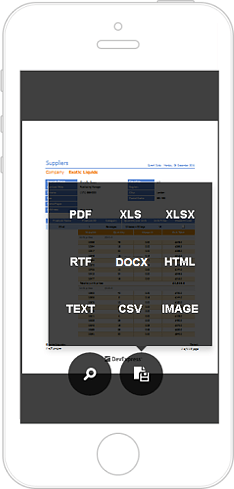
Export
To export a document to supported formats, tap the Export button ( ) in the Viewer’s toolbar and select the format.
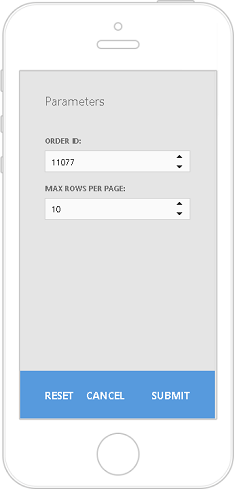
Report Parameters
The Mobile Viewer toolbar displays the Parameters button ( ) if a report contains any parameters.
Tap this button to invoke a panel where you can specify and submit new parameter values.
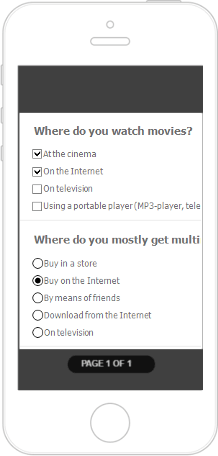
Content Editing
The mobile viewer supports content editing when this feature is enabled in a report document.
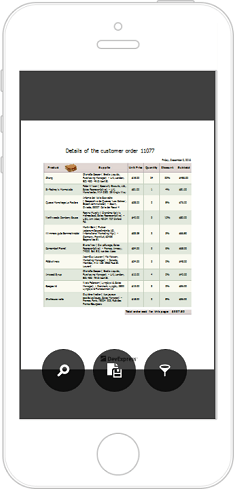
Reader Mode
You can switch the Mobile Viewer to the reader mode (display document pages without borders).
| Reader Mode On | Reader Mode Off |
|---|---|
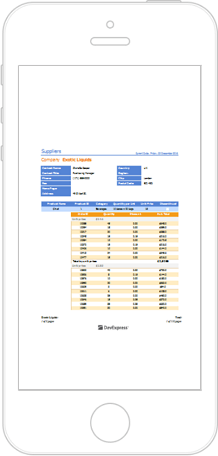 |
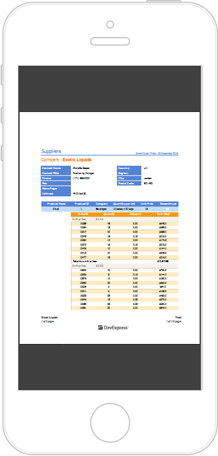 |
You can toggle the Reader mode in code.
Animation
Most of the actions performed on a document in the Mobile Viewer are animated. You can disable animation in code.
Customize the Viewer
Customize the Reader Mode
The reader mode that displays document pages without borders. Use the MobileViewerSettings.ReaderMode property to turn off reader mode.
@{
    var viewerRender = Html.DevExpress().WebDocumentViewer("DocumentViewer")
        .Height("600px")
        .MobileMode(true)
        .MobileSettings(configure => configure.ReaderMode = false)
        .Bind("MasterDetail");
    @viewerRender.RenderHtml()
}
| Reader Mode On | Reader Mode Off |
|---|---|
 |
 |
Customize the Animation
Use the MobileViewerSettings.AnimationEnabled property to disable animation:
@{
    var viewerRender = Html.DevExpress().WebDocumentViewer("DocumentViewer")
        .Height("600px")
        .MobileMode(true)
        .MobileSettings(configure => configure.AnimationEnabled = false)
        .Bind("MasterDetail");
    @viewerRender.RenderHtml()
}
Menu Actions
You can use the CustomizeMenuActions method to specify a handler for the client-side CustomizeMenuActions event and customize the Mobile Viewer’s toolbar.
The event argument’s Actions property value is a collection that contains the Mobile Viewer’s commands. You can modify existing commands and add new commands to the collection. Each action includes the following settings:
- imageClassName - specifies the CSS class of the command’s glyph.
- visible - specifies whether the command is visible in the UI.
- clickAction - specifies the client-side action to perform when the command is invoked.
- content - specifies the Knockout template to render.
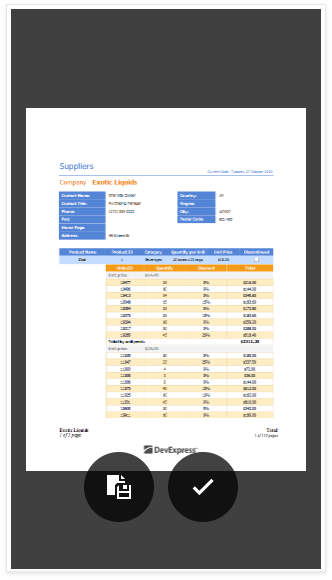
The following code hides the Search action and adds a new custom action with a custom icon:
    <script type="text/javascript">
        function onCustomizeMenuActions(s, e) {
            var actions = e.Actions;
            // Hide the 'Search' action.
            actions[0].visible = false;
            // Add a new action.
            actions.push({
                imageClassName: "customButton",
                imageTemplateName: "checkImage",
                visible: true,
                clickAction: function () {
                    alert('Clicked.');
                }
            })
        }
    </script>

    <script type="text/html" id="checkImage">
    <?xml version='1.0' encoding='UTF-8'?>
    <svg viewBox="-2 -5 32 32" xmlns="http://www.w3.org/2000/svg" xmlns:xlink="http://www.w3.org/1999/xlink">
      <g id="Layer_1" transform="translate(-2, -5)" style="enable-background:new 0 0 32 32">
        <g id="Check">
          <polygon class="dxd-icon-fill" points="27,5 11,21 5,15 2,18 11,27 30,8  " />
        </g>
      </g>
    </svg>
    </script>

    @{
        var viewerRender = Html.DevExpress().WebDocumentViewer("DocumentViewer")
            .Height("600px")
            .MobileMode(true)
            .MobileSettings(configure => configure.ReaderMode = false)
            .ClientSideEvents(configure => configure.CustomizeMenuActions("onCustomizeMenuActions"))
            .Bind("TestReport");
        @viewerRender.RenderHtml()
    }
The result is shown in the image below:
Export Formats
You can hide the specified export format in the Export Formats panel.
The following code uses the CustomizeExportOptions method to specify a handler for the client-side CustomizeExportOptions event. The event handler function hides the XLS format from the user in the Export Formats panel:
    <script type="text/javascript">
        function onCustomizeExportOptions(s, e) {
            e.HideFormat(DevExpress.Reporting.Viewer.ExportFormatID.XLS);
        }
    </script>

@{
    var viewerRender = Html.DevExpress().WebDocumentViewer("DocumentViewer")
        .Height("600px")
        .MobileMode(true)
        .ClientSideEvents(configure => configure.CustomizeExportOptions("onCustomizeExportOptions"))
        .Bind("TestReport");
    @viewerRender.RenderHtml()
}
The result is shown below:
