Document Viewer Server-Side Application (ASP.NET Core)
- 4 minutes to read
This document describes how to create and configure an ASP.NET Core application as a server-side solution to use the HTML5 Document Viewer in JavaScript. You can use the DevExpress or Visual Studio template to create an application.
Step 1. Create an ASP.NET Core Application
Use the DevExpress Template
You can use the Template Gallery to create a new ASP.NET Core project as follows:
Invoke the DevExpress Template Gallery, select Reporting Application under the NET Core category and click Create Project.
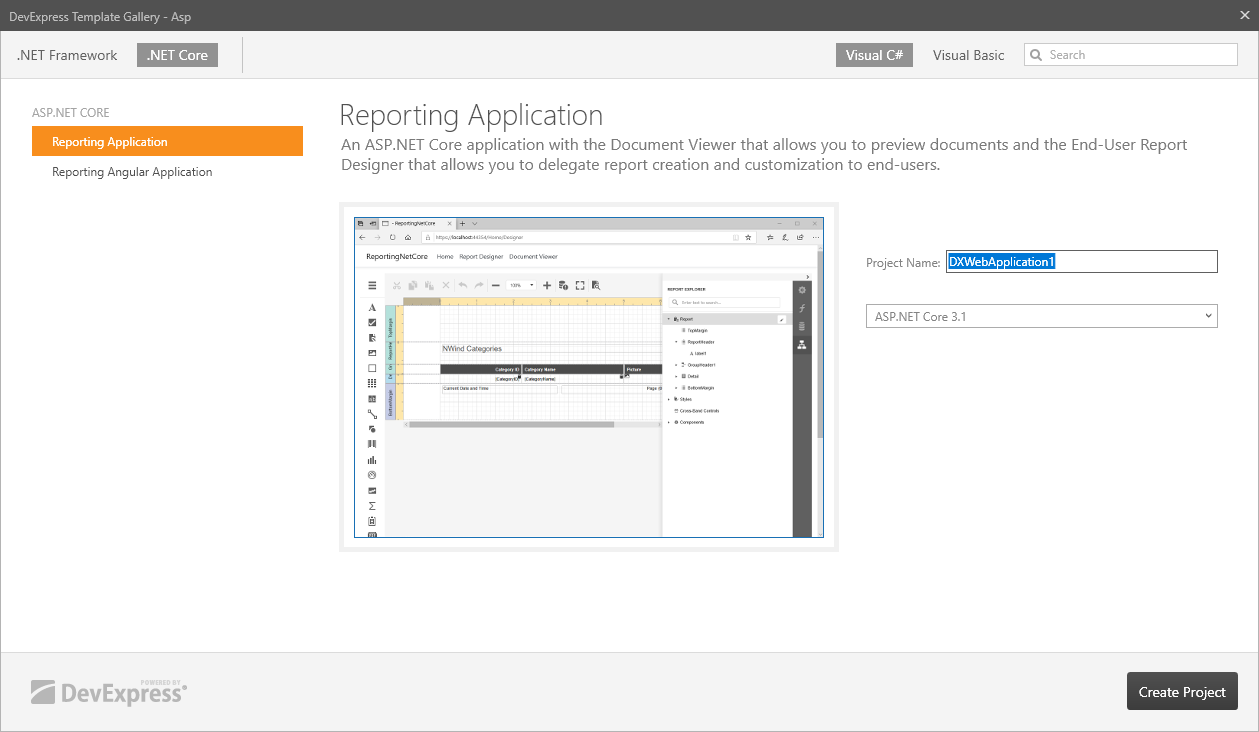
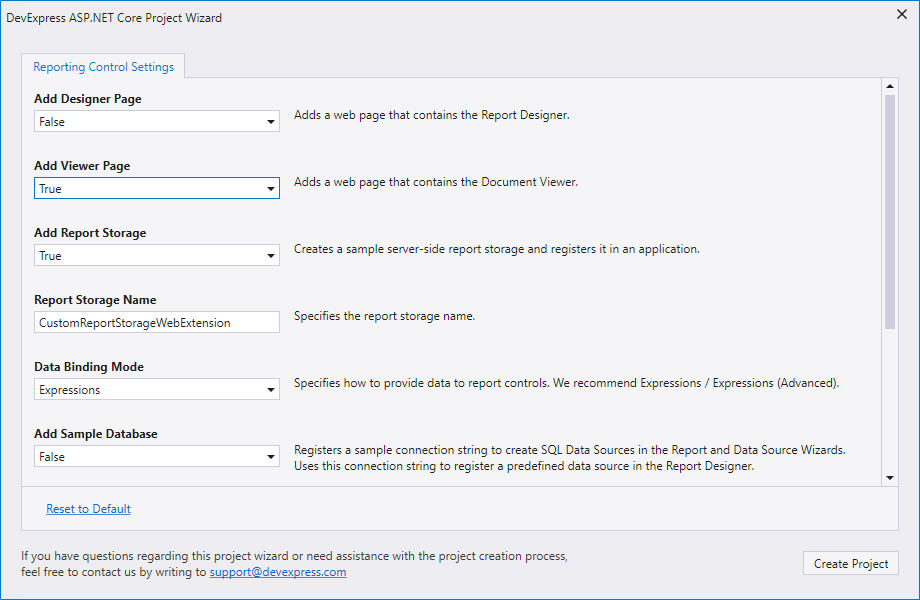
Set Add Viewer Page to true to add the Document Viewer to the web application.
Note
The template generates a sample storage (a ReportStorageWebExtension descendant) for demonstration purposes only. Create your own implementation for use in production.
Refer to the following help topic for details: Create an ASP.NET Core Application with the Document Viewer.
Use Microsoft Visual Studio Template
You can create an ASP.NET Core application based on the built-in Visual Studio template and configure it for the DevExpress Report Designer as follows:
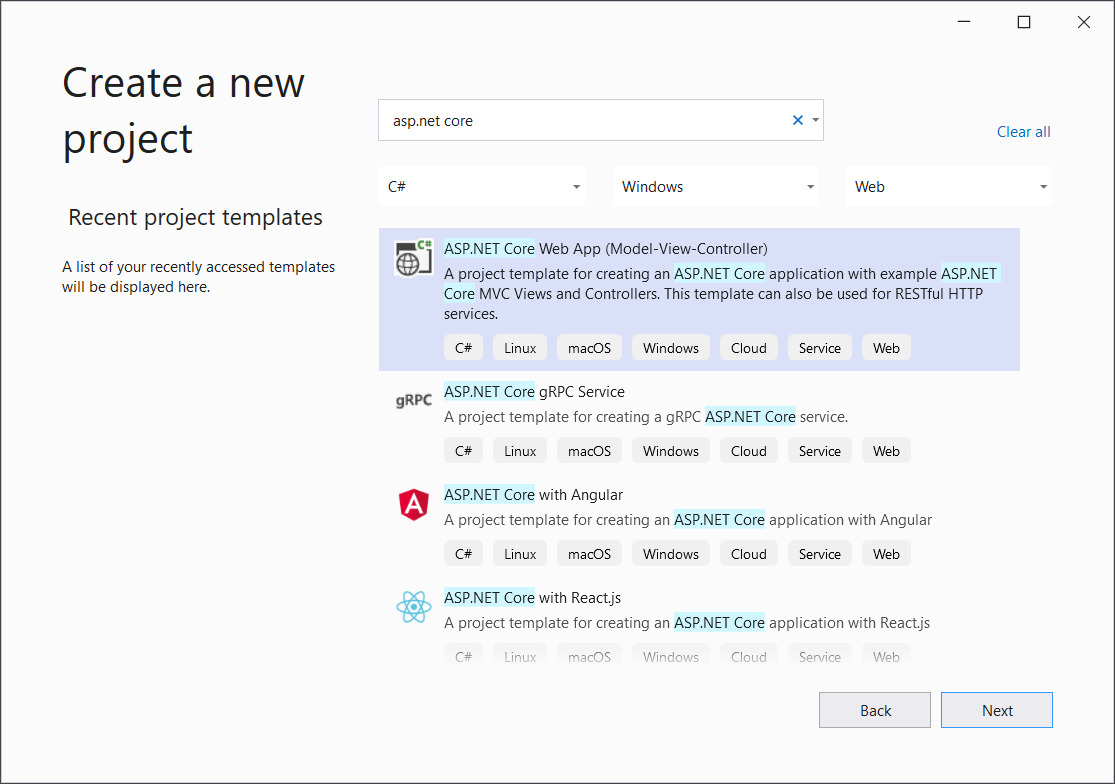
Create a new ASP.NET Core Web Application (or open an existing application).
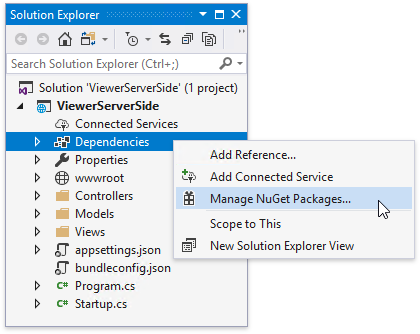
Right-click the Dependencies node in the Solution Explorer and select Manage NuGet Packages in the invoked context menu.
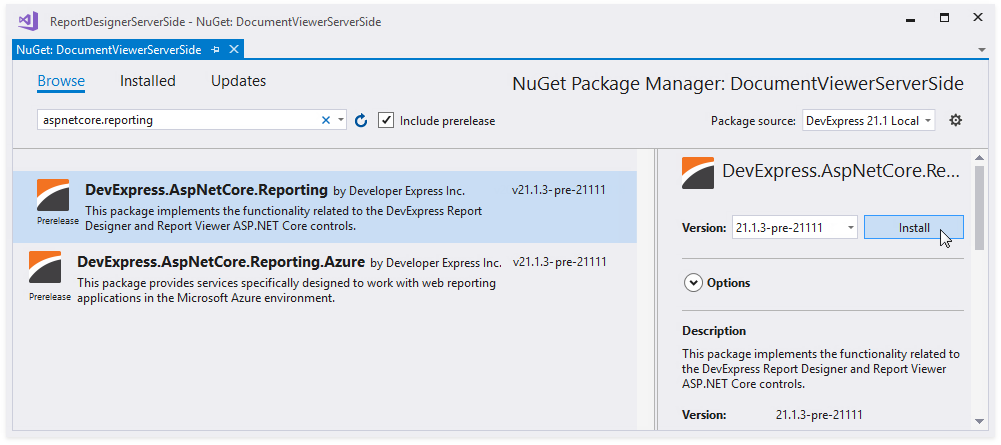
Select DevExpress 22.1 Local in the Package source drop-down list and go to the Browse page. Find the DevExpress.AspNetCore.Reporting package and install it.
Open the Startup.cs file and modify it to configure services as demonstrated below.
using DevExpress.AspNetCore;
using DevExpress.AspNetCore.Reporting;
//...

public class Startup {
//...
   public void ConfigureServices(IServiceCollection services) {
     // Register reporting services in an application's dependency injection container.
      services.AddDevExpressControls();
      // Use the AddMvcCore (or AddMvc) method to add MVC services.
       services.AddMvcCore();
 }

 public void Configure(IApplicationBuilder app, IHostingEnvironment env) {
       // ...
       app.UseStaticFiles();
       // Initialize reporting services.
       app.UseDevExpressControls();
        // ...
  }
}
Add reports to the application.
Provide a server-side report storage. To implement a report storage, add a new class, inherit it from the abstract ReportStorageWebExtension class and override its methods. See the following help topic for more information and examples: Add a Report Storage (ASP.NET Core).
Add the report storage implemented in the previous step as a scoped service. Open the Startup.cs file and add the following code in the ConfigureServices method:
using DevExpress.XtraReports.Web.Extensions;
// ...
public void ConfigureServices(IServiceCollection services) {
    //...
    services.AddScoped<ReportStorageWebExtension, CustomReportStorageWebExtension>();
    //...
}
Step 2. Configure the Application
Enable cross-origin requests (CORS) in the newly created ASP.NET Core application. In the ConfigureServices method, specify the policy that allows any local application to access the report’s back-end. Use the SetIsOriginAllowed method to set it up. Open the Startup.cs file and insert the following code:
//...

public class Startup {
//...
    public void ConfigureServices(IServiceCollection services) {
        // ...
            services.AddCors(options => {
                options.AddPolicy("AllowCorsPolicy", builder => {
                    // Allow all ports on local host.
                    builder.SetIsOriginAllowed(origin => new Uri(origin).Host == "localhost");
                    builder.AllowAnyHeader();
                    builder.AllowAnyMethod();
                });
            });
        // ...
    }
// ...
}
In the Configure method, call the UseCors method.
Important
The UseCors method should be called after the UseRouting method and before any MVC-related code. Place the UseCors method before the UseMvc or UseEndpoints methods.
Pass the policy name as a parameter:
//...
public class Startup {
//...
    public void Configure(IApplicationBuilder app, IHostingEnvironment env) {
        // ...
        app.UseRouting();
        // ...
        app.UseCors("AllowCorsPolicy");
        // ...
        app.UseEndpoints(endpoints => {
            endpoints.MapControllerRoute(
                name: "default",
                pattern: "{controller=Home}/{action=Index}/{id?}");
        });
    }
// ...
}
Step 3. Determine the Host URL
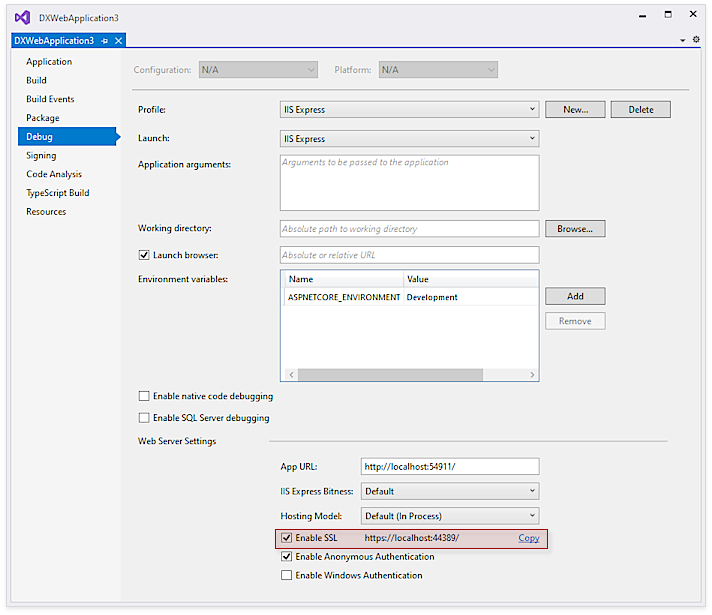
Examine the address string in the browser to determine the host URL and application port.
You can use the Debug section of the Project Properties dialog to view and change the port number:
If you do not use Visual Studio to run the project, inspect the launchSettings.json file. If your application uses HTTPS redirection and calls the UseHttpsRedirection method at startup, the port number is specified in the sslPort setting.
The URL and port number are required for the host setting when you configure the client application as described in the following help topics:
- Create an Angular Front-End Application with a Document Viewer
- Document Viewer Integration in React
- Document Viewer Integration in Vue