Create a Report in Visual Studio
- 9 minutes to read
This document explains how to create a platform-independent report that you can print, save to a file, share, and reuse in different applications.
Create a New Visual Studio Project
The core Reporting functionality does not depend on a specific application platform. You can create any application with an active DevExpress subscription.
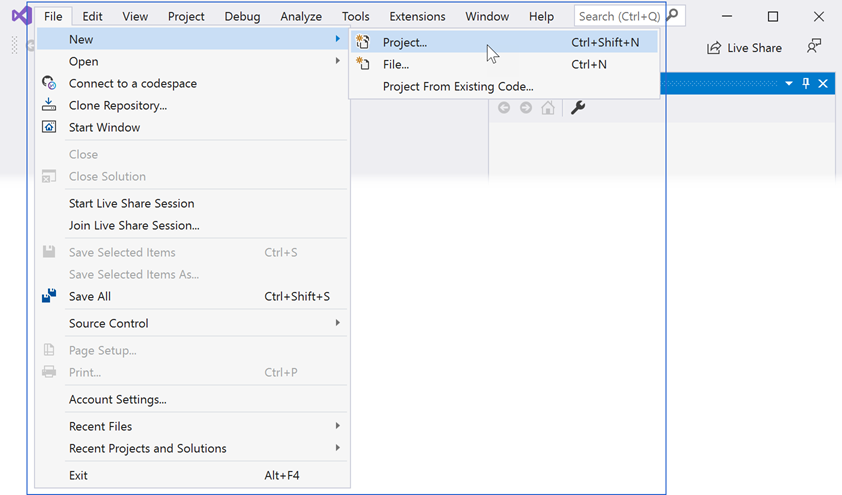
- Select FILE | New | Project in the main menu or press CTRL+SHIFT+N to create a new project.
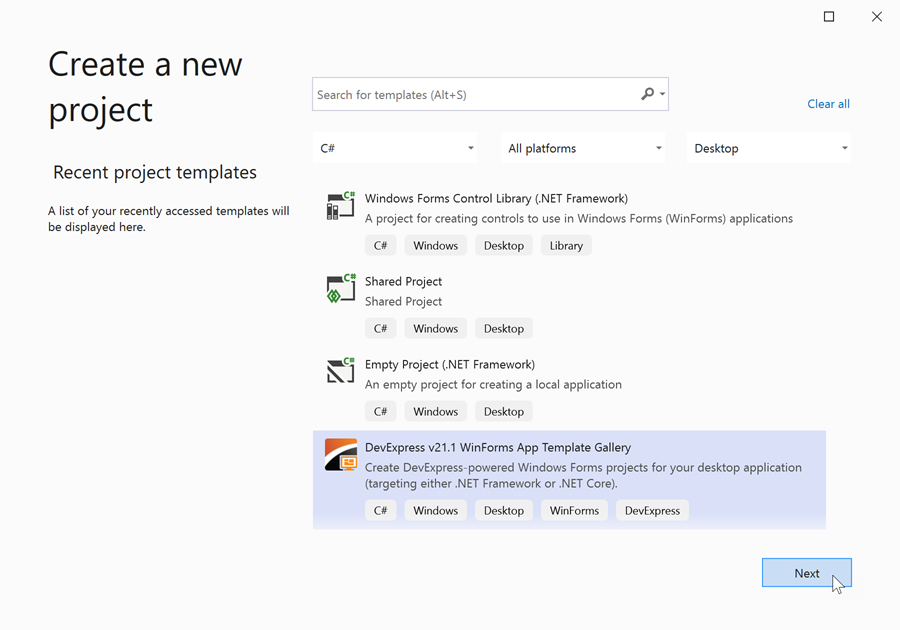
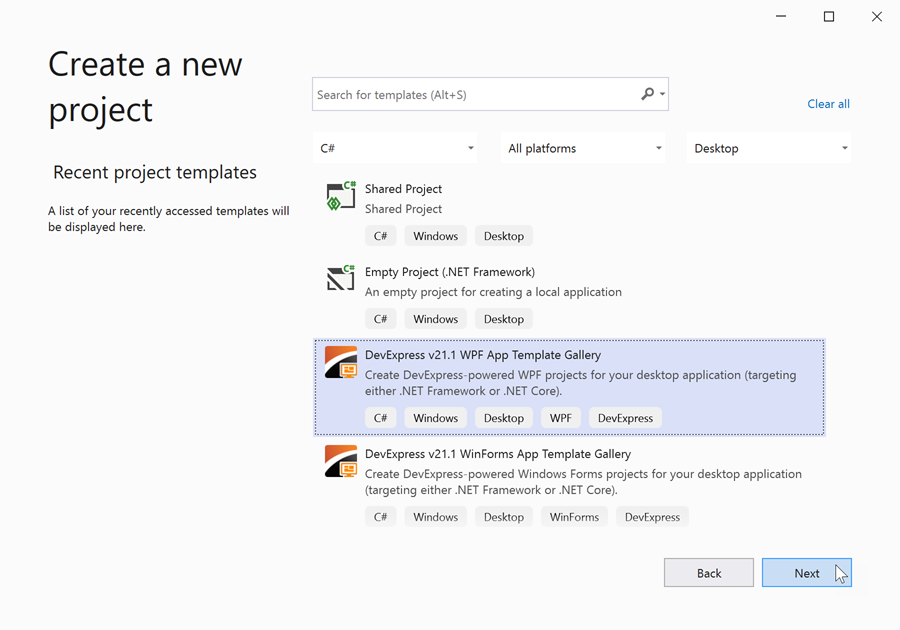
Select the DevExpress v21.1 WinForms App Template Gallery, and click Next:
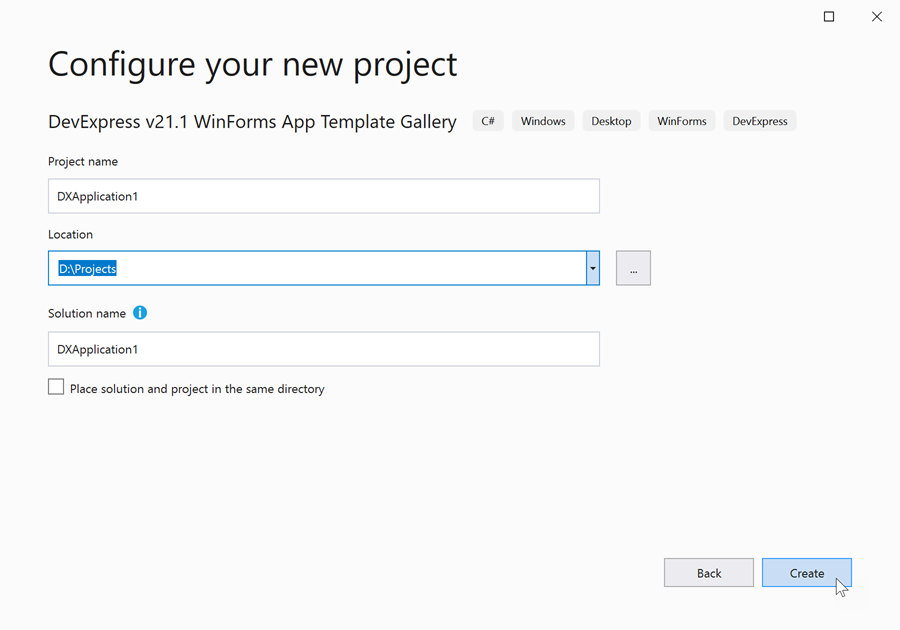
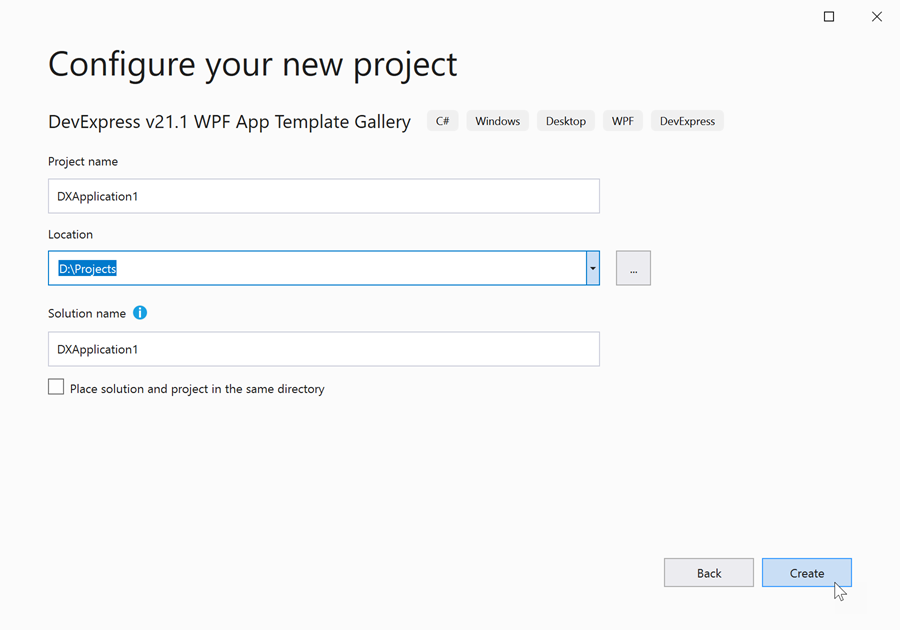
Specify the project name and location. Click Create.
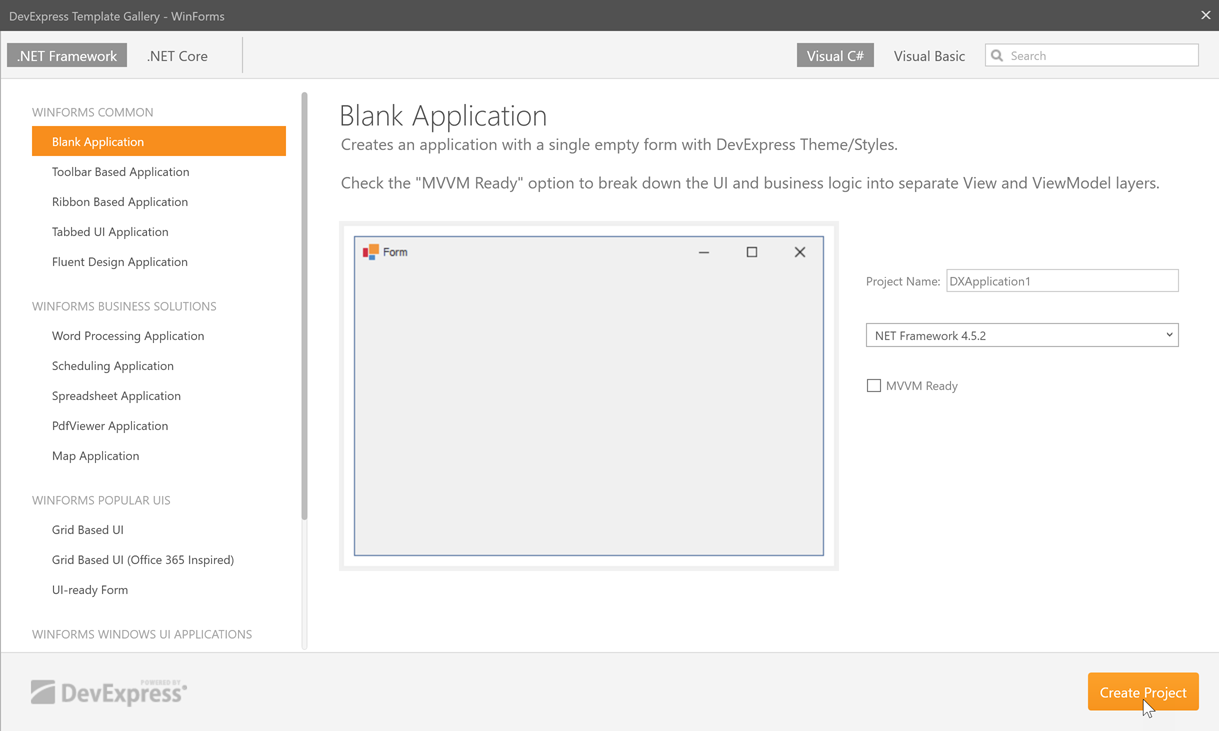
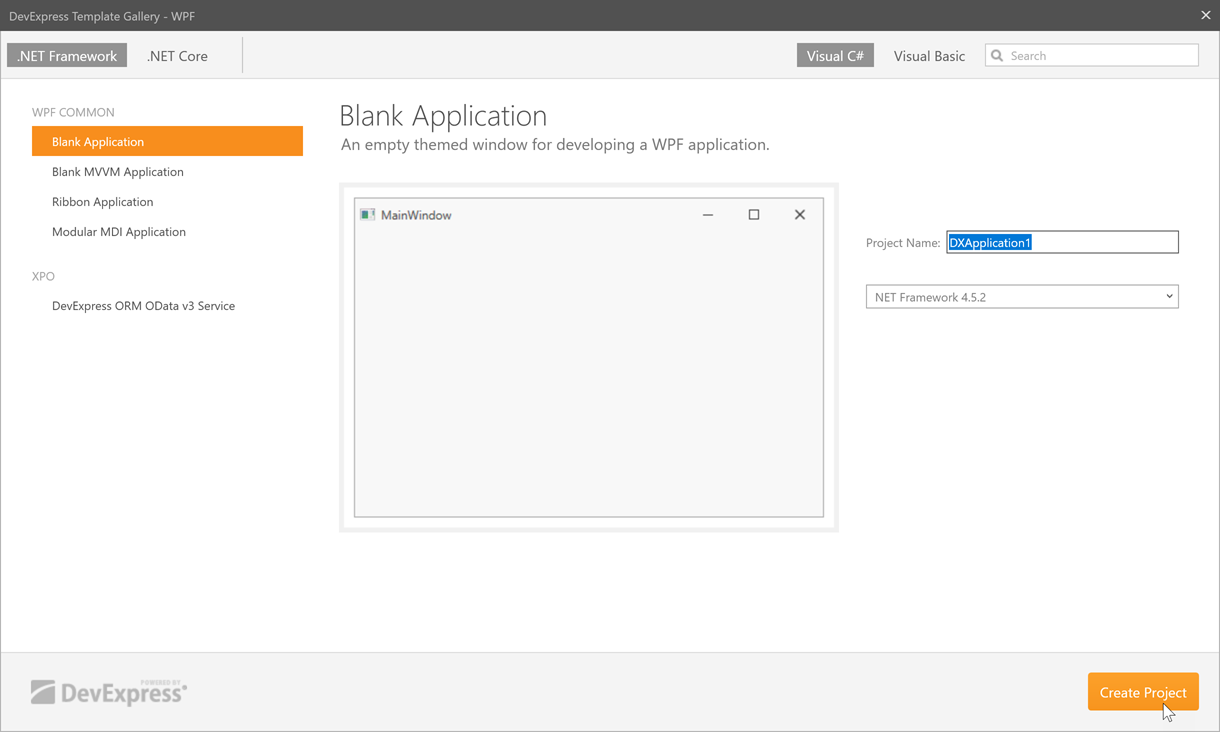
Select Blank Application, and click Create Project:
- Select FILE | New | Project in the main menu or press CTRL+SHIFT+N to create a new project.
Select the DevExpress v21.1 WPF App Template Gallery, and click Next:
Specify the project name and location. Click Create.
Select Blank Application, and click Create Project:
Select FILE | New | Project in the main menu or press CTRL+SHIFT+N to create a new project.
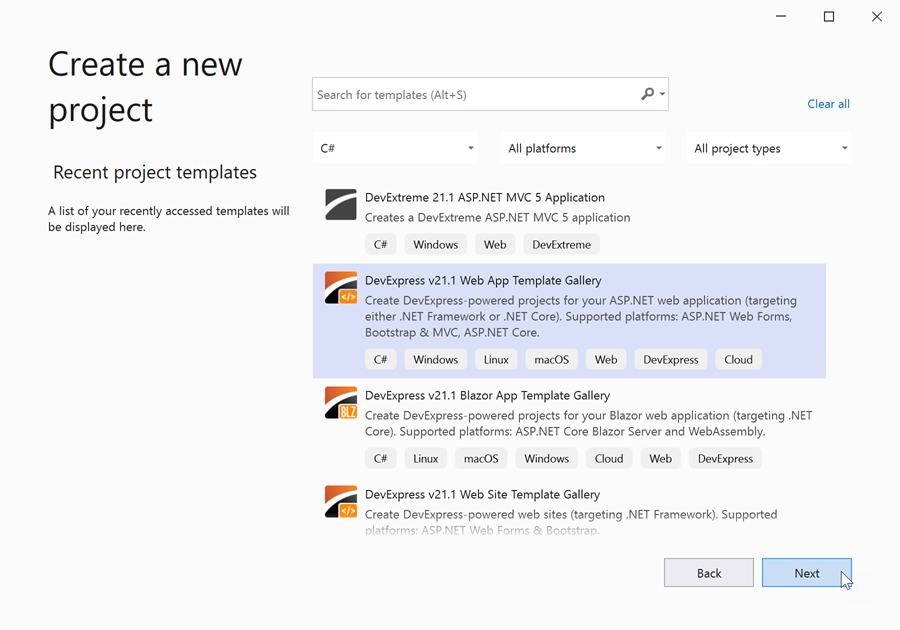
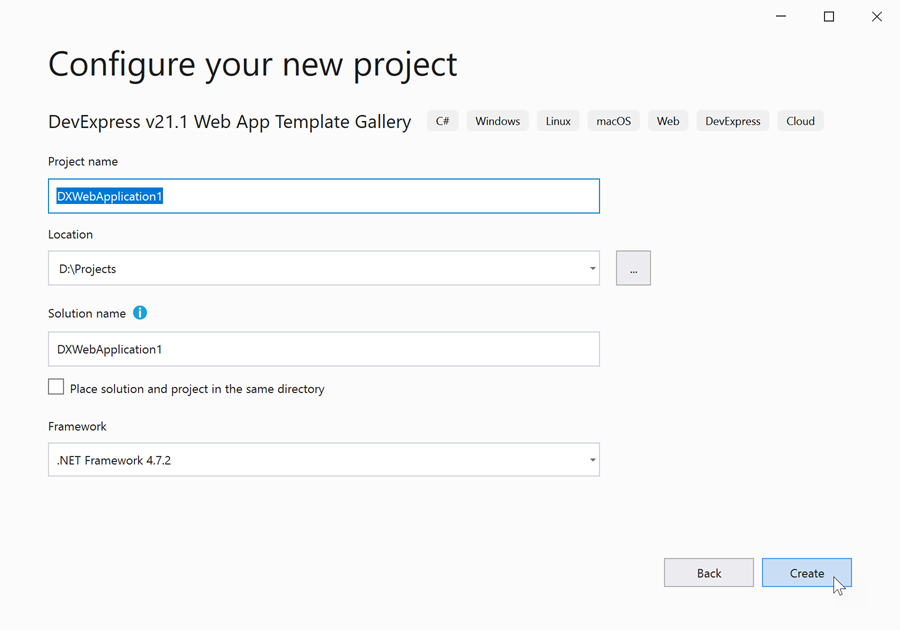
Select the DevExpress v21.1 Web App Template Gallery, and click Next:
Specify a project name and location, and click Create:
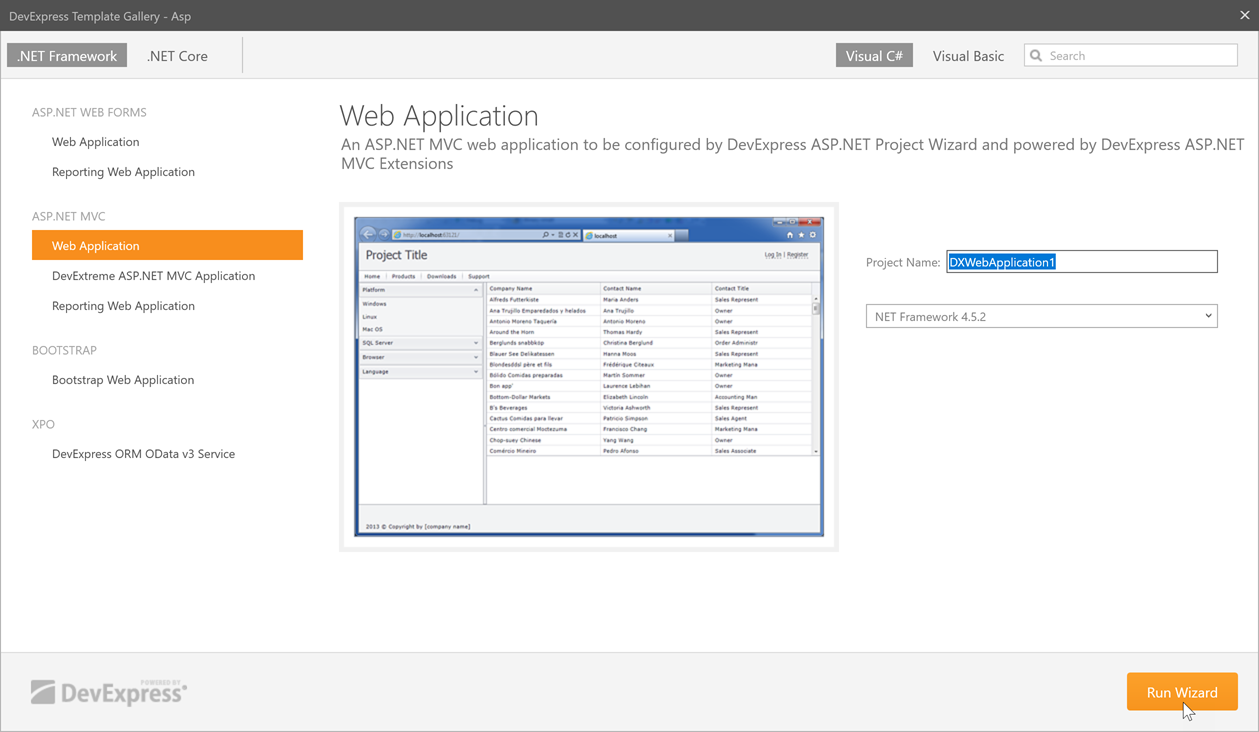
- In the invoked DevExpress Template Gallery, select Web Application under the ASP.NET MVC category and click Run Wizard.
Tip
You can also select Reporting Web Application to create an application that contains the HTML5 Document Viewer and/or Report Designer controls. See the following documents for instructions:
- In the DevExpress ASP.NET MVC Project Wizard, on the Layout page, select Standard.
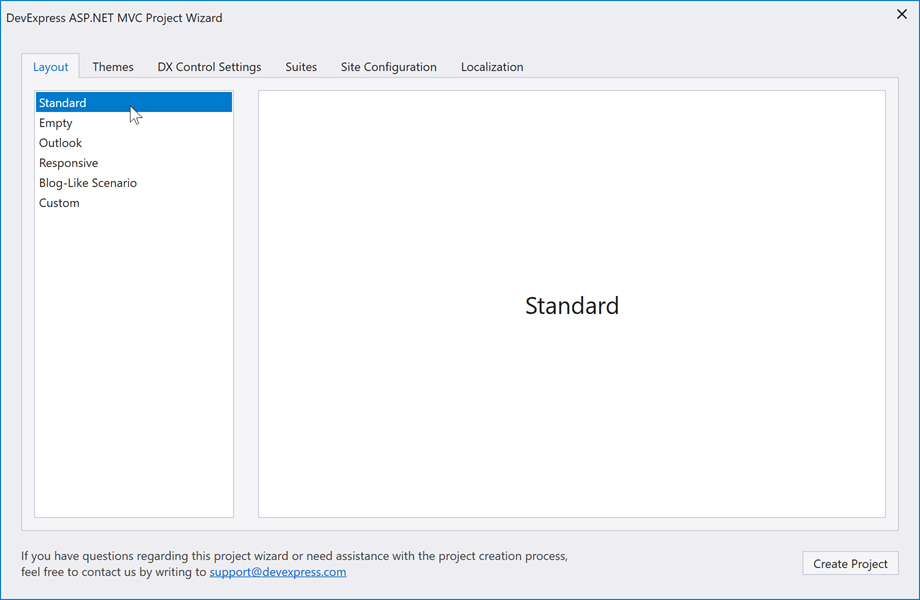
Switch to the Suites page, enable the Report suite, and click Create Project.

- Select FILE | New | Project in the main menu or press CTRL+SHIFT+N to create a new project.
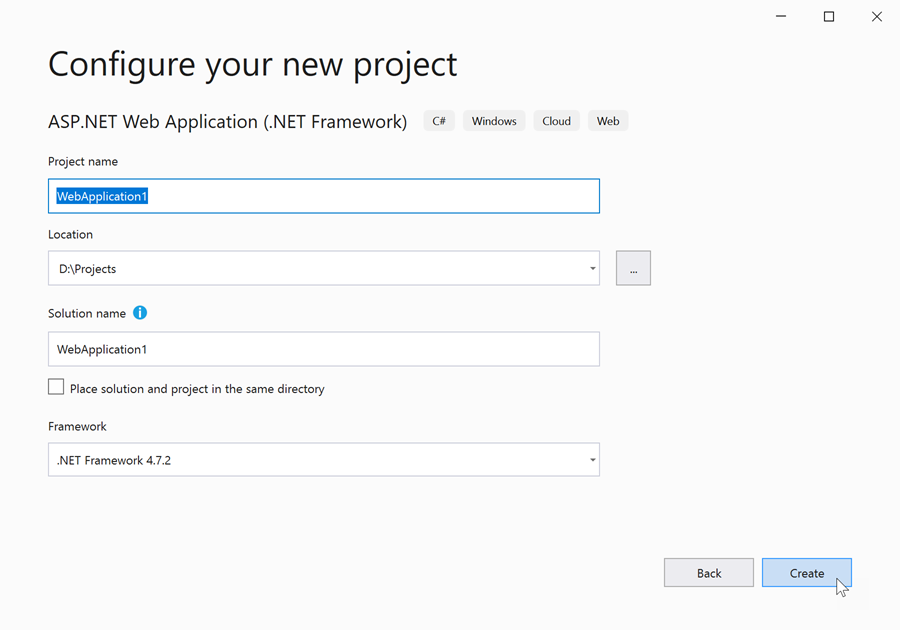
- Select the ASP.NET Web Application(.NET Framework) template and click Next.
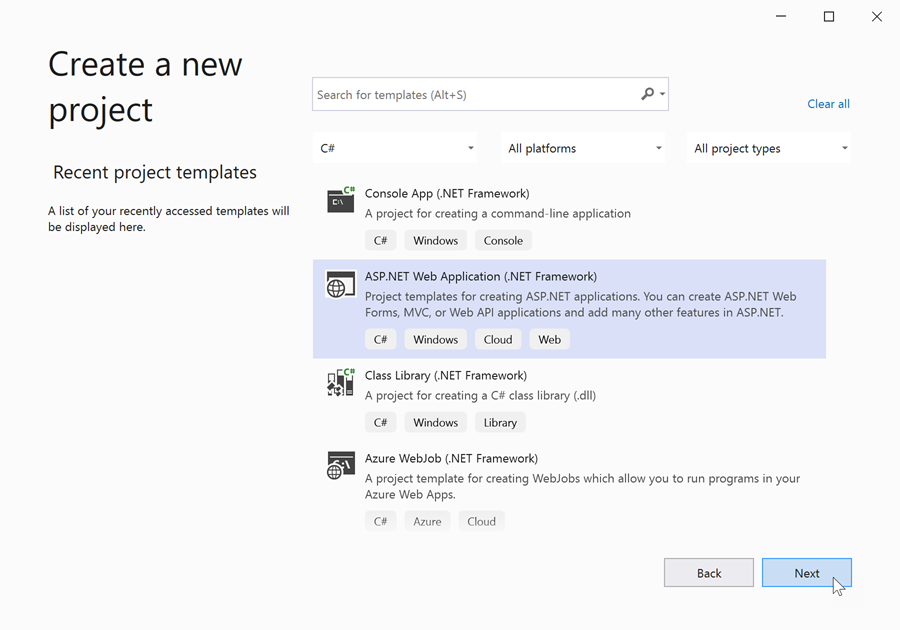
- Specify a project name and location, and click Create:
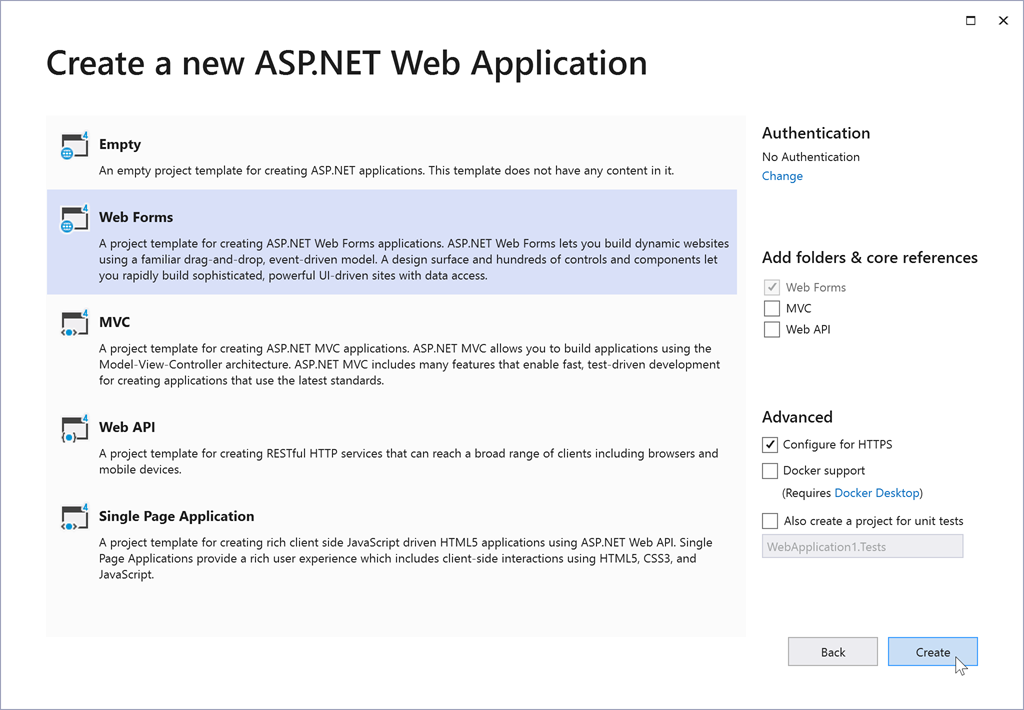
- Choose Web Forms and click Create to create the project.
Review the following help section for more information: ASP.NET Core Reporting.
Add a New Report
The steps in this section are similar for all application platforms.
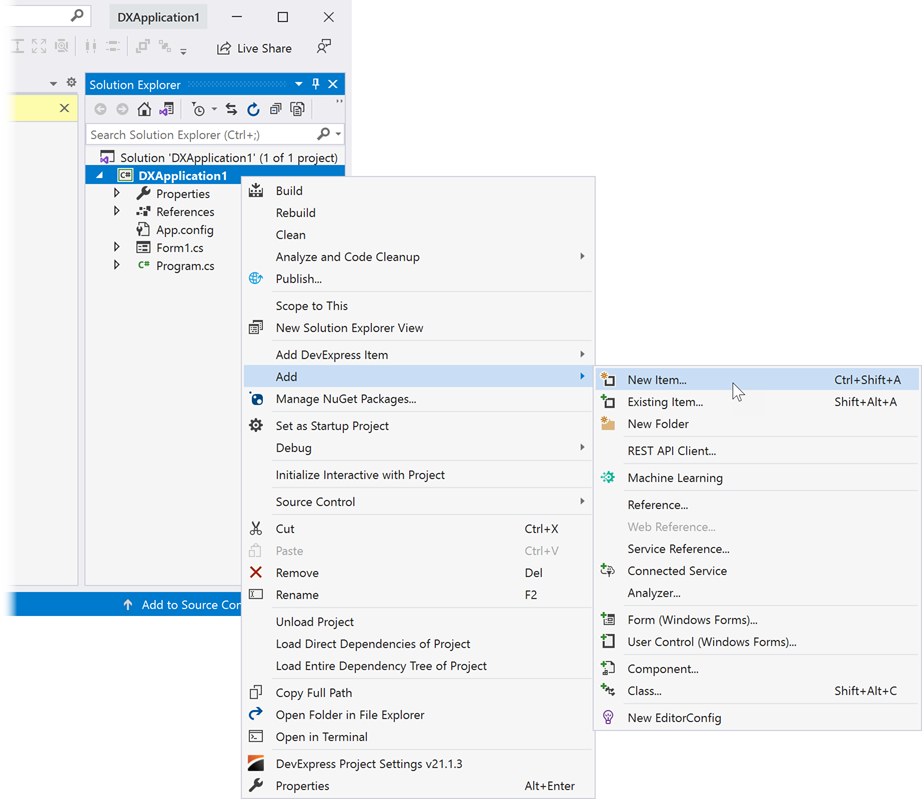
In Visual Studio, press CTRL+SHIFT+A or right-click the project in Solution Explorer and select Add | New Item from the context menu.
 If your project is an ASP.NET Web Site
Create the App_Code folder and select that folder to add a new item.
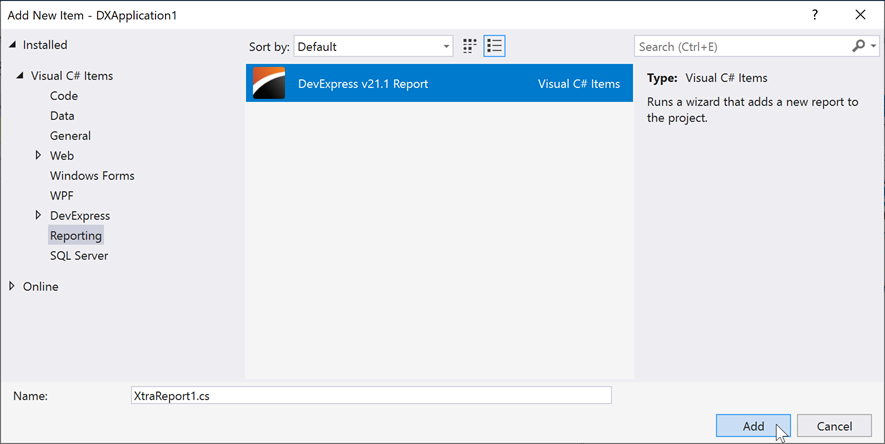
In the invoked Add New Item dialog, click the Reporting section in the tree on the left, select the DevExpress v21.1 Report item, specify the report name (the default name is XtraReport1), and click Add.
Select the report type in the invoked Report Wizard.
Select a Report Type
At this stage, you can choose a report type.
- Blank allows you to design a report from scratch.
- Table Report allows you to create a data-bound report.
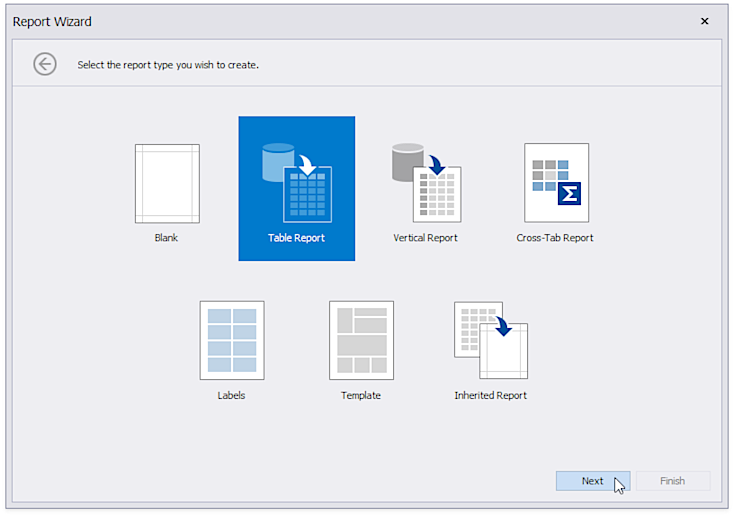
The Report Wizard offers seven report type options.
Blank. Choose this template to open the Report Designer and create a report layout.
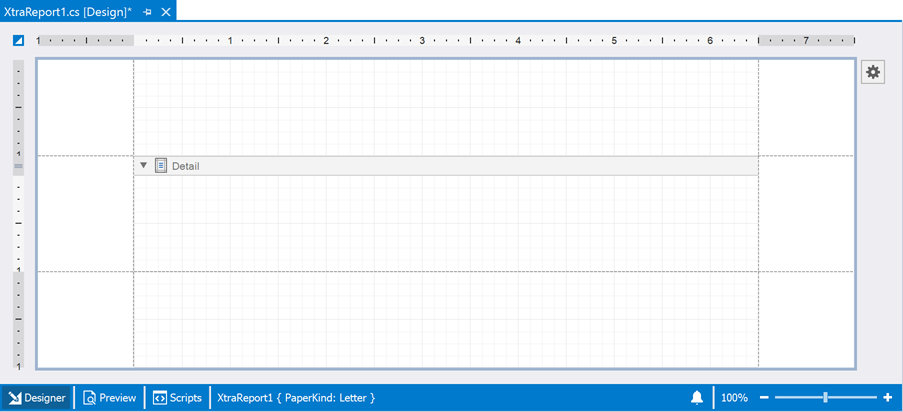
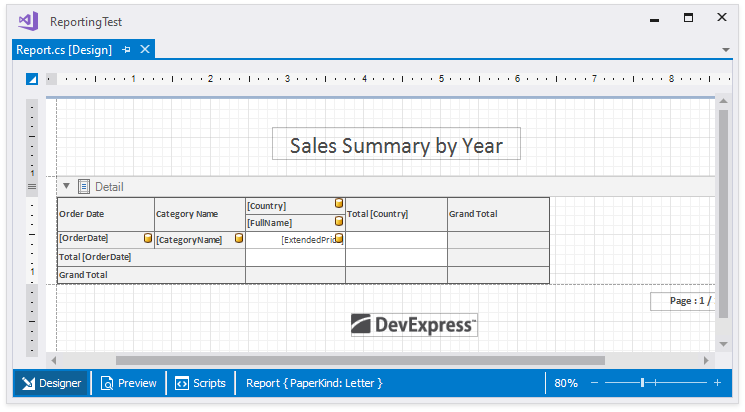
Table Report. This template displays your data in a tabular format.
Cross-Tab Report. Displays summarized data at row and column intersections. Emulates a Microsoft Excel pivot table.
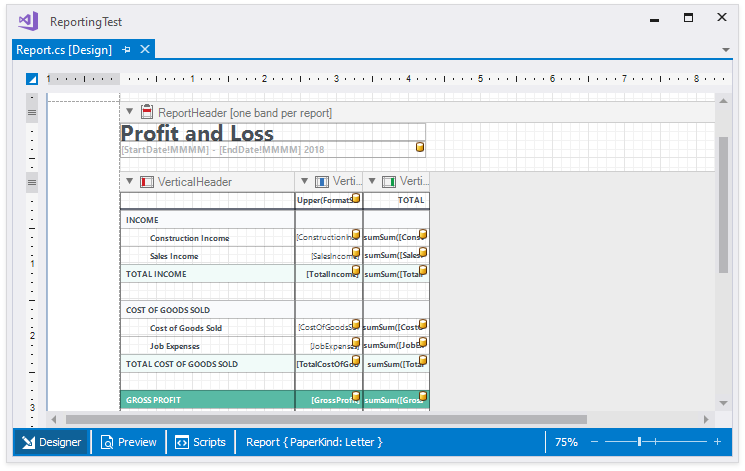
Vertical Report. A vertically-oriented Table Report: data fields are rows, data records are columns. This orientation is used for sources with a large number of data fields.
Labels. Rectangular cards designed by AOne, APLI, Avery, Formtec, HERMA, Hisago, and others. You can use this template to print business cards, wedding invitations, name badges, index cards, Rolodex cards, and other labels.
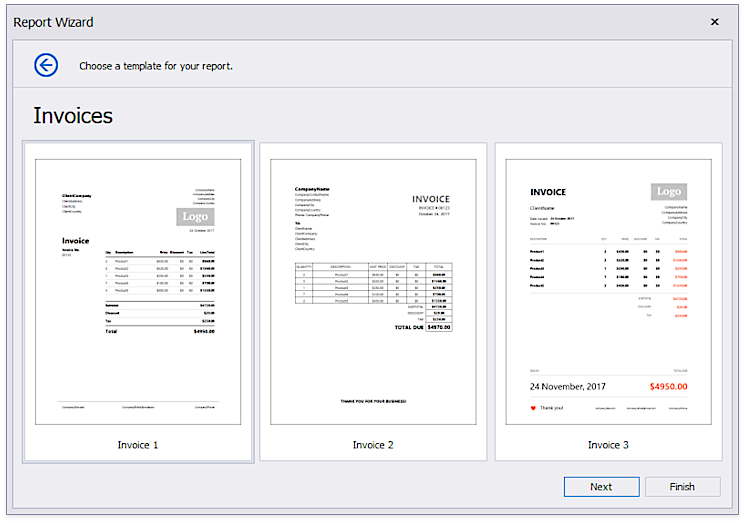
Template. Choose from invoice templates with different layout and appearance settings.
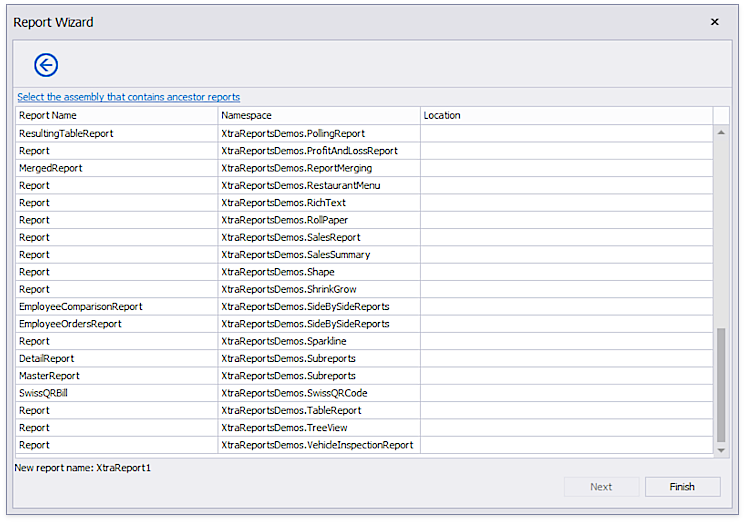
Inherited Report. Allows you to build a new report that inherits its layout from an existing report. You can select a report from a list or load a .dll assembly/.exe file that contains the base report.
Blank
Select Blank and click Finish.
![]()
The Report Designer will display the newly created blank report:
![]()
Proceed to design your report. Review the following topic for information on how to use report bands, add reporting controls, and bind a report to data: Create a Report from A to Z. Switch to the Preview tab to see your changes.
Table Report
Select Table Report and click Next.
Follow the directions on the Wizard pages to create a data-bound report.
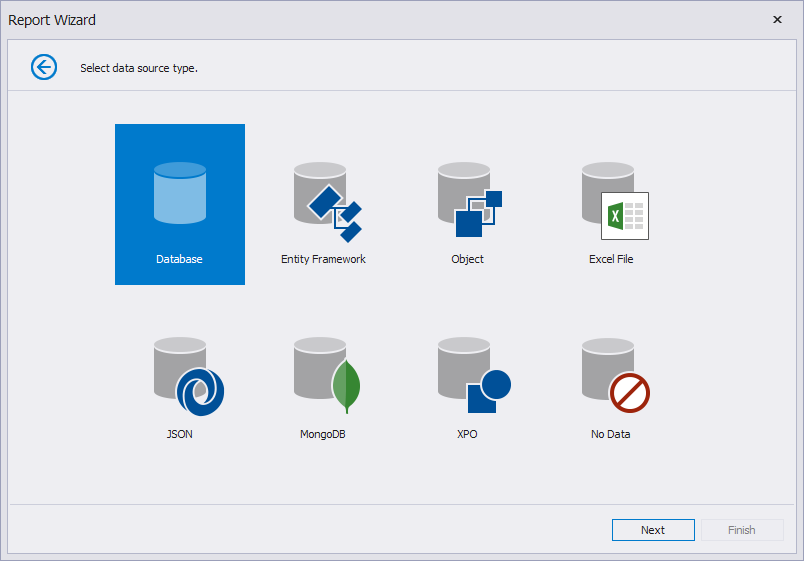
This page allows you to select the data source type. Choose Database and click Next.
On the next page, you can specify whether to use an existing data connection from Visual Studio’s Server Explorer, or create a new connection.
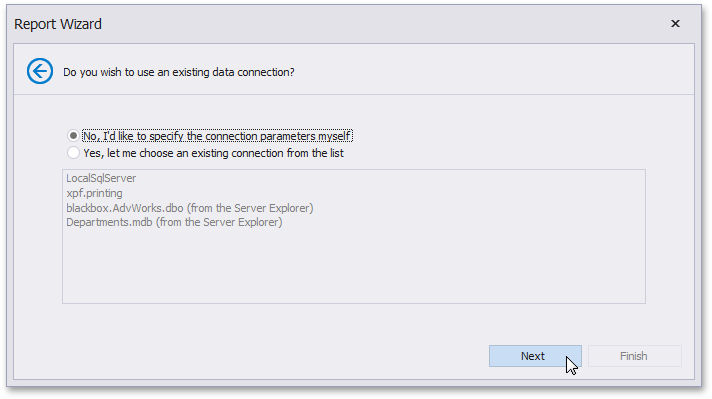
Select the first option and click Next.
On this page, you can define a custom connection string or select one from the list of supported data providers.
Depending on the data provider, you will be able to specify additional connection options (such as authentication type and database name) on this page.
This example shows how to bind a report to the sample Northwind database hosted on a Microsoft SQL Server.
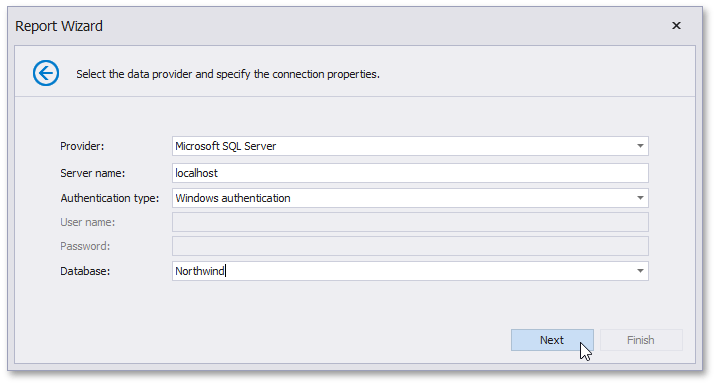
Click Next to proceed to the next wizard page.
This page allows you to specify whether you wish to save the connection string to the application’s configuration file.
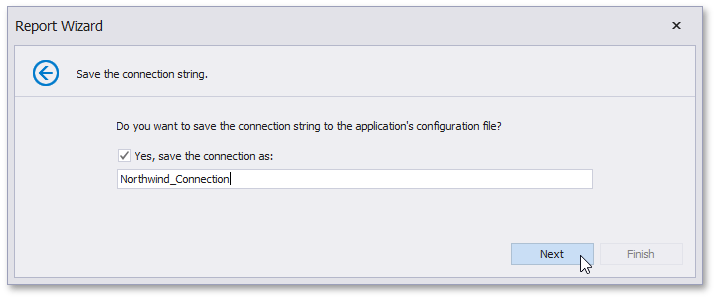
If you choose to save the connection string, specify its name and click Next.
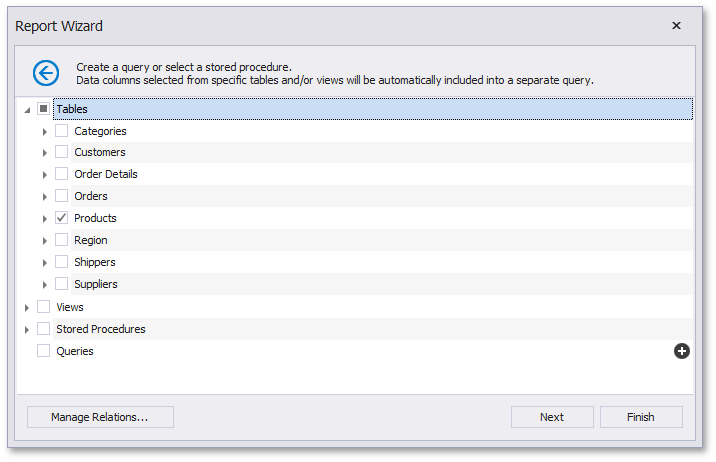
On this page, choose which tables, views, and/or stored procedures to add to the report.
Select the Products data table and click Next.
Using this page, select a data member in the left pane. Use the right pane to select the fields that should be displayed in the report.
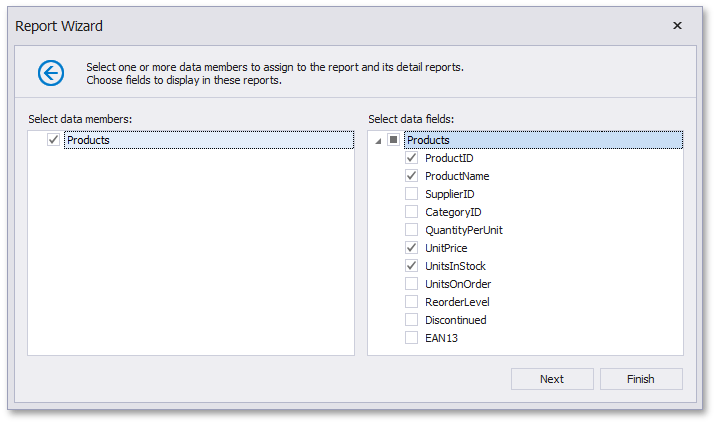
Click Finish.
Note
You can click Next to proceed to the next wizard page and continue with further report customization.
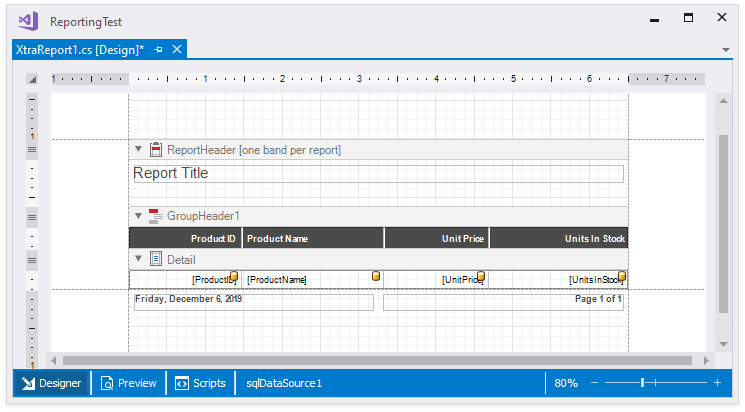
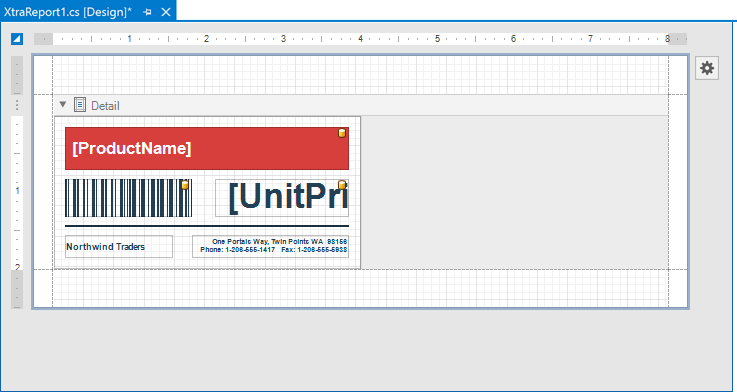
The Wizard creates a report and loads it in the designer. The report layout is shown below:
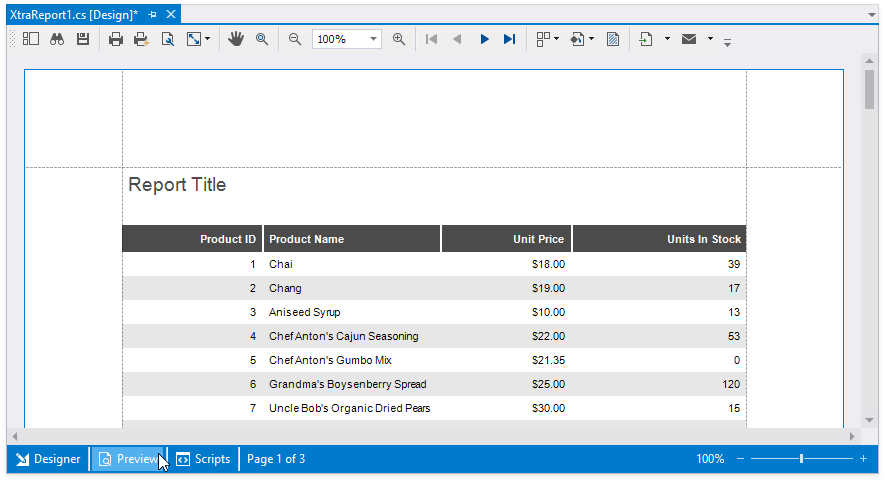
Preview a Report
The Visual Studio Report Designer allows you to preview the report while working on it. Click the Preview tab to load data, create a document, and display it. If you follow the steps above to create a table report, the Preview looks like this:
Once you are done with report design, you can perform the following tasks:
Save a Report
When you create a report in Visual Studio, the project contains the following files:
WinForms, WPF, ASP.NET Web Forms, ASP.NET MVC | ASP.NET Core |
|---|---|
|
|
Note
An exception occurs if you open a .vsrepx file in an End-User Report Designer or pass that file as a parameter for the XtraReport.LoadLayoutFromXml method. Refer to the Convert .VSREPX Files to .REPX section for more information.
The reason for the difference is the lack of the CodeDOM provider for ASP.NET Core. The Visual Studio Report Designer in the ASP.NET project uses a custom editor to load report definition files. The editor is based on the full .NET framework. This complicated design allows us to launch the integrated designer with limitations.
If you upgrade from previous versions of DevExpress controls, your project may contain .repx files that store report layouts (instead of .vsrepx files). These files are supported at runtime.
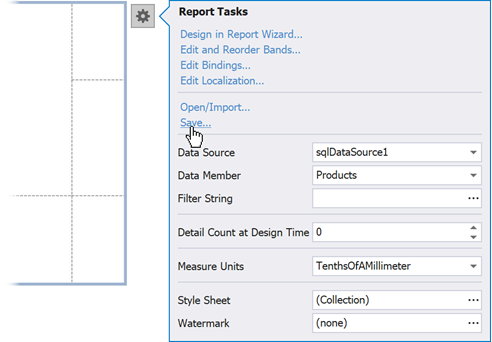
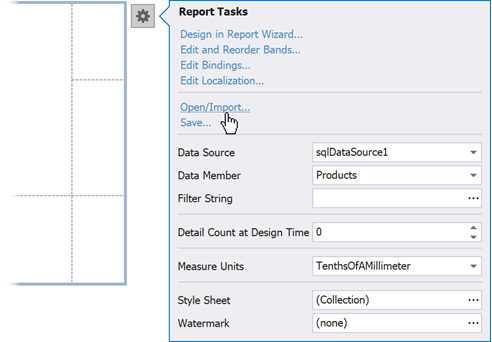
To save a report, click the report’s smart tag (a button in the upper left corner of the Designer window) and select Save…:
In the invoked Save As dialog, specify the name of the .repx file.
After a report is saved, you can open it with the report’s smart tag Open/Import… action:
To transfer a report created in Visual Studio Designer from one project to another, follow the steps below:
- Save a report to REPX.
- Open your project in Visual Studio and create a new report.
- Open the newly created report in the Visual Studio Designer, click the report smart tag and select Open/Import… to load the REPX file saved in step 1.
In code, use the XtraReport.SaveLayoutToXml method to save the .repx file and the XtraReport.LoadLayoutFromXml method to load the report. Note that the LoadLayoutFromXml accepts only .repx files but throws an exception on .vsrepx files.
For more information on methods and formats used to save the reports, review the following help topic: Store Report Layouts and Documents.
Add an Existing Report to an Application (Import a .REPX File)
Follow the steps below to import a report saved to a .REPX file in an application.
- Create a new blank report in the .NET Core Application.
- Expand the newly created report’s smart tag in the Visual Studio Report Designer and load the saved .REPX file into a blank report.
- If the .REPX file comes from an ASP.NET application, copy the code-behind content from the source report file in the ASP.NET application to the corresponding code-behind report file in the ASP.NET Core application.
Convert .VSREPX Files to .REPX
When you use Visual Studio IDE to create a report from an item template, the report is stored in .VSREPX files in .NET 5 or .NET Core 3.x projects. The following exception is thrown when you pass a .VSREPX file to a report’s LoadLayoutFromXml method or open this file in an End-User Report Designer:
You cannot use the LoadLayoutFromXml method to open a VS Report Designer’s internal working file. Use the Save command in the Visual Studio Report Designer to create a standard report template (REPX) file.
To address this issue, convert the file to REPX as follows:
| Design time (VS Designer) | Runtime (in code) |
|---|---|
| Open the .vsrepx file in the Visual Studio Report Designer and save the report to a file in .repx format. | Call the XtraReport.SaveLayoutToXml method to produce a .repx file. |