Get Started
- 2 minutes to read
Important
This Early Access Preview (EAP) is provided solely for early testing purposes and is not ready for production use (C# only). If you are an active Universal subscriber and you wish to explore this EAP, you will need to install the latest version of our WinForms product line (v22.1.5+) on your system.
Download & Install
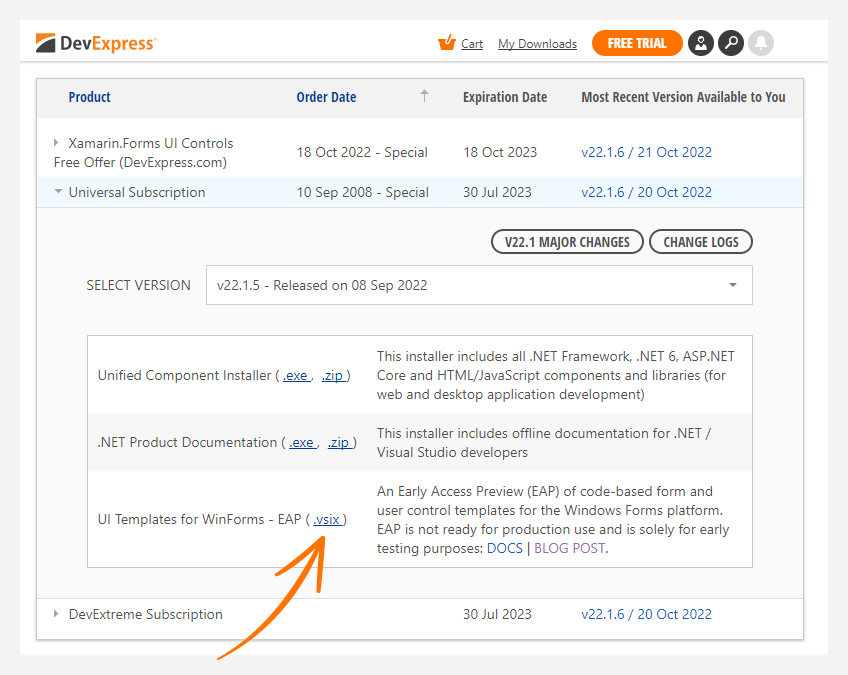
- If you are an active Universal subscriber, navigate to the the DevExpress Download Manager and download the DevExpress.UITemplates.VSIX.vsix extension.
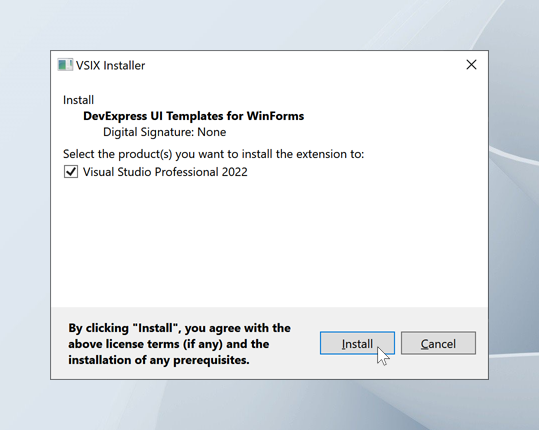
- Close all Microsoft Visual Studio windows and install the extension. Double-click the DevExpress.UITemplates.VSIX.vsix file to run the installer.
- Select the Microsoft Visual Studio IDEs you want to install the extension for and click Install to proceed.
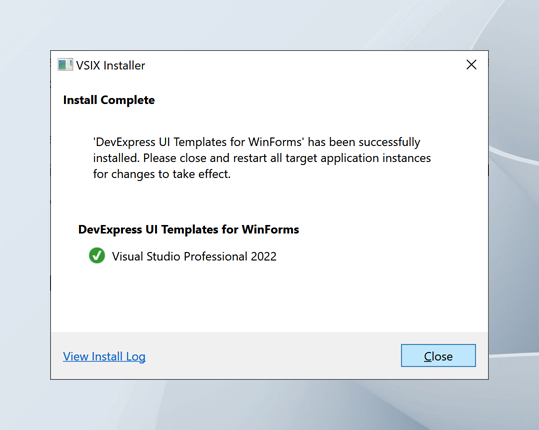
- Close the installer window.
Add a Template to Your Project
Note
Save any changes made to your project before adding UI templates.
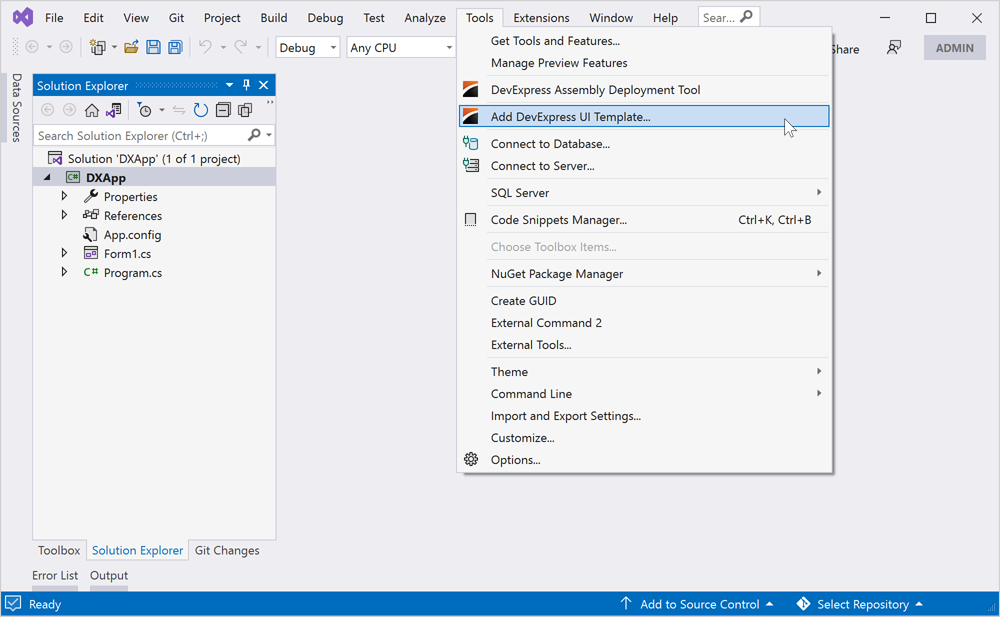
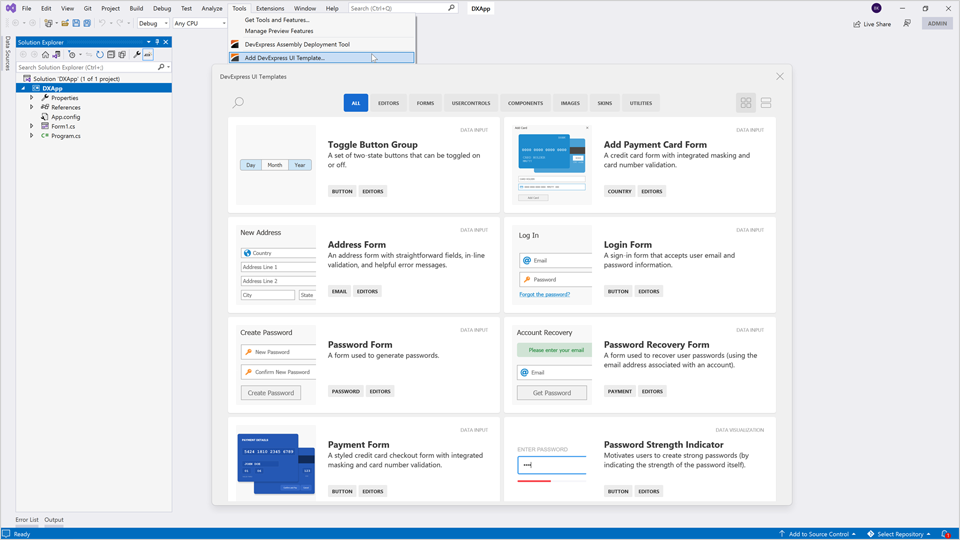
- On the menu bar, choose Tools > Add DevExpress UI Template to open the UI Template Gallery.
- Choose the UI template and click the corresponding tile.
- Read the template’s description and click Install to proceed.
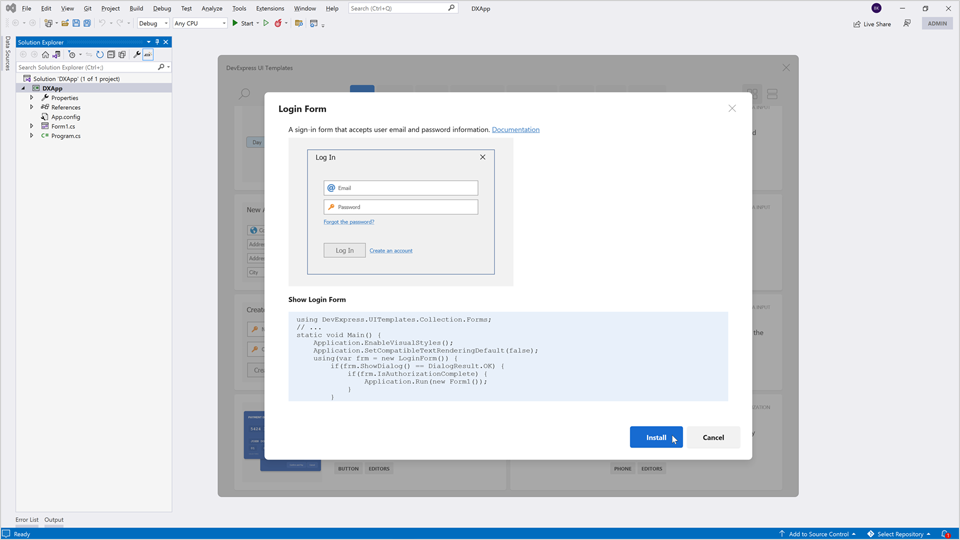
- Click OK and close the window.
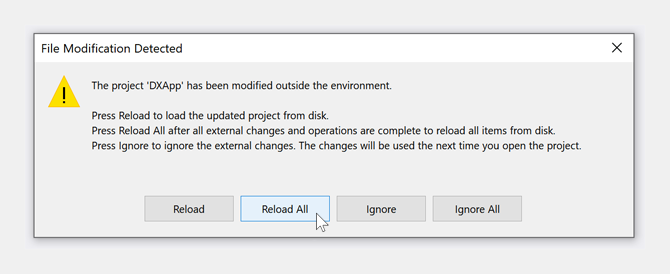
- Reload the updated project.
- Build the solution (
Ctrl+Shift+B).
Get Started with Form Templates
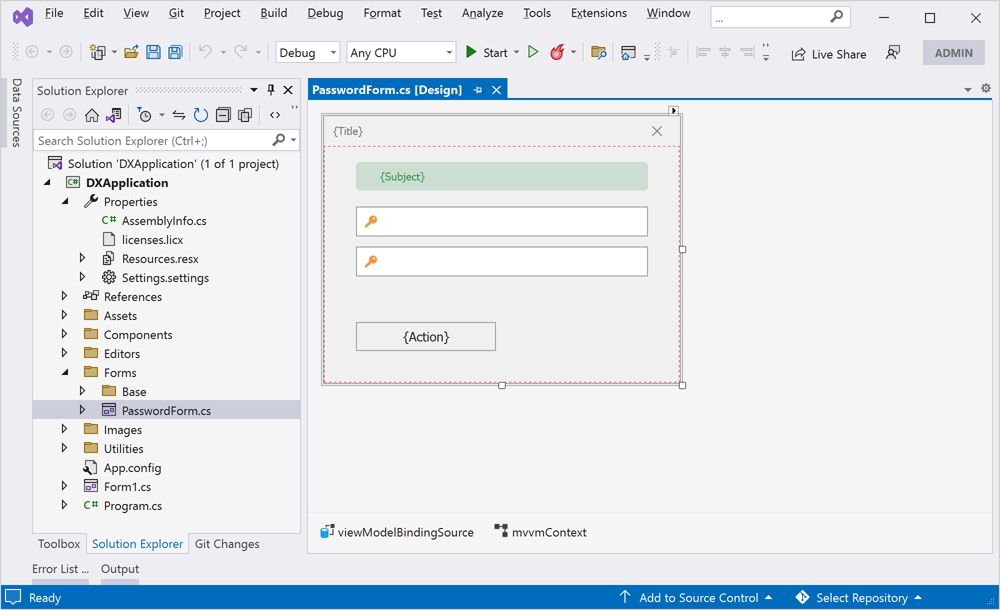
After you have installed a form template, switch to the Solution Explorer. Expand the Forms folder, and double-click a form template to open it in the design window.
The following example shows how to set the Login form as the startup form for your project:
using DevExpress.UITemplates.Collection.Forms;

// ...
static void Main() {
    Application.EnableVisualStyles();
    Application.SetCompatibleTextRenderingDefault(false);
    using(var frm = new LoginForm()) {
        if(frm.ShowDialog() == DialogResult.OK) {
            if(frm.IsAuthorizationComplete) {
                Application.Run(new Form1());
            }
        }
    }
}
Learn more about Form Templates
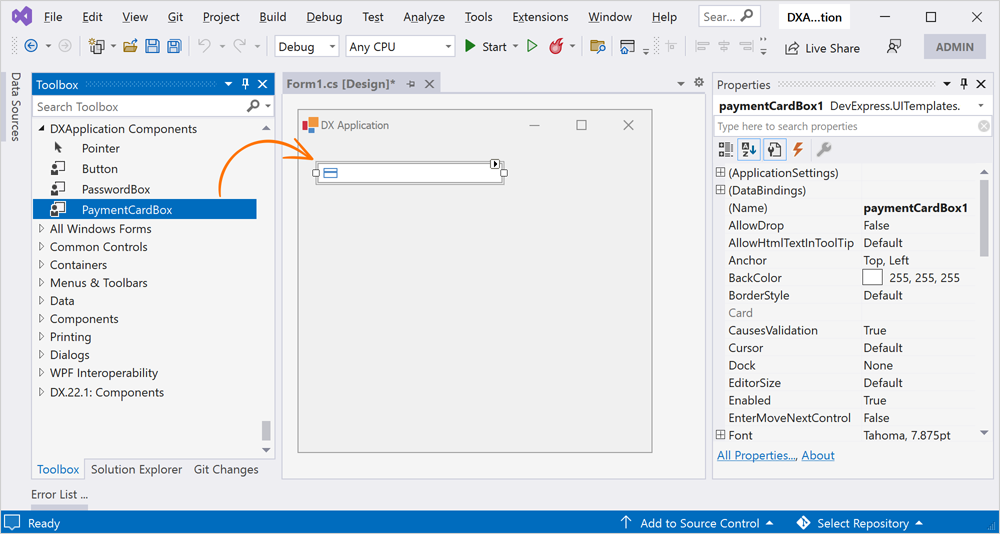
Get Started with Control Templates
After you have installed a template, switch to the Toolbox and drop the UI template onto a form.