Create an ASP.NET MVC Dashboard Application
- 4 minutes to read
This tutorial shows how to create the dashboard web application using the ASP.NET MVC Dashboard extension.
Tip
Download the completed project: Creating an ASP.NET MVC Dashboard Designer Application (Runtime sample)
Watch the video: ASP.NET MVC Dashboard: Creating a Designer & Viewer
Steps 1-4. Create an ASP.NET MVC Application
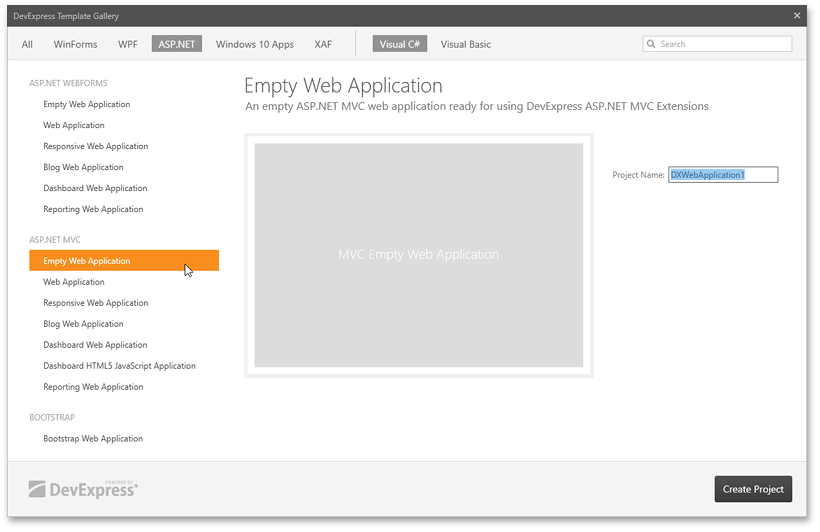
This section describes how to create an MVC application using the DevExpress Template Gallery.
In Visual Studio, create a new project and select DevExpress v20.1 Template Gallery on the start page as the project template.

In the DevExpress Template Gallery, go to the ASP.NET MVC category and select Empty Web Application.
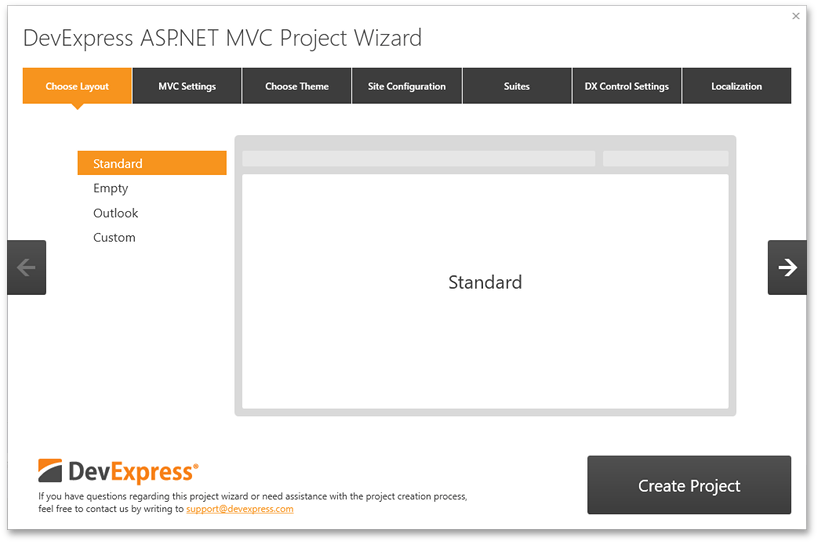
Go to the Choose Layout page and select Standard.
Then, go to the Suites page and tick the checkbox next to Dashboard to attach the Web Dashboard’s stylesheet and script.
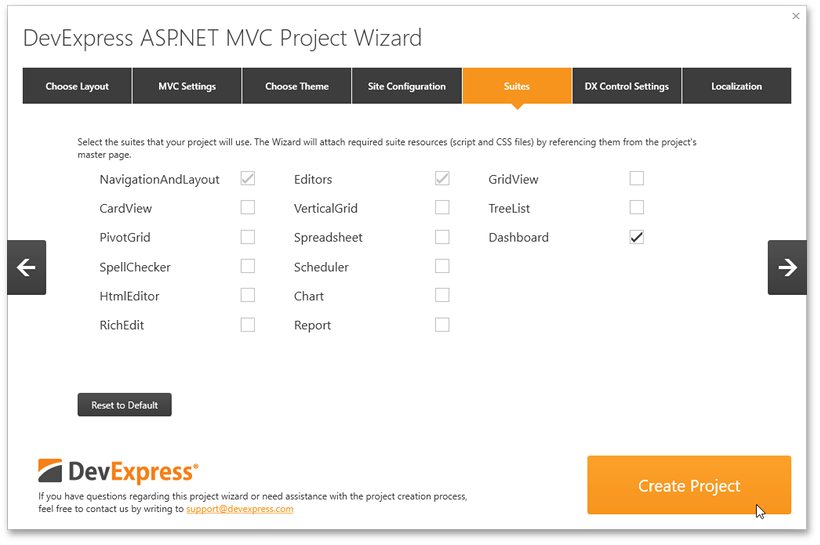
Click Create Project.
Steps 5-7. Add a Dashboard Extension to the MVC Application
- Build the solution.
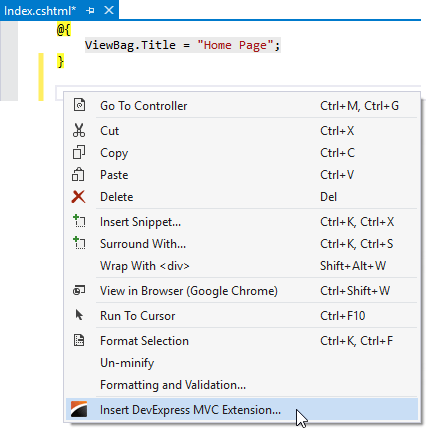
Open the Views | Home | Index.cshtml file, right-click the desired location in the Code Editor to display the Shortcut menu and click the Insert DevExpress MVC Extension… to invoke the Insert DevExpress Extension wizard.
In the Insert DevExpress Extension wizard, go to the Visualization tab, select Dashboard and click Insert.
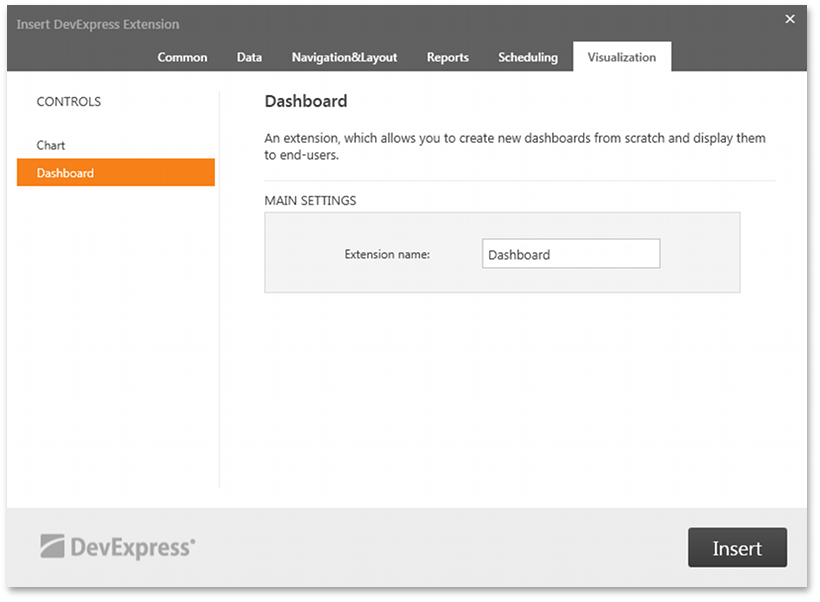
The wizard automatically generates the Dashboard extension’s code.
Step 9. Create a Dashboard Storage
Right-click the App_Data folder and add the Dashboards folder. In the DashboardConfig.cs file (located in the App_Start folder), uncomment the DashboardConfigurator.SetDashboardStorage method call and change the dashboard storage path to ~/App_Data/Dashboards.
using System.Web.Routing;
using DevExpress.DashboardWeb.Mvc;

public class DashboardConfig {
    public static void RegisterService(RouteCollection routes) {
        routes.MapDashboardRoute("api/dashboard");

        // Uncomment this line to save dashboards to the App_Data folder.
        DashboardConfigurator.Default.SetDashboardStorage(new DashboardFileStorage(@"~/App_Data/Dashboards"));

       // ...
    }
}
Steps 9-11. Provide Data
Right-click the App_Data folder, select Add | Existing Item and locate the nwind.mdb database using the following path:
C:\Users\Public\Documents\DevExpress Demos 20.1\Components\Data\nwind.mdb
Specify a connection string to the added database within the project’s Web.config file as shown below.
<configuration>
  <connectionStrings>
      <add name="nwindConnection" connectionString="XpoProvider=MSAccess; Provider=Microsoft.Jet.OLEDB.4.0; Data Source=|DataDirectory|\nwind.mdb;" />
  </connectionStrings>
</configuration>
Note
Note that the connection string should contain the XpoProvider parameter that depends on the used database type. For details on how to specify connection strings for different database types, see Register Default Data Connections.
In the DashboardConfig.cs file (located in the App_Start folder), pass the ConfigFileConnectionStringsProvider instance as the SetConnectionStringsProvider method’s parameter to allow creating new data sources based on connection strings from the Web.config file:
using System.Web.Routing;
using DevExpress.DashboardWeb.Mvc;

public class DashboardConfig {
    public static void RegisterService(RouteCollection routes) {
        routes.MapDashboardRoute("api/dashboard");

        // ...
        DashboardConfigurator.Default.SetConnectionStringsProvider(new DevExpress.DataAccess.Web.ConfigFileConnectionStringsProvider());
    }
}
Steps 12-13. Create a Dashboard
The designer application is now ready. Build and run the project.
Your application should look as follows:
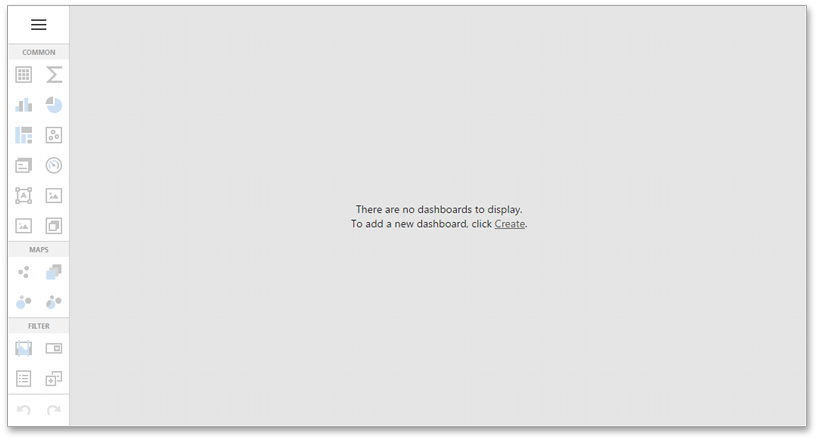
For instructions on how to create your first dashboard in the Web Designer, go to Create a Dashboard using the Web Dashboard.
Steps 14-16. Switch to Viewer Mode
Once you create and save a dashboard, you can switch your Dashboard Designer application to Viewer mode.
- In a project, open the Views | Home | Index.cshtml file.
Add the following code within the MvcDashboardFactory.Dashboard helper method:
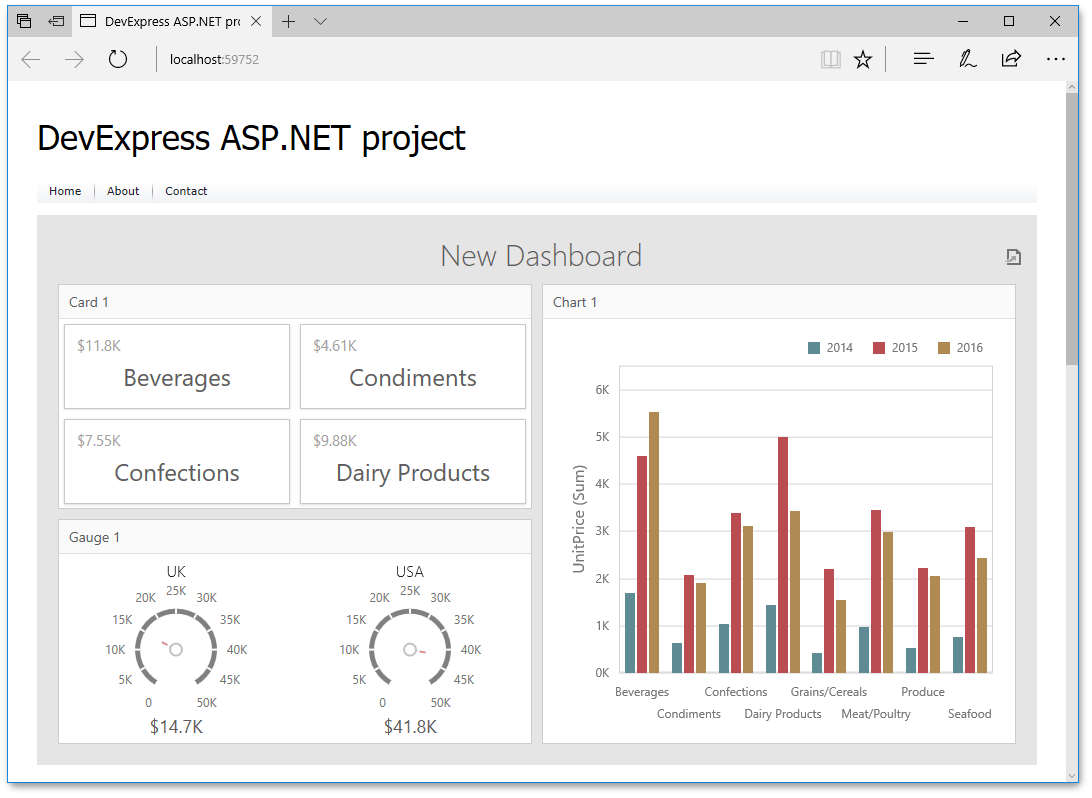
Run the application. The ASP.NET MVC Dashboard extension displays the dashboard from ~/App_Data/Dashboards.
Next Steps
-
Describes how to create and configure dashboards in the Web Dashboard.
ASP.NET MVC Dashboard Extension
Provides instructions on how to integrate the DashboardExtension extension into an ASP.NET MVC application.