Unit Test Builder
- 2 minutes to read
The Unit Test Builder tool helps you generate test cases as you are stepping through code.
How to Use
Do the following to generate a new test case:
1) Add a reference to a test framework in your test project.
Note
Unit Test Builder supports projects with references to NUnit, XUnit and VSTest frameworks.
2) Start your debugging session.
3) Place the caret on a method for which you want to generate a test.
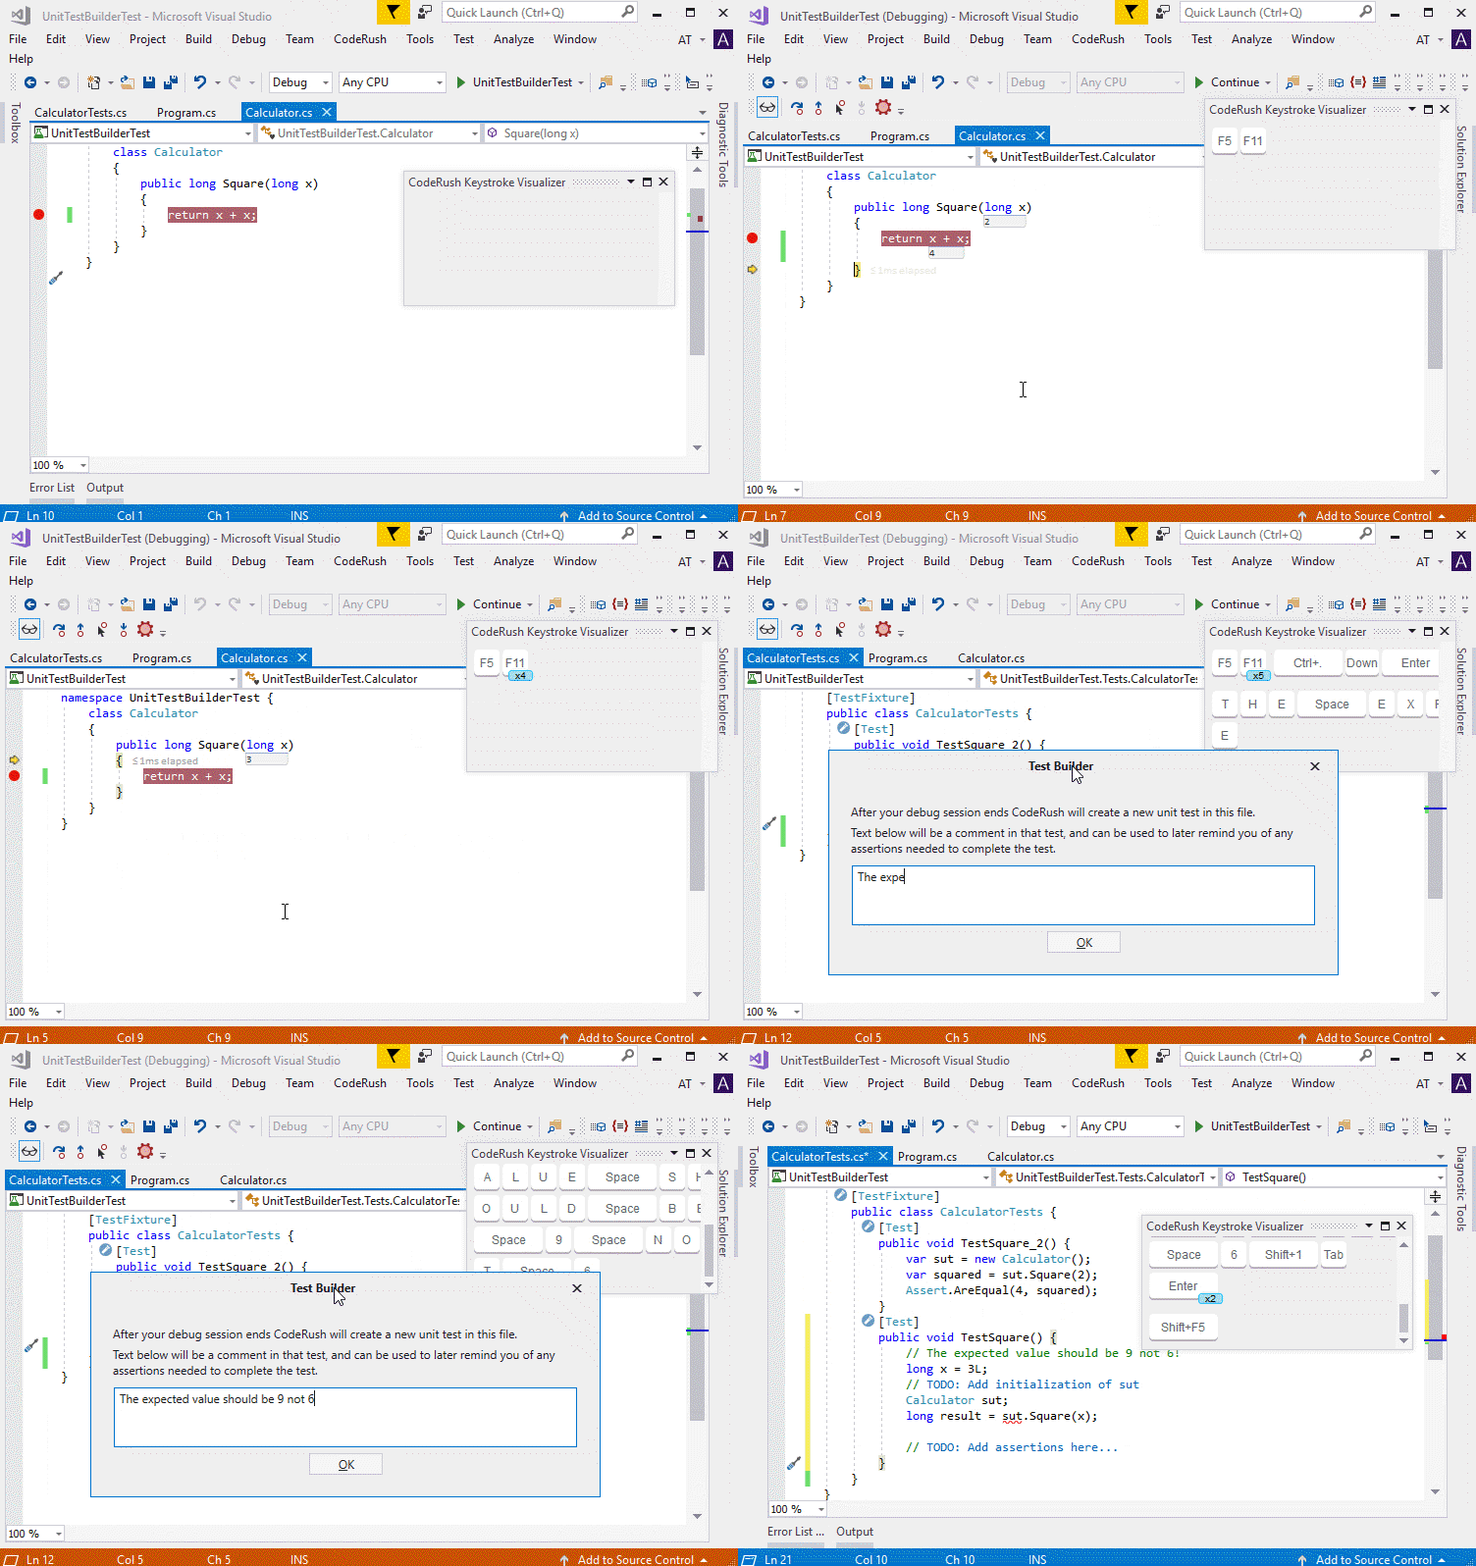
For example, the Square method below should return 9 instead of 6 if you pass 3 to this method:

4) Press the Ctrl + . or Ctrl + ~ shortcut to invoke the Code Actions Menu.
5) Click the “Generate Test In” item from the menu and choose the location for a test method from the list.

You can place a test method inside an existing test class, or create a new test fixture.
Add a Test to the Existing Class
The red target picker appears after you selected the existing text class item from the “Generate Test In” submenu.
1) Choose the position of a test method inside a class with the Up Arrow and Down Arrow keys.

2) Press the Enter key to apply your choice.
CodeRush shows the Test Builder message box.

This message box informs you that the Unit Test Builder will generate test after you end your debugging session.
3) Add remarks (optional) in the Test Builder message box. These remarks appear in a test method’s comment.
4) Click OK to close the message box.
5) End your debugging session to see the generated test.
The screencast below shows these steps in detail.

Add a Test to a New Test Fixture
1) Select the “New Fixture in Test” item from the Generate Test In sub menu.

2) The Unit Test Builder message box appears.

3) Add remarks (optional) in the Test Builder message box. These remarks appear in the comment within a test method.

4) Click OK to close the message box.
5) End your debugging session and see the generated test.
