Lesson 1 - How to Create a Vertical Grid
- 2 minutes to read
This tutorial shows how to create a vertical grid and customize its settings.
This tutorial consists of the following steps.
- Create a New Project and Add a Vertical Grid Control
- Connect to a Data Source
- Configure Vertical Grid Control Settings
- View the Result
Step 1. Create a New Project and Add a Vertical Grid Control
In this step, we will perform common actions required to add a Vertical Grid control to a website.
- Create a new ASP.NET Empty Website project (Visual Studio 2012, 2013, or 2015) or open an existing project.
- Add the ASPxVerticalGrid component to your project. To do this, locate the ASPxVerticalGrid item on the Visual Studio toolbox and drop it onto the form.
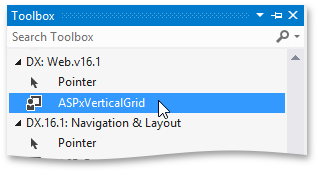
This creates a new ASPxVerticalGrid.
<body>
    <form id="form1" runat="server">
    <div>
        <dx:ASPxVerticalGrid ID="ASPxVerticalGrid1" runat="server"></dx:ASPxVerticalGrid>
    </div>
    </form>
</body>
Step 2. Connect to a Data Source
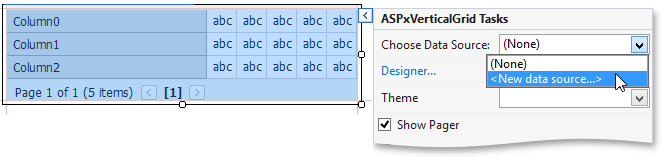
To connect the vertical grid to a data source, click the smart tag and choose the New data source item.
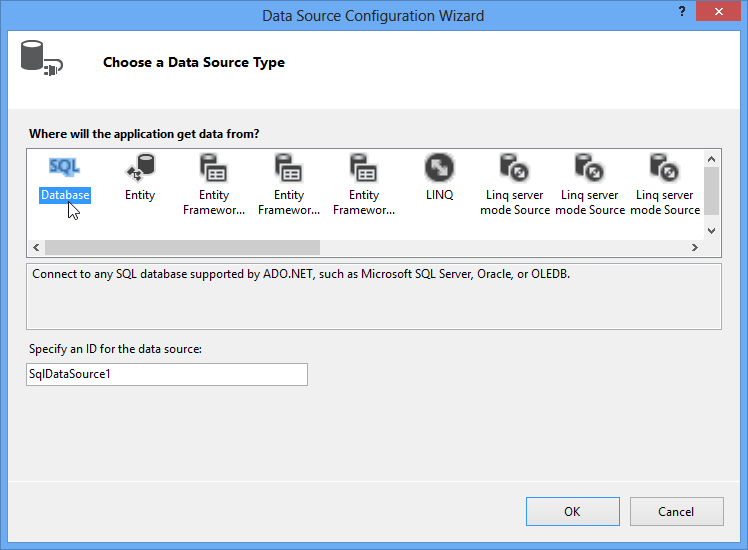
In the opened wizard, different data source types are available. Select the SQL data source type and click OK.
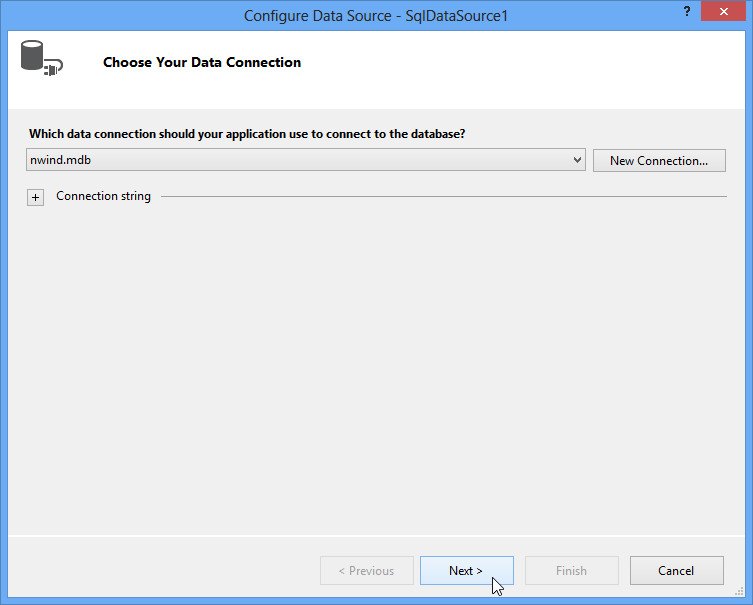
Then, specify your database.
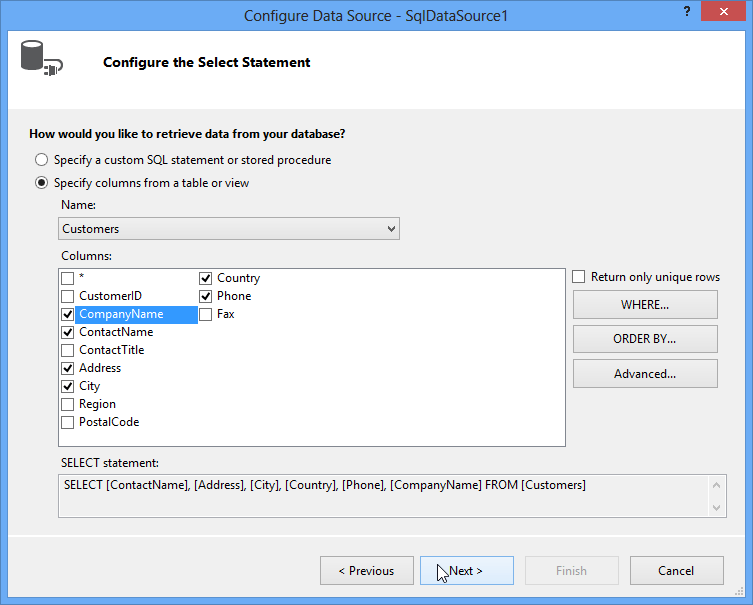
Choose the table and fields from the selected table.
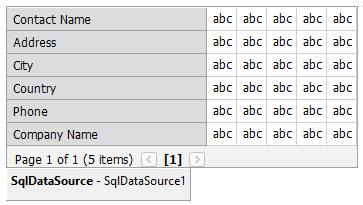
Click Next and then Finish to complete the wizard. The Vertical Grid is now bound to the database.
Step 3. Configure Vertical Grid Control Settings
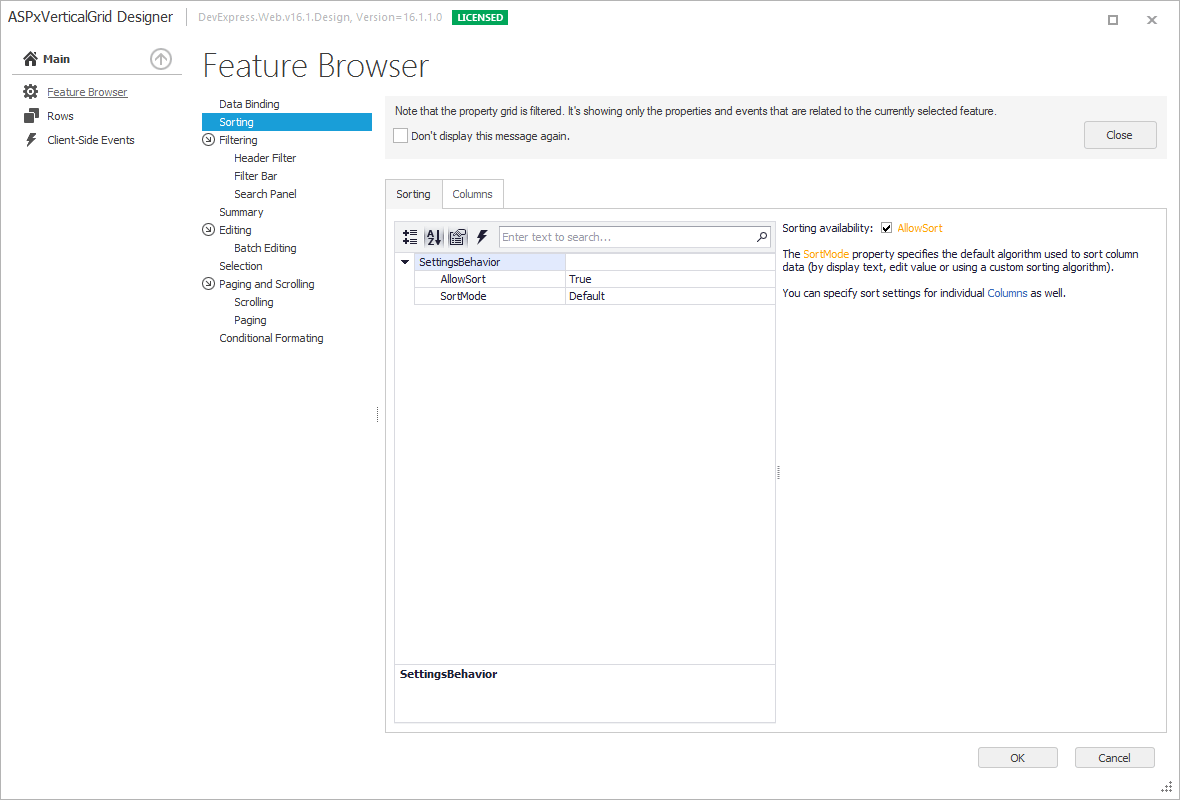
To enable the header filter, select the Designer item from the opened smart tag menu to open the ASPxVerticalGrid Designer. Select the Filtering/Header Filter menu item. Set the ShowHeaderFilterButton option to true and click OK.
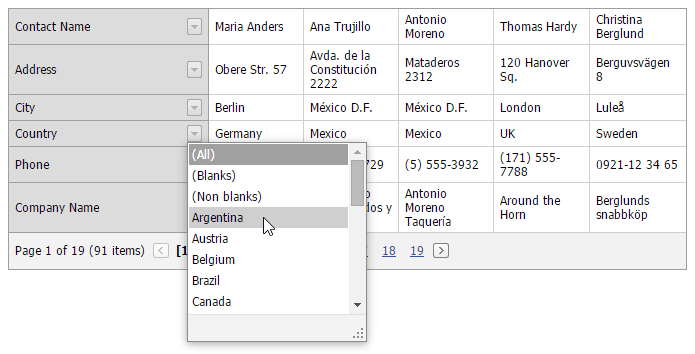
Step 4. View the Result
Run the website to see the result.