Add an Item to the Navigation Control
- 2 minutes to read
This lesson explains how to add the Notes item to the navigation control. When clicked, this Notes item is used to display a List View for the Note business class that you added in the previous lesson: Add an Action that Displays a Pop-Up Window.
Step-by-Step Instructions
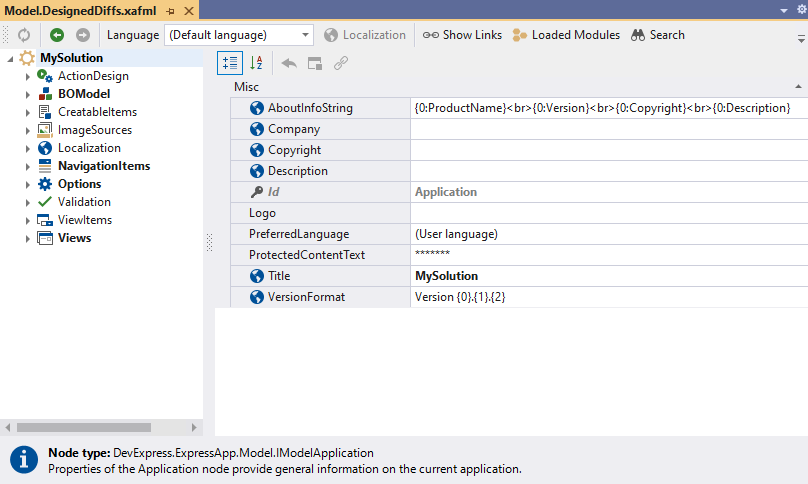
Expand the MySolution.Module project and double-click the Model.DesignedDiffs.xafml file to invoke the Model Editor.
The Model Editor pane consists of two major elements: the node tree and the context-sensitive property grid. When you select a node or focus a property, the Model Editor displays its type and a short description at the bottom of the pane.
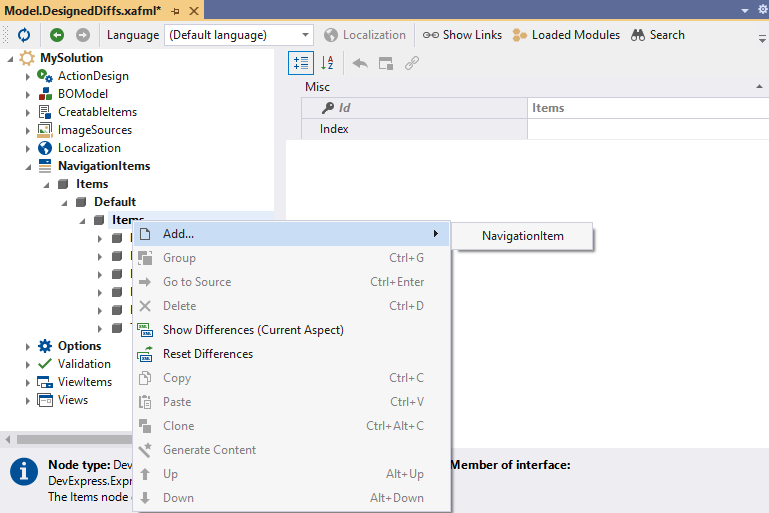
In the tree, navigate to the NavigationItems | Items | Default | Items node. The structure of the NavigationItems node and its child nodes corresponds to the structure of the navigation control. To add a child item to a navigation item, right-click the Items node and select Add… | NavigationItem in the context menu:
Specify the following properties for the new item:
- Set the View property to
Note_ListView. This property specifies the type of View the application displays when you select the Notes item in the navigation control. - Set the Caption property to
Notes. This property specifies the name of the navigation item in the application’s UI. - Set the Id property to
Note. This property specifies the unique node identifier.
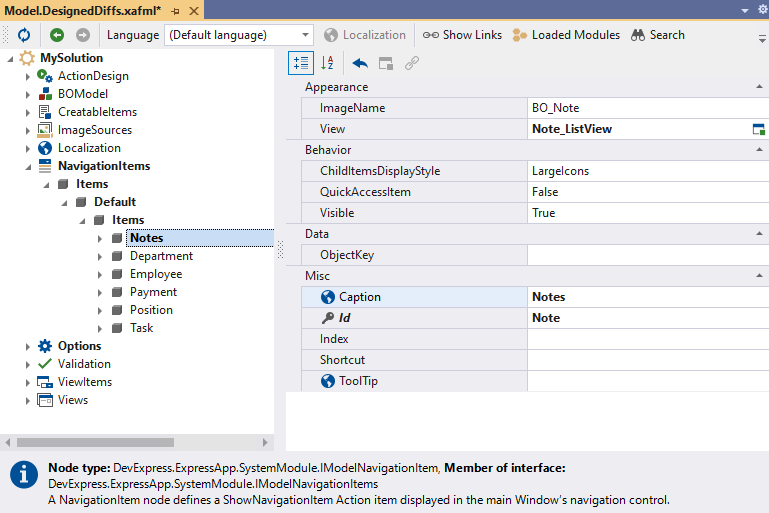
When you change the View property value, the value of the ImageName property also changes. XAF checks the name of the View and looks for the corresponding image in the standard image library. If such image exists, XAF assigns it to the navigation item. For additional information, refer to the following lesson of this tutorial: Assign a Standard Image.
- Set the View property to
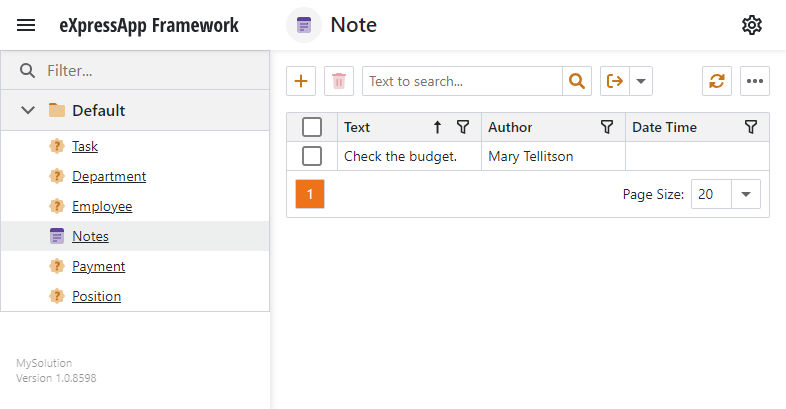
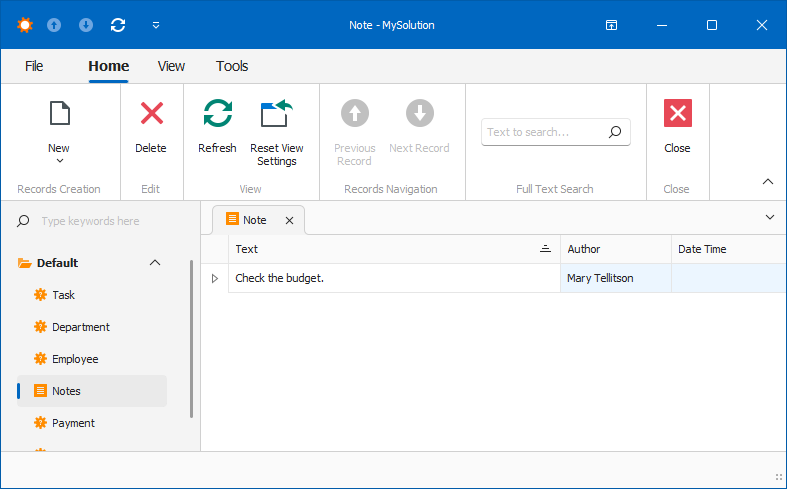
Run the application. You can see the Notes navigation item in the navigation control. Select this item to see the List View of the
Noteentity class.- ASP.NET Core Blazor
- Windows Forms
Next Lesson
Rename and Rearrange Navigation Items