Cross-IDE Template Kit (Windows, macOS)
- 3 minutes to read
The DevExpress Template Kit offers a unified project creation experience for Microsoft Visual Studio, Visual Studio Code, and JetBrains Rider.
Note
The DevExpress Template Kit includes project templates for .NET 8+ only.
Installation
Install Template Kit for Visual Studio
The Template Kit is included in our Unified Component Installer.
You can also download the Template Kit from the Visual Studio Marketplace or install it as an extension in the Visual Studio IDE:
- In Visual Studio, select Extensions → Manage Extensions….
- Search for “DevExpress Template Kit for Visual Studio”.
- Click the Install button.
Install Template Kit for Visual Studio Code
- In Visual Studio Code, open the Extensions tab.
- Search for “DevExpress Template Kit for VS Code”.
- Click the Install button.
Install Template Kit for JetBrains Rider
- Open JetBrains Rider settings and navigate to Plugins.
- Search for “DevExpress Template Kit”.
- Click the Install button next to DevExpress Template Kit.
- Restart the JetBrains Rider to apply changes.
Create a Project
Once the Template Kit is installed, you can use it to create projects with DevExpress BI Dashboard Components.
Create a Project in Visual Studio
- In Visual Studio, select File → New → Project….
- In the Create a new project dialog, search for DevExpress Template Kit.
- Select the DevExpress v26.1 Template Kit template.
- Click the Next button.
- Specify the project name and location, and click the Create button.
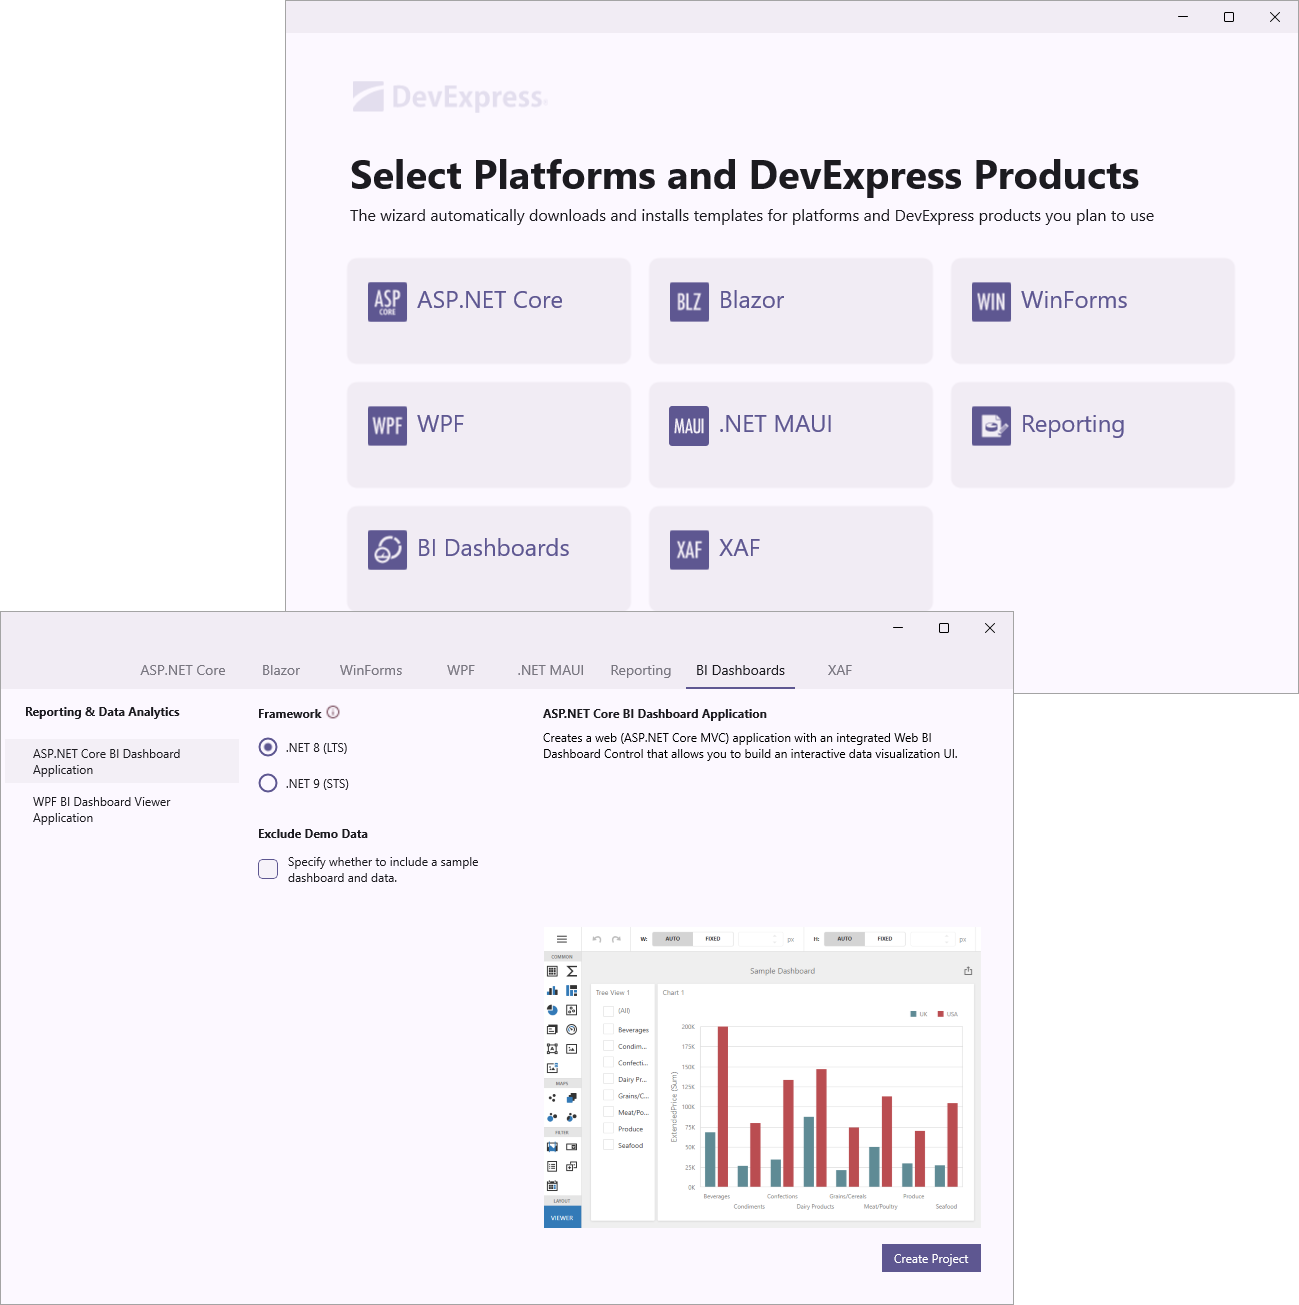
- Click BI Dashboards on the left pane of the Template Kit window.
- Configure the project and click the Create Project button.
Create a Project in Visual Studio Code
- In Visual Studio Code, switch to the Explorer tab.
- Click the New DevExpress Project button.
- Specify the project name and press Enter.
- Select a project location and click the Select Folder button.
- Click BI Dashboards in the left pane of the Template Kit window.
- Configure the project and click the Create Project button.
Create a Project in JetBrains Rider
- Click the New Solution button.
- Select DevExpress Template Kit from the Other section.
- Specify the solution name, target directory, and click the Create button.
- Configure the project and click the Create Project button.
Build the Project
Install DevExpress component packages to build your project. You can use the DevExpress Unified Component Installer that adds a local NuGet feed to your machine.
You can also install required packages from NuGet.org. For more information, refer to the following help topic: Install Packages from NuGet.org.
Included Templates
The following Dashboard project templates are available:
Project Templates
- ASP.NET Core BI Dashboard Application
- Creates a web (ASP.NET Core MVC) application with an integrated Web BI Dashboard Control that allows you to build an interactive data visualization UI.
- ASP.NET Core Blazor BI Dashboard Application
- Creates a web (Blazor Server or Blazor WebAssembly Hosted) application with an integrated BI Dashboard Control that allows you to build an interactive data visualization UI.
- WPF BI Dashboard Viewer Application
- Creates a desktop (WPF) application with a BI Dashboard Viewer that visualizes key metrics from a sample data source.
- Winforms BI Dashboard Viewer Application
- Creates a desktop (WinForms) application with a BI Dashboard Viewer that visualizes key metrics from a sample data source.
Item Templates (WinForms, WPF)
In Visual Studio, right-click on a project in the Solution Explorer window and select Add | New Item to open the ‘Add New Item’ dialog. Select the DevExpress Template Kit 25.2 to add a DevExpress item based on a template.
- Dashboard
- Creates an empty DevExpress BI Dashboard.