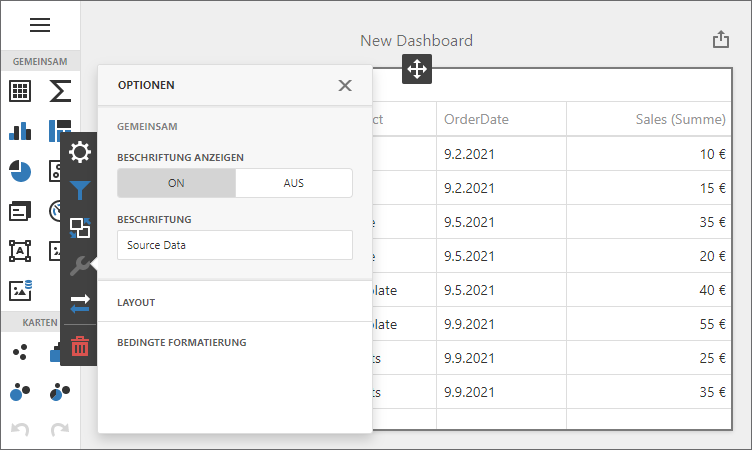
Localize Dashboard Component for Angular
- 3 minutes to read
You can localize your applications - update their UI to match certain culture and language settings:
- Translate UI element captions to a different language: dialog boxes, buttons, menu items, error messages, and so on (localization).
- Format numbers, dates, and currencies according to specific culture settings (globalization).

Localize UI
To localize the user interface, add the component-specific JSON files that correspond to other cultures. For this, obtain a JSON object with the localization strings from DevExpress Localization Service. Modules to translate:
- Dashboard.Core
- Dashboard.Web
- DataAccess
- Web.Resources
Unpack a self-extracting archive and extract JSON resources. Add the dx-analytics-core.{lang}.json and dx-dashboards.{lang}.json files to your project. To translate the Text Editor‘s UI, you also need the dx-rich.{lang}.json file.
Pass the JSON object to the ResourceManager.setLocalizationMessages static method. Make sure that you apply localization before the Dashboard component is initialized and loaded.
Note
Since the Web Dashboard exports data on the server side, add satellite resource assemblies to your project to complete the localization process.
Refer to the following page to find all localizable strings: DashboardStringId
Localize Dates, Numbers, and Currencies
The Dashboard component for Angular supports both Intl and Globalize to format dates, numbers, and currencies.
Intl
The Web Dashboard uses Intl as a default way to apply culture-specific formatting. Intl is the short name used to refer to a particular ECMAScript Internationalization API object. The Web Dashboard supports this API out of the box. All you need to do is set the locale.
Globalize
Follow the instruction to import Globalize scripts: Use Globalize to Format Dates, Numbers, and Currencies.
Example
Follow the steps below to localize the Web Dashboard UI for the Spanish market (the es culture):
Unpack a self-extracting archive and extract json resources. Copy the dx-analytics-core.es.json and dx-dashboards.es.json files with the required locale to the application’s directory (for example, to the localization folder).
Import
localefrom thedevextremepackage (thelocalizationmodule) and use the ResourceManager.setLocalizationMessages static method to load the localization strings. Call this method before the dashboard component is created.Call the locale method and pass the locale as a parameter to apply culture settings.
Open the tsconfig.base.json file and enable the following additional compiler options:
resolveJsonModule- to allow the application to import and extract types from json files;esModuleInterop- to allow default imports from modules with no default export.
"compilerOptions": {
    //...
    "resolveJsonModule": true,
    "esModuleInterop": true
}
The following code shows how to:
- import translated strings from JSON files;
- set the
eslocale; - localize the specified string at runtime (the Export To button’s caption in the dashboard title).
For an Angular application, the most effective place to load translated strings is the constructor of the main AppComponent class:
import { Component } from '@angular/core';
import { ResourceManager } from 'devexpress-dashboard';
import { locale } from "devextreme/localization";
import dashboardES from '../../localization/es/dx-dashboard.es.json';
import analyticsES from '../../localization/es/dx-analytics-core.es.json';

@Component({
  selector: 'app-root',
  templateUrl: './app.component.html',
  styleUrls: ['./app.component.css']
})
export class AppComponent {
  constructor() {
    // Localize the Web Dashboard UI for the Spanish market (the 'es' culture):
    ResourceManager.setLocalizationMessages(dashboardES);
    ResourceManager.setLocalizationMessages(analyticsES);

    // Apply culture-specific formatting:
    locale('es');

    // Localize the specified string at runtime (the "Export To" button's caption in the dashboard title):
    ResourceManager.setLocalizationMessages({ "DashboardStringId.ActionExportTo": "Custom Text for Export Button" });
  }
}