Create a WinForms Dashboard Designer (.NET)
- 3 minutes to read
This tutorial describes how to create a WinForms application with the Dashboard Designer in .NET.
Prerequisites
- DevExpress Universal v.25.1.
- Visual Studio 2022 v17.0 or later with the .NET desktop development workload.
Create a New Project
You can create a new .NET project in the console window or use Visual Studio’s template.
Create a New .NET Project in the Console Window
Open the console window and follow the steps below.
Create and open a new folder. The folder name is the project name.
mkdir NewWinFormsApp
cd NewWinFormsApp
Create a WinForms project:
dotnet new winforms
Create a solution file:
dotnet new sln
Add the created .NET project to this solution:
dotnet sln add NewWinFormsApp.csproj
Open the created solution in Visual Studio.
Create a New .NET Project in Visual Studio
In Visual Studio, create a new project and select Windows Forms App on the start page as the project template.
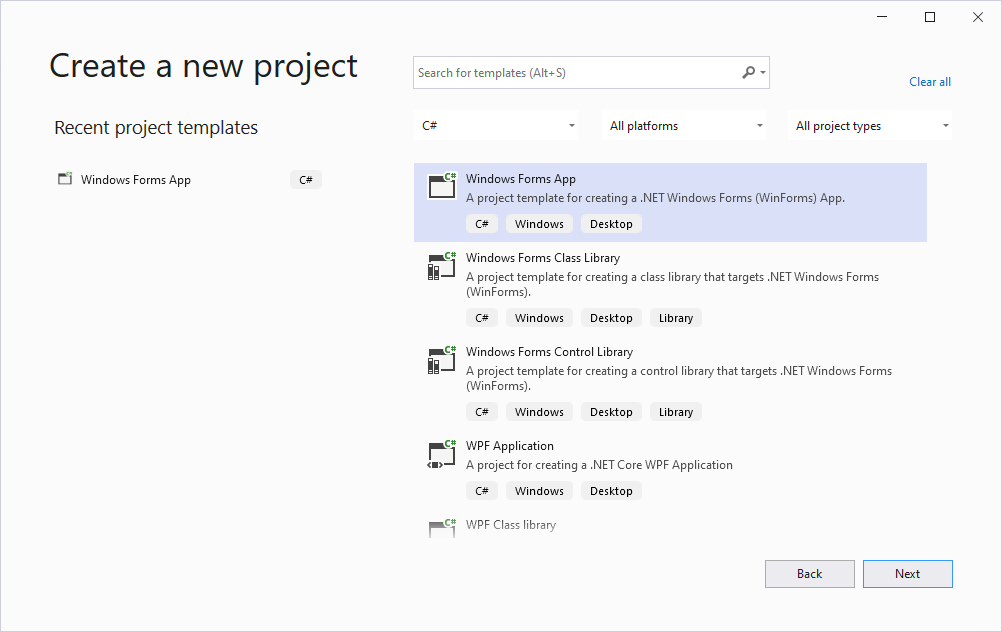
Note
Do not select the Windows Forms App (.NET Framework) template.
In the next dialog window, select the target framework.
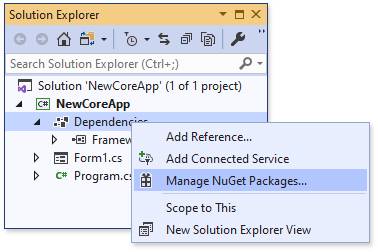
Install Dashboard packages
Select Manage NuGet Packages in the invoked context menu to invoke the NuGet Package Manager.
Register the DevExpress NuGet feed as a package source and select it in the drop-down menu.
Install the DevExpress.Win.Dashboard.Design package (DevExpress.Win.Dashboard for projects that target .NET).
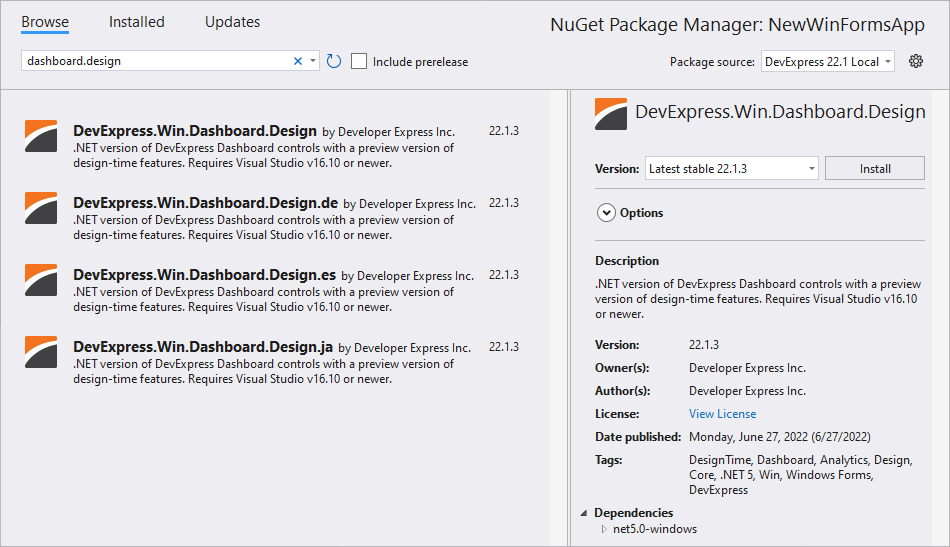
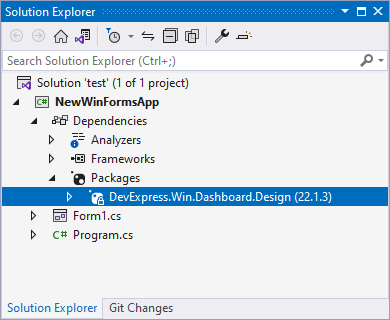
The installed libraries are added to the project after installation is completed.
Create a WinForms Dashboard Designer
You can create the Dashboard Designer at design time or in code when you reference the DevExpress.Win.Dashboard.Design package in your project. For projects that reference the DevExpress.Win.Dashboard package, the Dashboard Designer can only be created in code.
Design Time
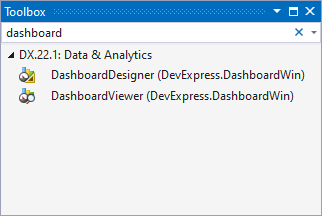
Drag the DashboardDesigner control from the DX.22.1: Data & Analytics Toolbox tab and drop it onto the main form.
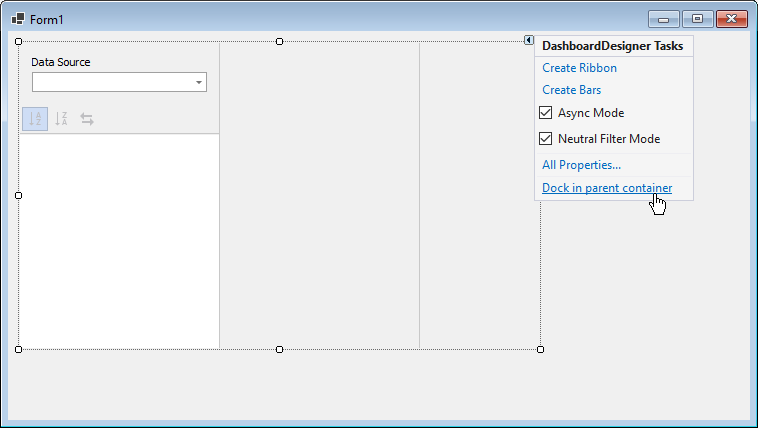
Click the control’s smart tag and select Dock in parent container in the invoked actions list to allow the Dashboard Designer to fill the form.
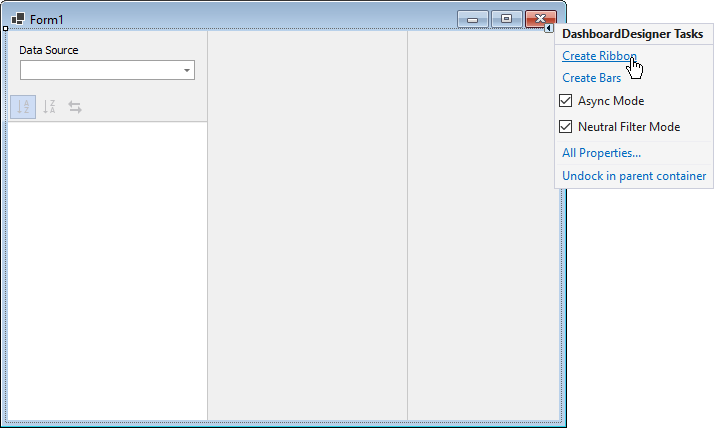
To create a Ribbon UI in the Visual Studio Designer, click Create Ribbon:
Runtime
To create the Dashboard Designer at runtime, add the following code in a Form1.cs file:
using System.Windows.Forms;
using DevExpress.DashboardWin;

//...

DashboardDesigner designer = new DashboardDesigner();
this.Controls.Add(designer);
designer.Dock = DockStyle.Fill;
designer.CreateRibbon();
Create or Load a Dashboard
Run the application and configure your dashboard in the Designer. Follow this step-by-step tutorial for more information: How to create a dashboard in the WinForms Designer.
You can use the DashboardDesigner.LoadDashboard method to load an existing dashboard in code.
Next Steps
Create Dashboards in the WinForms Designer
Describes how to create and configure dashboards in the WinForms Designer.
-
Describes how to embed the DashboardDesigner control into a WinForms application and how to customize the control’s UI elements.
-
Describes how to prepare the DashboardViewer control to display a dashboard in the WinForms application.