Add a Class from the Business Class Library (EF 6)
- 2 minutes to read
In this lesson, you will learn how to use business classes from the Business Class Library as is. For this purpose, you will add the Event business class to the application.
Note
Before proceeding, take a moment to review the Inherit from the Business Class Library Class (EF 6) lesson.
Register the Event and Resource classes in DbContext. Edit the BusinessObjects\MySolutionDbContext.cs file as shown below.
In the Solution Explorer, navigate to the MySolution.Module\Module.cs (Module.vb) file and press the F7 key to open the file in the code editor. Add the following code to the Module constructor to add the Event and Resource business classes to the Application Model:
using DevExpress.Persistent.BaseImpl.EF; // ... namespace MySolution.Module { public sealed partial class MySolutionModule : ModuleBase { public MySolutionModule() { // ... AdditionalExportedTypes.Add(typeof(Event)); AdditionalExportedTypes.Add(typeof(Resource)); } } }These classes will take part in the UI construction process.
Rebuild the solution.
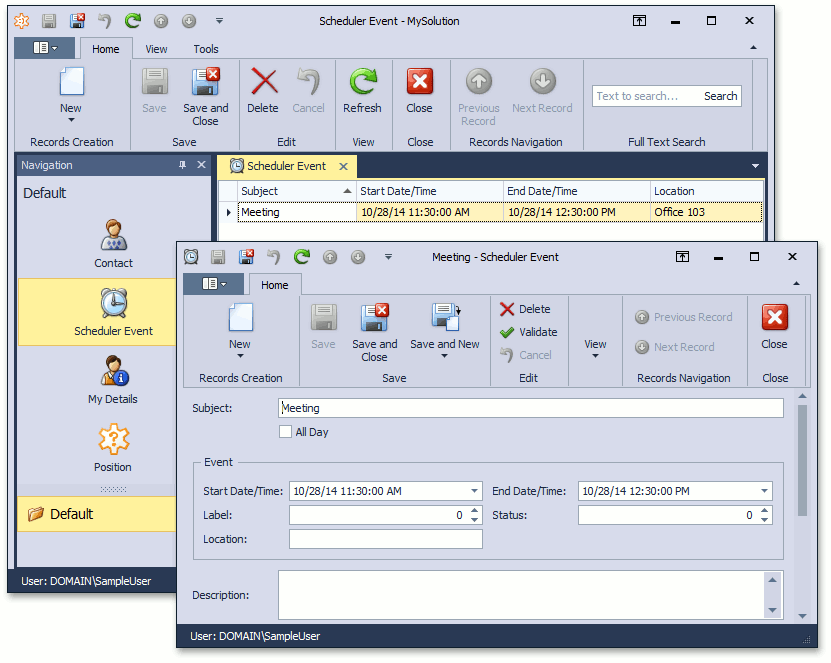
Run the WinForms or ASP.NET Web Forms application and note that the Scheduler Event navigation item is created, as the Event class has the NavigationItemAttribute applied. Note that it may be necessary to add other classes from the Business Class Library to the navigation manually (see the Add an Item to the Navigation Control topic).

Tip
XAF has a special Scheduler module contains List Editor that uses the Scheduler Control (Win/Web) to display and manage Event business objects in XAF applications. Refer to the Add the Scheduler Module lesson to learn how to use it in your application.
You can see the code demonstrated in this lesson in the EF Demo (Code First) installed with XAF. By default, the EF Demo (Code First) application is installed in %PUBLIC%\Documents\DevExpress Demos 21.2\Components\eXpressApp Framework\EFDemoCodeFirst.
Next Lesson: Set a Many-to-Many Relationship (EF 6)