Display Areas on a Vector Map
- 3 minutes to read
This topic describes how to show business objects as areas on a vector map.
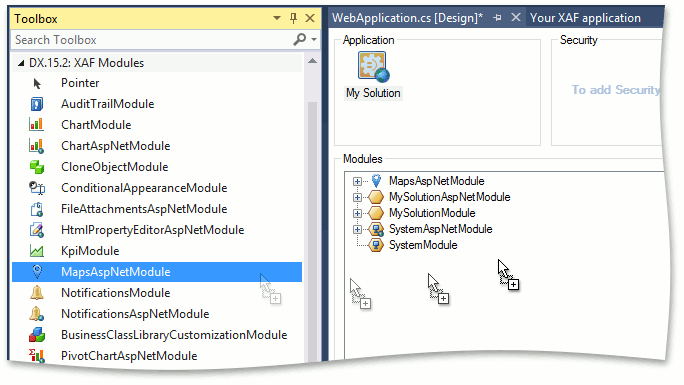
Run the Application Designer for the ASP.NET Web Forms application project. Drag the MapsAspNetModule component from the Toolbox to the designer’s Modules pane.
Implement the business class that supports the IAreaInfo interface. In the code below, a new Country business class is created. You can also support IAreaInfo in an existing business class.
using DevExpress.Persistent.Base;
// ...
[DefaultClassOptions]
public class Country : IAreaInfo {
    [Browsable(false)]
    public int ID { get; set; }
    public string Title {
        get;
        set;
    }
    [Browsable(false)]
    public string Tooltip {
        get { return string.Format("<b>{0}</b><br/>Value = {1}", Title, Value); }
    }
    public float Value {
        get;
        set;
    }
}
The IAreaInfo.Tooltip return value supports HTML formatting. The first line of the tooltip will be the country name using the bold font, and the second will display the value associated with the current country.
Note
The example above is for the Entity Framework. However, you can use a similar approach in an XPO persistent class. You can find the complete example for XPO in the Feature Center demo (see %PUBLIC%\Documents\DevExpress Demos 25.1\Components\XAF\FeatureCenter.NETFramework.XPO\CS\FeatureCenter.Module\ListEditors\VectorMapsListEditorDemoObject.cs).
Run the Model Editor for the ASP.NET Web Forms application project and navigate to the Views | Location_ListView | VectorMapSettings node. Here, you can change the map options. For instance, set the IModelVectorMapSettings.Type property to Eurore.
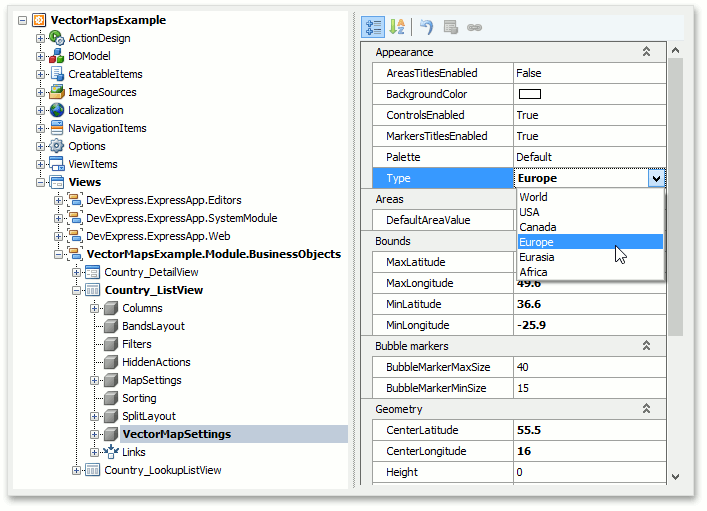
Refer to the member list of the IModelMapSettings interface to see the descriptions of available options.
Tip
Note that the IModelListView.EditorType property of the Country_ListView node is set to WebVectorMapsListEditor. This is done automatically for any List View that displays IAreaInfo objects.
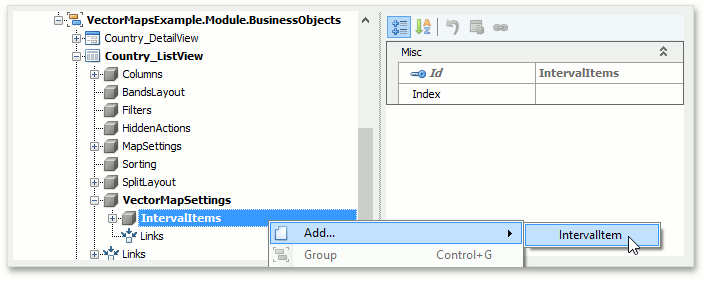
The VectorMapSettings | IntervalItems node (see IModelIntervalItems) allows you to categorize map areas by their associated values. You can use the Add… | IntervalItem context menu command to add the child IModelIntervalItem nodes to define bounds of categories.
For instance, you can create the First, Second and Max child nodes with the following property values.
| IModelNode.Index | IModelIntervalItem.Title | IModelIntervalItem.Value |
|---|---|---|
| 1 | First | 1 |
| 2 | Second | 10 |
| 3 | Max | 20 |
The following image demonstrates these nodes.
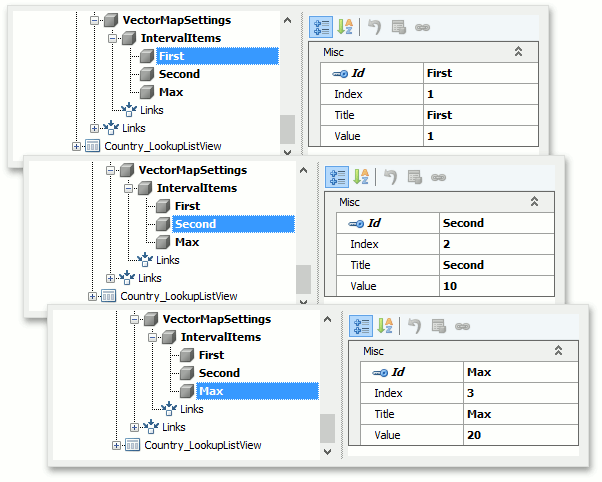
As a result, map areas whose values are in the 1…10 interval will be classified as “First”. Map areas whose values are in the 10…20 interval will be classified as “Second”.
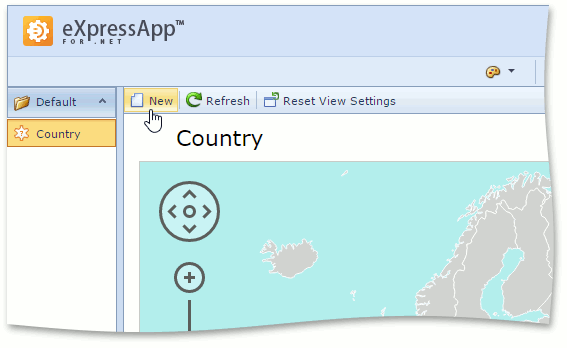
Run the ASP.NET Web Forms application. The Country List View is visualized using the MapViewer control. You can create areas using theNew Action.
For instance, create the following Countries.
| IAreaInfo.Title | IAreaInfo.Value |
|---|---|
| France | 7 |
| Germany | 12 |
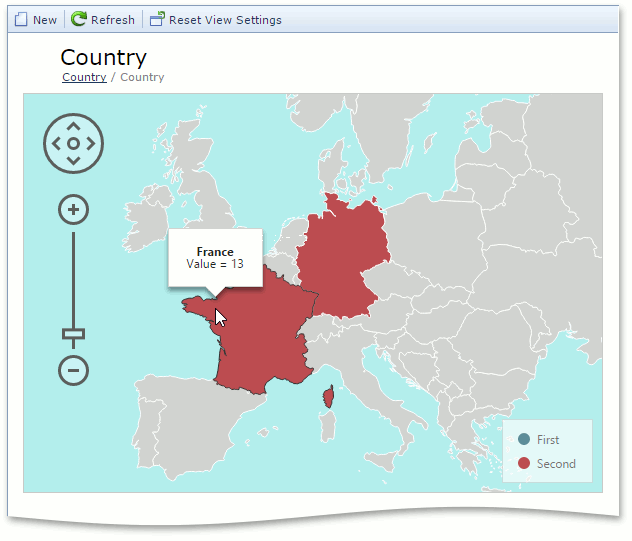
The resulting map is demonstrated below. France and Germany are highlighted with different colors because their associated values are in different intervals. Intervals and their colors are listed in the map legend located in the bottom right corner of the map.

The Detail View is shown when you click a country. For instance, click France and change the Value to 13. As a result, France and Germany will be highlighted with the same color because their associated values are in the same interval.
Tip
You can change the color palette using the IModelVectorMapSettings.Palette property of the VectorMapSettings node in the Model Editor.