Use Raster Maps
- 4 minutes to read
This topic describes how to show business objects on a raster map.
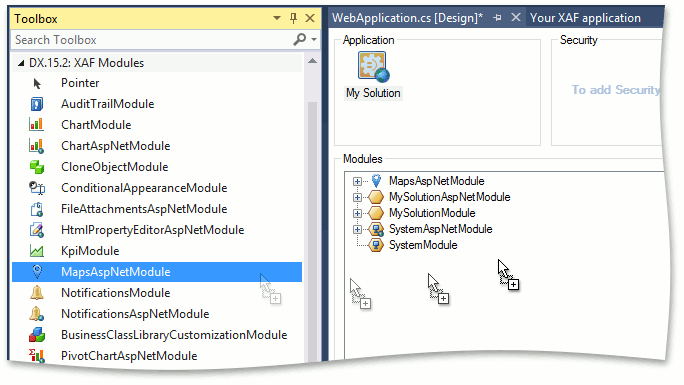
Run the Application Designer for the ASP.NET Web Forms application project. Drag the MapsAspNetModule component from the Toolbox to the designer’s Modules pane.
Implement the business class that supports the IMapsMarker interface. In the code below, a new Location business class is created. You can also support IMapsMarker in an existing business class.
Entity Framework
using DevExpress.Persistent.Base;
// ...
[DefaultClassOptions]
public class Location : IMapsMarker {
    [Browsable(false)]
    public int ID { get; private set; }
    public double Latitude { get; set; }
    public double Longitude { get; set; }
    public string Title { get; set; }
}
XPO
using DevExpress.Xpo;
using DevExpress.Persistent.Base;
using DevExpress.Persistent.BaseImpl;
// ...
[DefaultClassOptions]
public class Location : BaseObject, IMapsMarker {
    public Location (Session session) : base(session) { }
    public string Title { get; set; }
    public double Latitude { get; set; }
    public double Longitude { get; set; }
}
Note
- You can find the complete example for XPO in the Main Demo (see %PUBLIC%\Documents\DevExpress Demos 25.1\Components\XAF\MainDemo.NET.EFCore.NETFramework.XPO\CS\MainDemo.Module\BusinessObjects\Location.cs).
- Also you can see the demonstration of the MapsAspNetModule in the ListEditors | Maps section of the Feature Center application that is shipped with XAF. The default location of the application is %PUBLIC%\Documents\DevExpress Demos 25.1\Components\XAF\FeatureCenter.NETFramework.XPO.
Run the Model Editor for the ASP.NET Web Forms application project and navigate to the Views | Location_ListView | MapSettings node. Here, you can change the map options or keep the default settings unchanged.
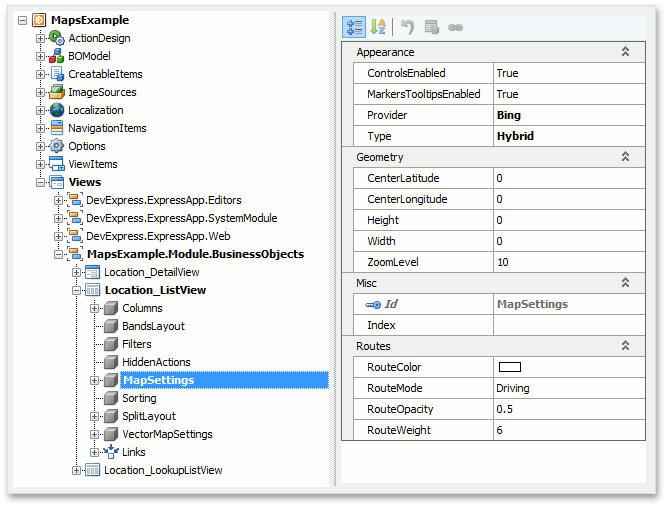
Refer to the member list of the IModelMapSettings interfaces to see the descriptions of these options.
Tip
Note that the IModelListView.EditorType property of the Location_ListView node is set to WebMapsListEditor for an ASP.NET Web Forms application. This is done automatically for any List View that displays IMapsMarker objects. You can customize this behavior using the MapsAspNetModule.SetMapsEditorsAsDefault property.
If you use Google as the maps provider (used in ASP.NET Web Forms applications when the IModelMapSettings.Provider property set to Google), specify the MapsAspNetModule.GoogleApiKey property in the WebApplication.cs (WebApplication.vb) file to display a map. Refer to the Get API Key article to learn how to configure this key.
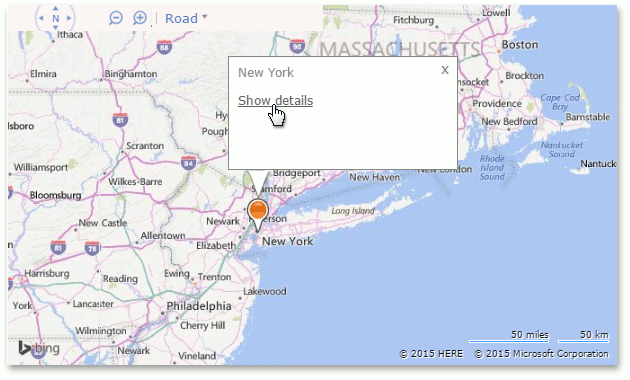
Run the ASP.NET Web Forms application. The Location List View is visualized using the MapViewer control. You can create markers using the New Action.
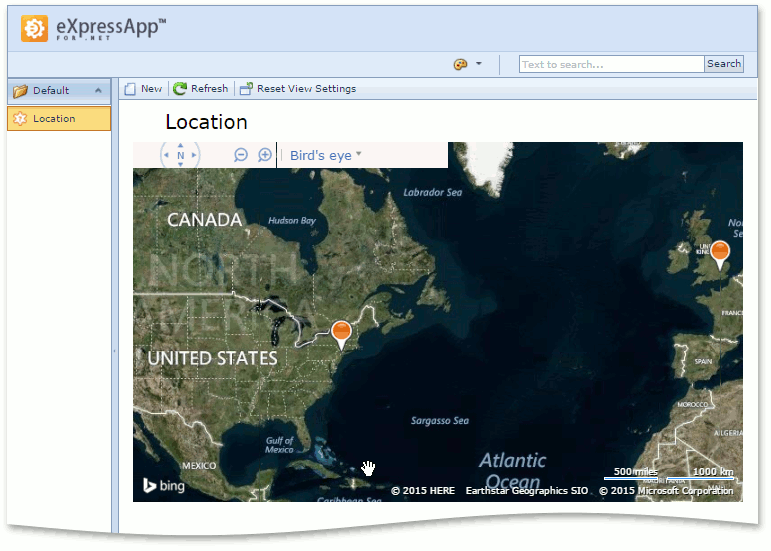
A tooltip is displayed when you click a marker. The Show details link within the tooltip allows you to invoke the marker’s Detail View.
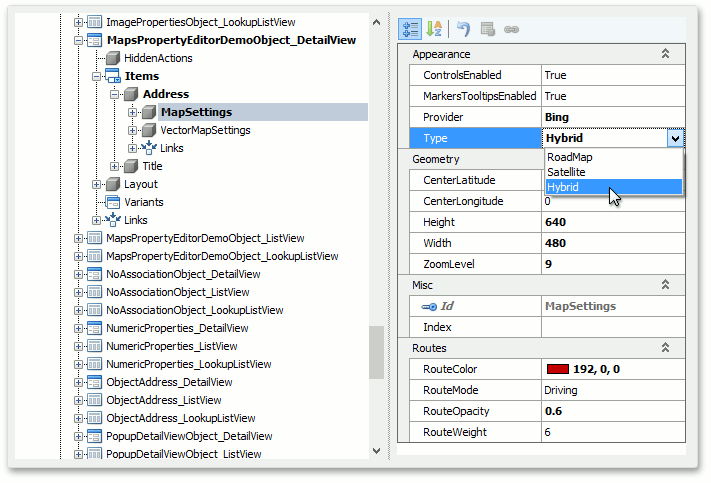
If you add a property whose type supports the IMapsMarker to a business object, the WebMapsPropertyEditor will automatically be used for this property.
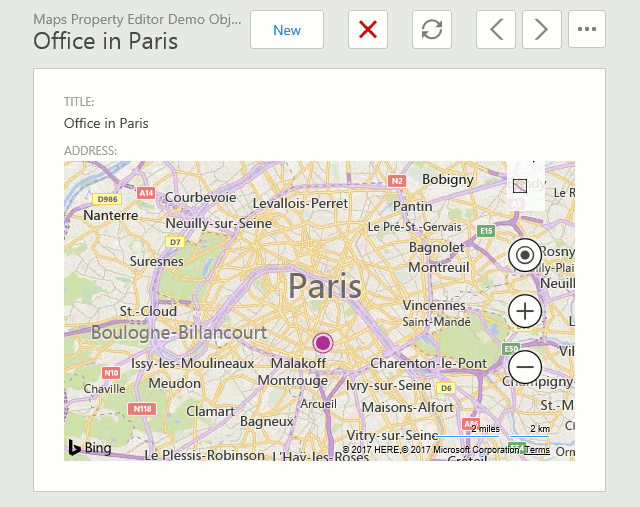
You can adjust WebMapsPropertyEditor settings using the Views | DetailView | Items | ViewItem | MapSettings node.