Implement a Property Editor Based on a Custom Component (Blazor)
- 4 minutes to read
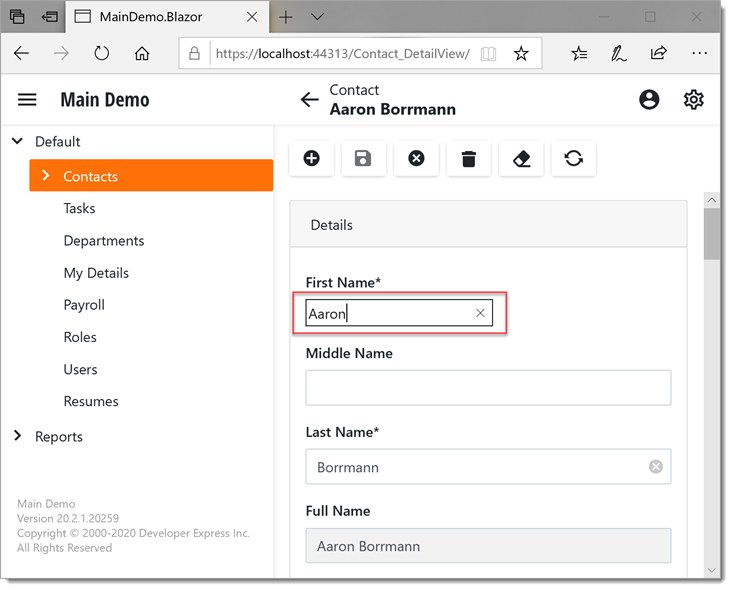
This topic describes how to implement a Property Editor for ASP.NET Core Blazor applications. The example below demonstrates a custom String Property Editor that displays the standard HTML <input> element.
To use a custom component in your ASP.NET Core Blazor application, implement the following components in the ASP.NET Core Blazor module project (MySolution.Module.Blazor):
- Component Model - to change the state of the component;
- Component Renderer - to bind the component model with the component;
- Component Adapter - to apply the Property Editor settings to the component and notify the Property Editor about component changes;
- Property Editor - to integrate the component into your XAF application.
Prerequisites
Before you start, ensure that SDK of the ASP.NET Core Blazor module project is Microsoft.NET.Sdk.Razor.
File: MySolution.Module.Blazor.csproj.
<Project Sdk="Microsoft.NET.Sdk.Razor">
  <!-- ... -->
</Project>
Component Model
Create a ComponentModelBase descendant and name it “InputModel”. In this class, declare properties that describe your component and its interaction with a user.
File: MySolution.Blazor.Module\InputModel.cs.
using System;
using DevExpress.ExpressApp.Blazor.Components.Models;
// ...
public class InputModel : ComponentModelBase {
    public string Value {
        get => GetPropertyValue<string>();
        set => SetPropertyValue(value);
    }
    public bool ReadOnly {
        get => GetPropertyValue<bool>();
        set => SetPropertyValue(value);
    }
    // ...
    public void SetValueFromUI(string value) {
        SetPropertyValue(value, notify: false, nameof(Value));
        ValueChanged?.Invoke(this, EventArgs.Empty);
    }
    public event EventHandler ValueChanged;
}
Component Renderer
Create a new Razor component and name it “InputRenderer”. Declare the ComponentModel component parameter that binds the <input> element with its model. Map the element parameters to the model properties and add the Create method that creates RenderFragment.
File: MySolution.Blazor.Module\InputRenderer.razor.
@using Microsoft.AspNetCore.Components.Web
<input value=@ComponentModel.Value
       @onchange=@(e => ComponentModel.SetValueFromUI((string)e.Value))
       readonly=@ComponentModel.ReadOnly
       @attributes=@ComponentModel.Attributes />
@code {
    [Parameter]
    public InputModel ComponentModel { get; set; }
    public static RenderFragment Create(InputModel componentModel) =>
        @<InputRenderer ComponentModel=@componentModel />;
}
Component Adapter
Create a ComponentAdapterBase descendant and name it “InputAdapter”. Override its methods to implement Property Editor logic for your component model.[1]
File: MySolution.Blazor.Module\InputAdapter.cs.
using DevExpress.ExpressApp.Blazor.Components;
using DevExpress.ExpressApp.Blazor.Editors.Adapters;
using DevExpress.ExpressApp.Editors;
using DevExpress.ExpressApp.Utils;
using Microsoft.AspNetCore.Components;
using System;
// ...
public class InputAdapter : ComponentAdapterBase {
    public InputAdapter(InputModel componentModel) {
        ComponentModel = componentModel ?? throw new ArgumentNullException(nameof(componentModel));
        ComponentModel.ValueChanged += ComponentModel_ValueChanged;
    }
    public InputModel ComponentModel { get; }
    public override void SetAllowEdit(bool allowEdit) {
        ComponentModel.ReadOnly = !allowEdit;
    }
    public override object GetValue() {
        return ComponentModel.Value;
    }
    public override void SetValue(object value) {
        ComponentModel.Value = (string)value;
    }
    protected override RenderFragment CreateComponent() {
        return ComponentModelObserver.Create(ComponentModel, InputRenderer.Create(ComponentModel));
    }
    private void ComponentModel_ValueChanged(object sender, EventArgs e) => RaiseValueChanged();
    public override void SetAllowNull(bool allowNull) { /* ...*/ }
    public override void SetDisplayFormat(string displayFormat) { /* ...*/ }
    public override void SetEditMask(string editMask) { /* ...*/ }
    public override void SetEditMaskType(EditMaskType editMaskType) { /* ...*/ }
    public override void SetErrorIcon(ImageInfo errorIcon) { /* ...*/ }
    public override void SetErrorMessage(string errorMessage) { /* ...*/ }
    public override void SetIsPassword(bool isPassword) { /* ...*/ }
    public override void SetMaxLength(int maxLength) { /* ...*/ }
    public override void SetNullText(string nullText) { /* ...*/ }
}
Property Editor
Create a BlazorPropertyEditorBase descendant and name it “CustomStringPropertyEditor”. Apply PropertyEditorAttribute to it and set the first attribute parameter to string and the second one to false. With these values, you can choose this Property Editor in the Model Editor for any string property, and this editor is not marked as default.
File: MySolution.Blazor.Module\CustomStringPropertyEditor.cs.
using DevExpress.ExpressApp.Blazor.Editors;
using DevExpress.ExpressApp.Blazor.Editors.Adapters;
using DevExpress.ExpressApp.Editors;
using DevExpress.ExpressApp.Model;
using System;
// ...
[PropertyEditor(typeof(string), false)]
public class CustomStringPropertyEditor : BlazorPropertyEditorBase {
    public CustomStringPropertyEditor(Type objectType, IModelMemberViewItem model) : base(objectType, model) { }
    protected override IComponentAdapter CreateComponentAdapter() => new InputAdapter(new InputModel());
}
Rebuild your solution and invoke the Model Editor for the ASP.NET Core Blazor module project (MySolution.Blazor.Module). Navigate to the required BOModel | <Class> | OwnMembers | <Member> node and set the node’s PropertyEditorType property to CustomStringPropertyEditor.
You can also set this Property Editor for a particular View only. To do this, specify the PropertyEditorType property of the Views | <DetailView> | Items | <PropertyEditor> node.
Access XafApplication and ObjectSpace to Query and Manipulate Data (Perform CRUD Operations)
A custom Property Editor may require access to the application or the View ObjectSpace object. If so, implement the IComplexViewItem interface as shown in the following topic: IComplexViewItem.
Use the IComplexViewItem.Setup method to get the XafApplication and IObjectSpace objects. The IObjectSpace object contains methods to access the application database.
-
In this example, we use the standard input element that does not support some format settings. If your editor supports these settings, override related methods to apply the settings to the component model, for example:
public override void SetDisplayFormat(string displayFormat) { ComponentModel.DisplayFormat = displayFormat; }