How to: Show a Custom Data-Bound Control in an XAF View (WinForms)
- 4 minutes to read
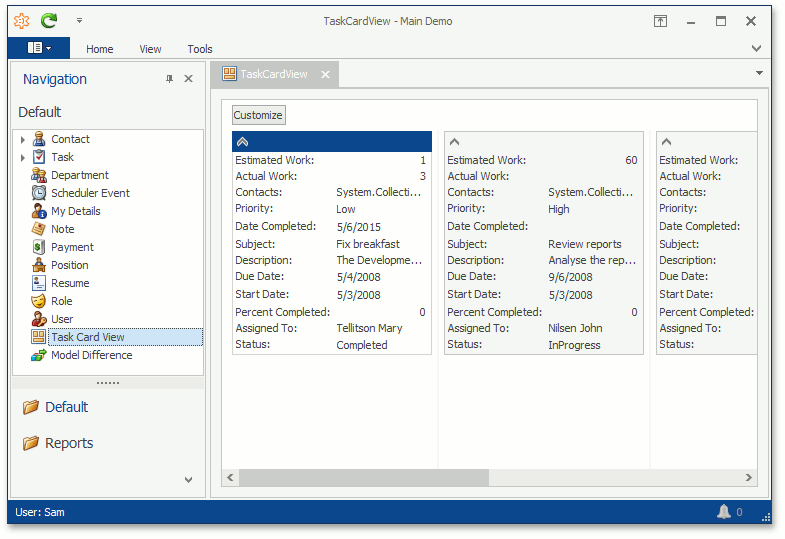
This example demonstrates how you can add a custom data-bound (data-aware) control to a View and display this View from the navigation in a WinForms XAF application. For demo purposes, in this example you will add the GridControl control with the CardView to the EFDemo application (installed to %PUBLIC%\Documents\DevExpress Demos 19.1\Components\eXpressApp Framework\EFDemoCodeFirst by default). However, you can use the same approach with any other custom control in your own XAF application.
Tip
A similar example for ASP.NET is available in the How to: Show a Custom Data-Bound Control in an XAF View (ASP.NET)
Create a User Control
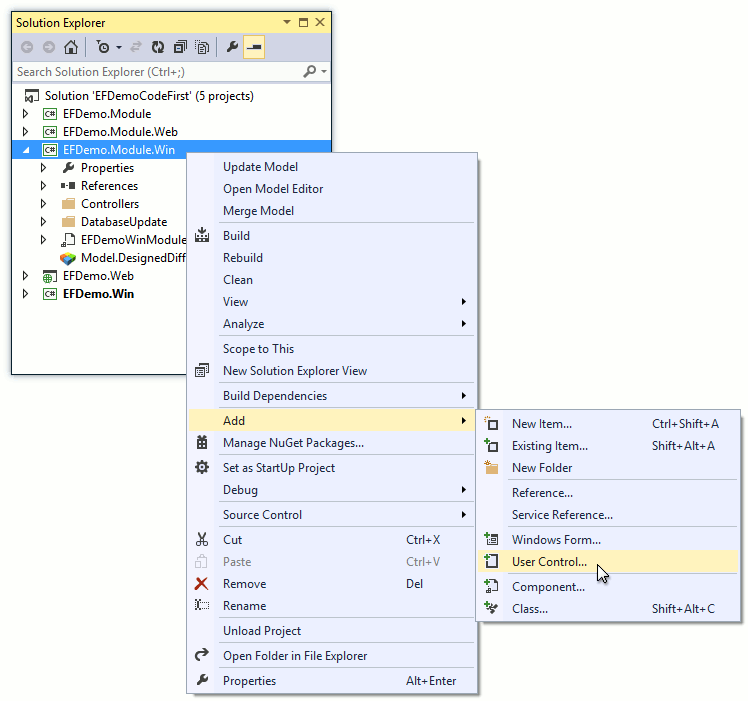
In the WinForms module project, create a User Control. Right-click the project and choose Add | User Control…
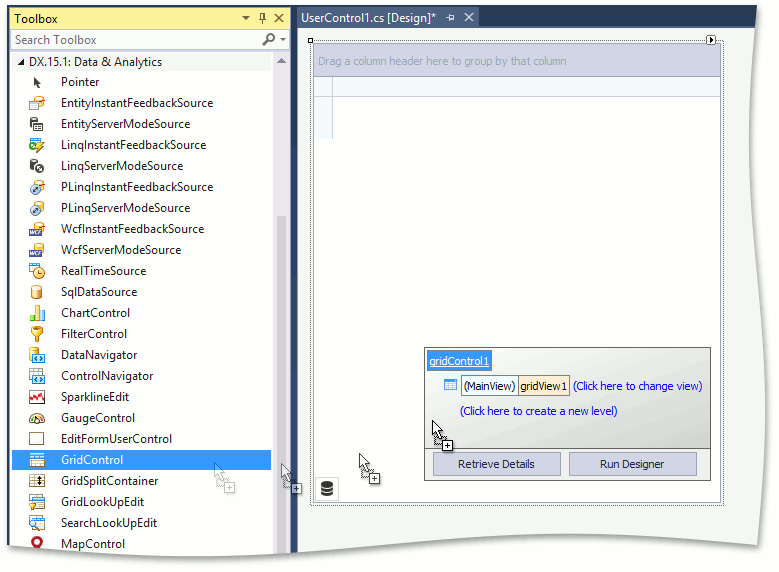
Add the required control, e.g., GridControl from the Toolbox to the designer.
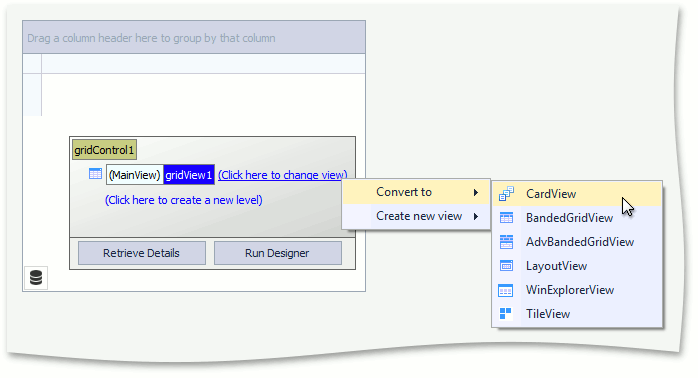
Customize the control as required; e.g., convert the GridControl.MainView to CardView.
Tip
You can also add the CollectionDataSource component from the DX.19.1: XAF Data Sources for Reports toolbox group and then bind the control to this component. Use the DataSourceBase.ObjectTypeName property to specify the required business object type. This will allow you to see the data columns in the designer and customize them as required. Actual data binding will be performed further in code.
Bind the Control to Data Using Object Space
Close the designer, right-click the UserControl1.cs (UserControl1.vb) file and choose View Code to edit the User Control code. Implement the IComplexControl interface. In the IComplexControl.Setup method, you can access the Object Space using the objectSpace parameter, use the Object Space API to read the required data and then initialize the control’s data source. In the IComplexControl.Refresh method (that is executed when a user clicks the Refresh Action), you can recreate the control’s data source. The code below demonstrates the collection of DemoTask objects assigned to the GridControl.DataSource property.
using DevExpress.ExpressApp;
using DevExpress.ExpressApp.Editors;
// ...
public partial class UserControl1 : UserControl, IComplexControl {
    public UserControl1() {
        InitializeComponent();
    }
    private IObjectSpace objectSpace;
    void IComplexControl.Setup(IObjectSpace objectSpace, XafApplication application) {
        gridControl1.DataSource = objectSpace.GetObjects<EFDemo.Module.Data.DemoTask>();
        this.objectSpace = objectSpace;
    }
    void IComplexControl.Refresh() {
        gridControl1.DataSource = objectSpace.GetObjects<EFDemo.Module.Data.DemoTask>();
    }
}
Tip
You can also use the application parameter to access certain Application Model settings using the XafApplication.Model property and customize the control accordingly.
Add a ControlViewItem View Item to a View
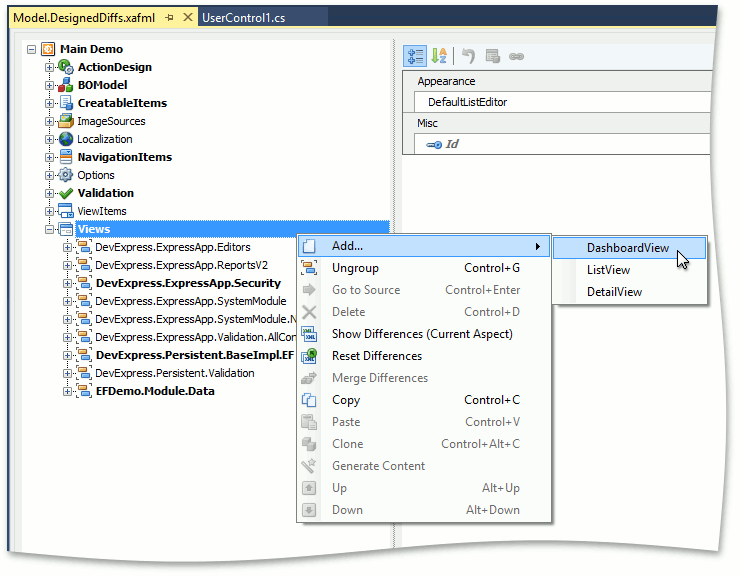
In the WinForms module project, double-click the Model.DesignedDiffs.xafml file to start the Model Editor. Right-click the Views node and choose Add | DashboardView.
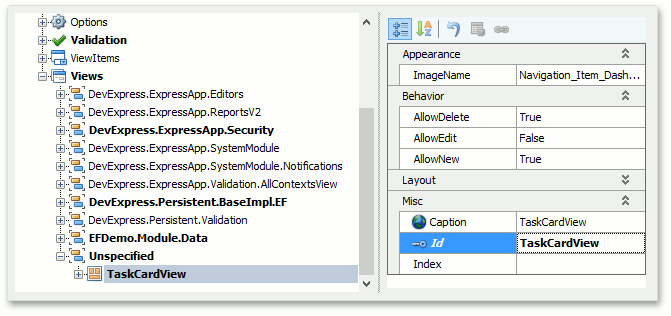
Set the Id property to TaskCardView.
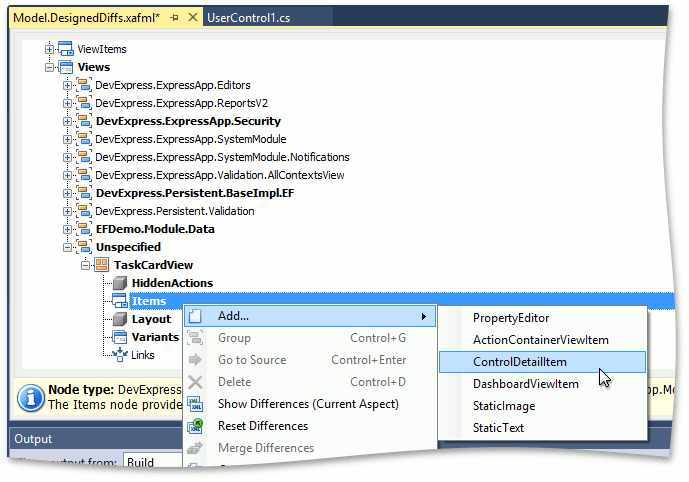
Right-click the Views | TaskCardView | Items node and choose Add… | ControlDetailItem.
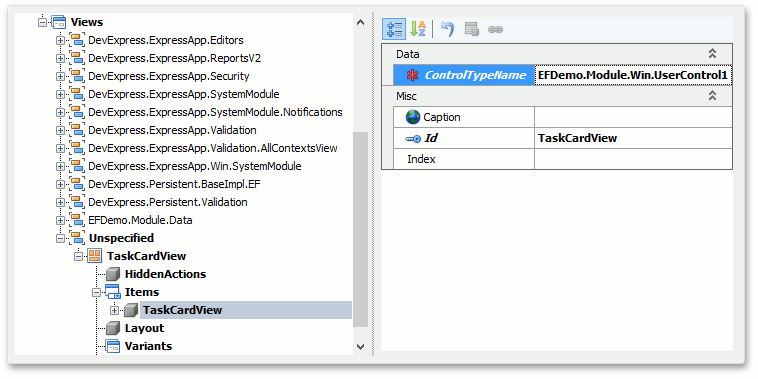
Set the Id property to TaskCardView, and the IModelControlDetailItem.ControlTypeName property - to the type of the custom User Control you created (e.g., EFDemo.Module.Win.UserControl1).
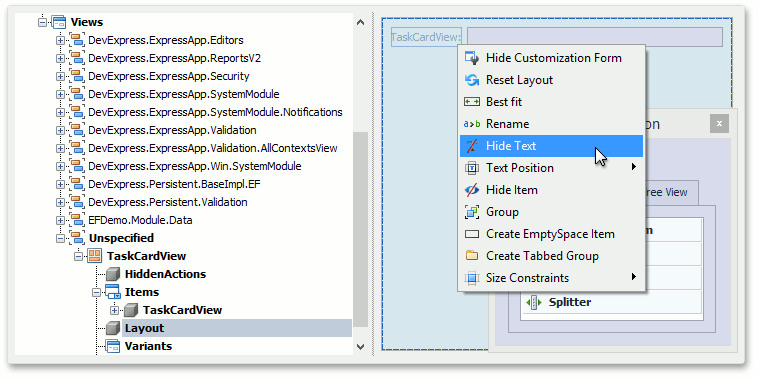
Focus the Layout node. Right click the designer surface to the right and choose Customize Layout. Then, right-click the TaskCardView layout item and choose Hide Text.
Note
You can add the ControlViewItem View Item to any existing Detail View or Dashboard View instead of creating a new Dashboard View.
Create a Navigation Item that Shows the View with the Custom Control
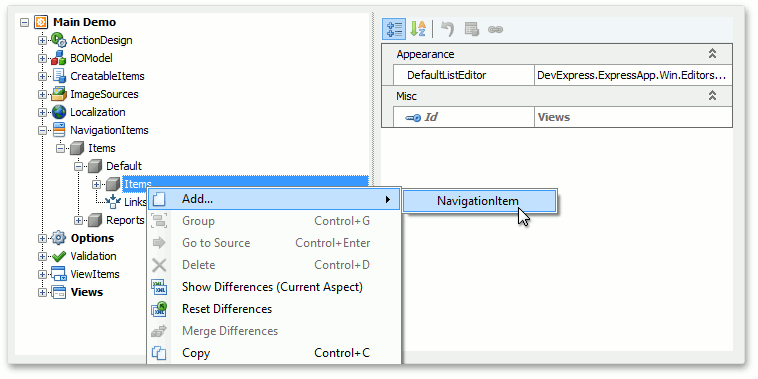
Navigate to the NavigationItems | Items | Default | Items node. Right-click the Items node and select Add… | NavigationItem from the invoked context menu.
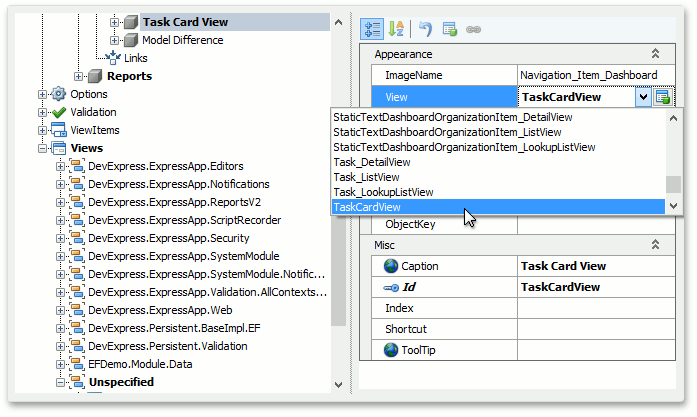
For the newly added node, in the IModelNavigationItem.View dropdown list, select the View you created earlier (TaskCardView).
Run the WinForms application and click Task Card View in the navigation. The Card View bound to the DemoTask collection will be displayed (see the image in the beginning of this topic).