Create a Report at Runtime
- 2 minutes to read
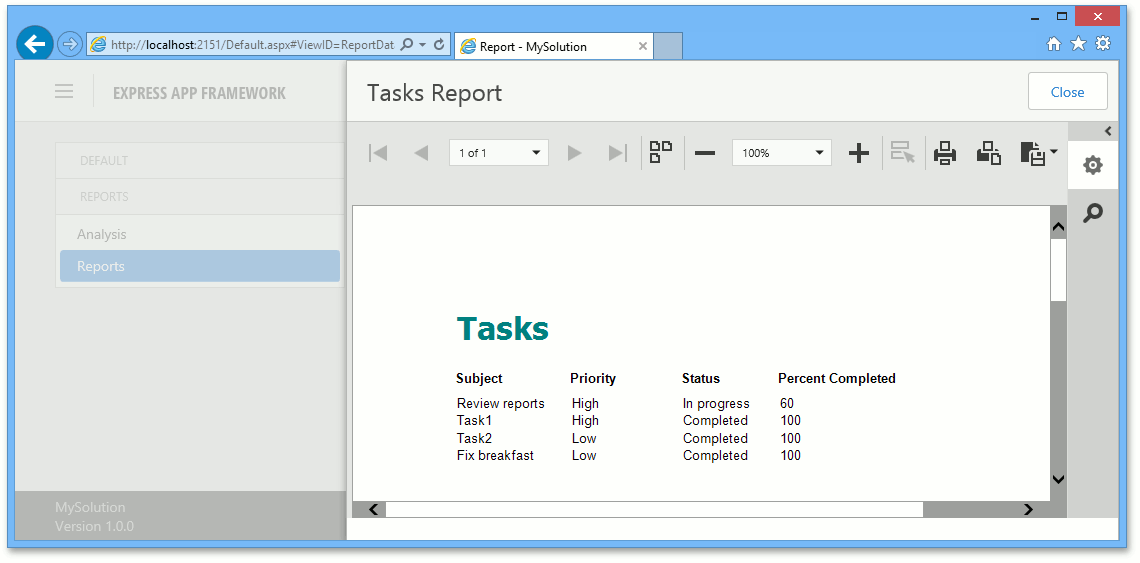
In this lesson, you will learn how to create reports at runtime. A report showing a list of Tasks will be created in the WinForms application at runtime and then will be available for printing in both WinForms and ASP.NET applications.
Tip
You can also create a new report in an ASP.NET application (see Create and View Reports in an ASP.NET Application).
Run the WinForms application and go to the Reports List View.
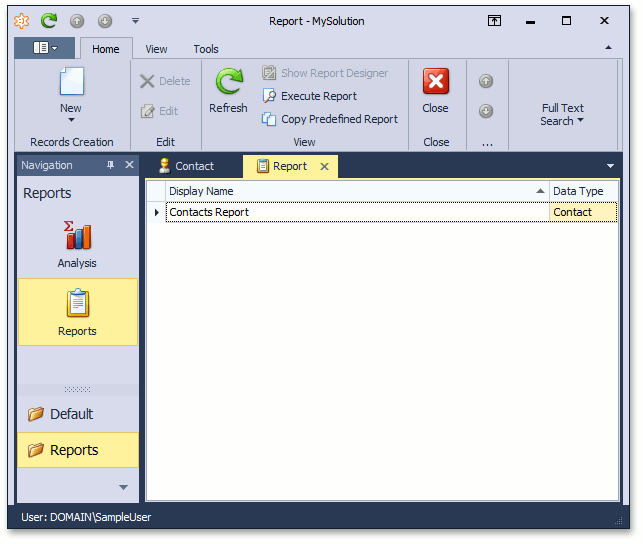
- Create a new report by clicking the New button (
 ).
). Name this report “Tasks Report”, set the Data Type to “Task” and click Next.
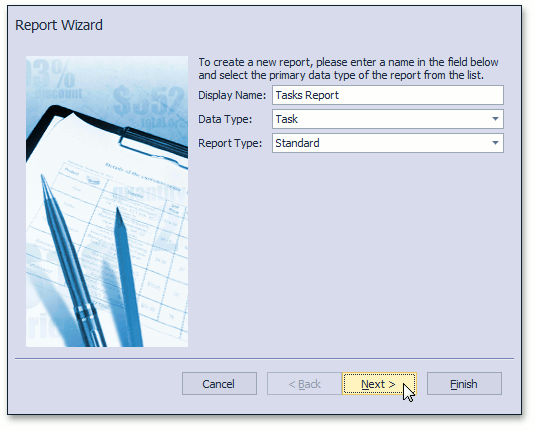
Note
The Data Type drop-down list shows only those business classes that have the DefaultClassOptionsAttribute or VisibleInReportsAttribute applied.
Add the following fields.
- Subject
- Priority
- Status
- Percent Completed
- Click Next to skip the grouping configuration.
- Set the Layout to “Tabular” and click Next.
- Set the Style to “Casual” and click Next.
- Set the title to “Tasks” and click Finish.
After clicking Finish, the Runtime Report Designer will be invoked.
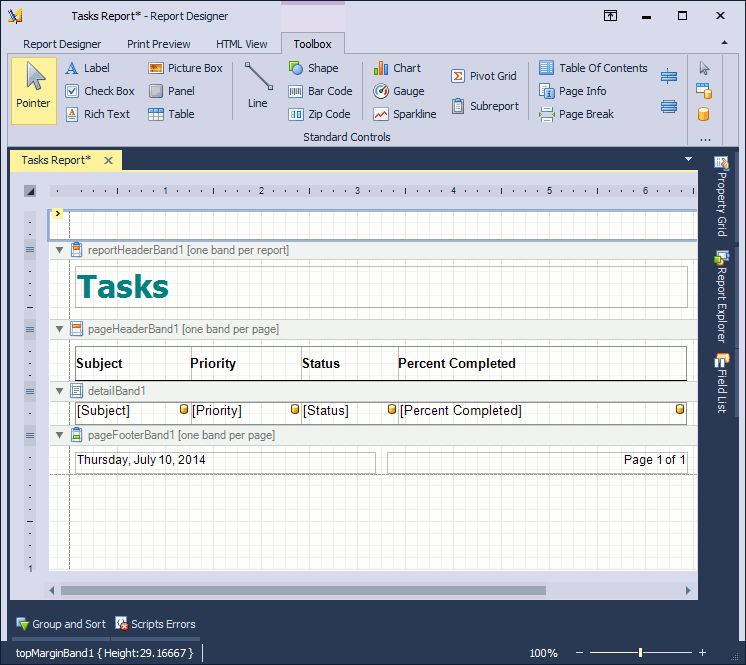
Save the report by clicking the Save button (
 ) and open it from the Reports List View. This report will also be available in the ASP.NET version of the application.
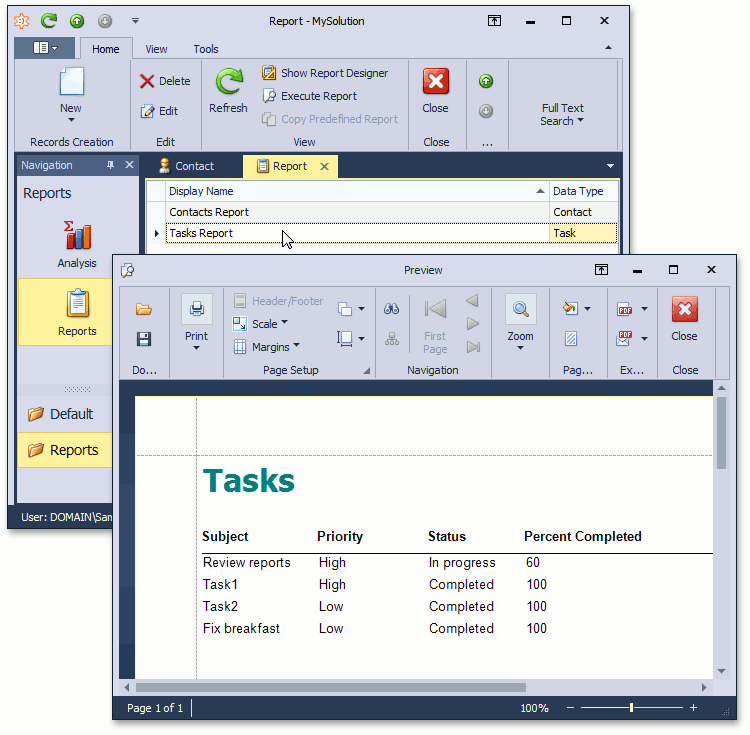
Next Lesson: Add the Scheduler Module