Inherit from the Business Class Library Class (EF 6)
- 6 minutes to read
In this lesson, you will learn how to implement business classes for your application using the Business Class Library. This library contains the most typical ready-to-use business classes. You will implement a custom Contact class by deriving from the Person class available in this library, and implement several additional properties. You will also learn the basics of automatic user interface construction based on data.
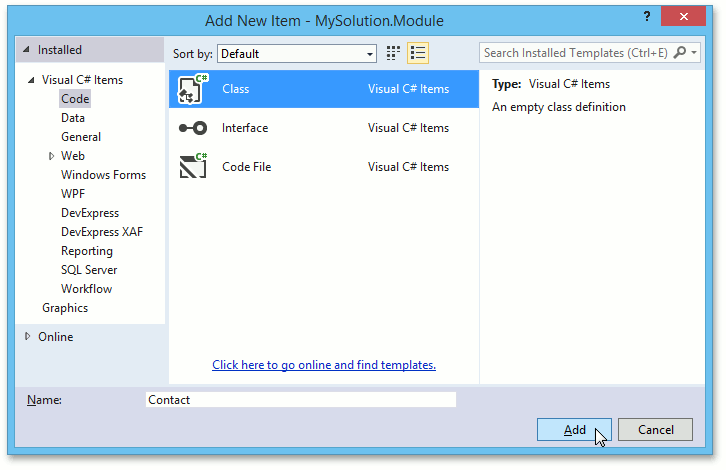
Typically, business classes should be implemented in a platform-independent module project, so that the same objects will be available in both WinForms and ASP.NET Web Forms applications. To add a new class, right-click the Business Objects folder in the MySolution.Module project, and choose Add | Class… to invoke the Add New Item dialog. In this dialog, specify “Contact” as the new item’s name and click Add. As a result, you will get an automatically generated code file with a single class declaration.
Replace the automatically generated class declaration with the following code.
using System; using DevExpress.ExpressApp.DC; using DevExpress.Persistent.Base; using DevExpress.Persistent.BaseImpl.EF; namespace MySolution.Module.BusinessObjects { [DefaultClassOptions] public class Contact : Person { public Contact() { } public string WebPageAddress { get; set; } public string NickName { get; set; } public string SpouseName { get; set; } public TitleOfCourtesy TitleOfCourtesy { get; set; } public DateTime? Anniversary { get; set; } [FieldSize(4096)] public String Notes { get; set; } } public enum TitleOfCourtesy { Dr, Miss, Mr, Mrs, Ms }; }As you can see, the Contact class ancestor is Person from the Business Class Library and several custom properties are implemented.
Note the use of the DefaultClassOptionsAttribute attribute. In this tutorial, this attribute means that the following capabilities will be available for the Contact business class.
- The Contact item will be added to the main form’s navigation control. When clicking this item, a List View will be displayed. This List View represents a list of objects of the Contact type.
- The Contact item will be added to the submenu of the New (
 ) button when objects of another type are displayed in the List View. Click this item to invoke a Contact detail form and create a new Contact object.
 - The Contact objects will be provided as a data source to generate reports (see Create a Report in Visual Studio).
To apply each of these options separately, use the NavigationItemAttribute, CreatableItemAttribute and VisibleInReportsAttribute attributes.
After the class declaration, add all new business objects to the solution’s DbContext. Since Contact is a descendant of Person, entities used in the Person class should also be registered. Edit the BusinessObjects\MySolutionDbContext.cs file as shown below.
using MySolution.Module.BusinessObjects; namespace MySolution.Module.BusinessObjects { public class MySolutionDbContext : DbContext { //... public DbSet<Contact> Contacts { get; set; } public DbSet<Party> Parties { get; set; } public DbSet<Address> Addresses { get; set; } public DbSet<Country> Countries { get; set; } public DbSet<State> States { get; set; } public DbSet<PhoneNumber> PhoneNumbers { get; set; } public DbSet<Task> AssignedTasks { get; set; } } }At this step, the business model has already been declared, but if you have started the application with another version of DbContext, you will get the following error: “The model backing the ‘MySolutionDbContext’ context has changed since the database was created. Consider using Code First Migrations to update the database (https://docs.microsoft.com/en-us/ef/ef6/modeling/code-first/migrations/)“. To avoid this error, drop the database every time you change something in the business model (create a new class, add a new attribute to an existing class, rename a class or an attribute, etc.). To do it automatically during the debug, uncomment the following code in the MySolution.Module\Module.cs file.
public sealed partial class MySolutionModule : ModuleBase { // Uncomment this code to delete and recreate the database each time the data model has changed. // Do not use this code in a production environment to avoid data loss. #if DEBUG static MySolutionModule() { Database.SetInitializer(new DropCreateDatabaseIfModelChanges<MySolutionDbContext>()); } #endif //... }Run the WinForms or ASP.NET Web Forms application. You will see how the user interface is automatically generated using the specified data structures. A navigation control allows you to display the Contact list. You can customize this collection using the corresponding editors. If you click the New button or double-click an existing record, the application will show a detail form (Detail View) filled with editors for each data field.
The following image demonstrates the Detail and List Views in the WinForms application.
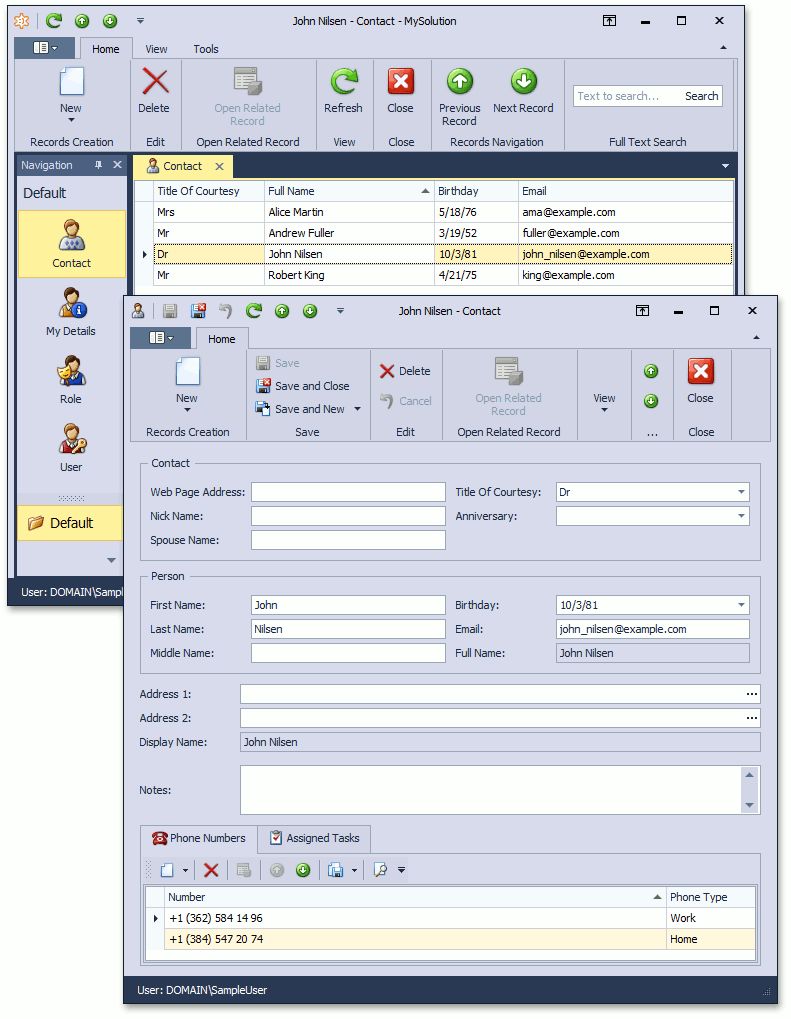
Notice that many elements have been generated in an intuitive manner in very little time. The proper editors are created for data fields, and appropriate editors are used in the grid controls to display data. Note that a combo box editor has been created for Title Of Courtesy (an enumerator). Also note that captions have automatically been transformed from camel-case to space-separated strings, form titles are automatically updated, etc.
You can use the grid features to show, hide and rearrange columns, and apply grouping, filtering and sorting to a List View at runtime. In the WinForms application, you can customize the editor layout on the detail form as you like at runtime. For this purpose, right-click an empty space and select Customize Layout. You can now move editors to the required positions. To learn how to customize the editor layout at design time, refer to the Customize the View Items Layout topic. Additionally, you can refer to the View Items Layout Customization and List View Column Generation topics to see how the default Detail View layout and default List View column set are generated.
You can see the code demonstrated here in the MySolution.Module | Data | Contact.cs (Contact.vb) file of the EF Demo (Code First) installed with XAF. By default, the EF Demo (Code First) application is installed in %PUBLIC%\Documents\DevExpress Demos 21.2\Components\eXpressApp Framework\EFDemoCodeFirst.
Next Lesson: Supply Initial Data (EF 6)