Add a Preview to a List View
- 2 minutes to read
In this lesson, you will learn how to show a preview section in a List View‘s grid. For this purpose, the DemoTask List View will be used.
Note
Before proceeding, take a moment to review the following lessons.
The DemoTask List View is presented by the ASPxGridListEditor in the ASP.NET application and by the GridListEditor in the WinForms application. These List Editors support the Automatic Preview feature provided by the ASPxGridView and XtraGrid controls. To enable this feature, you should open the Model Editor and assign the List View value to the PreviewColumnName property. When this property is not set, the feature is disabled. It is disabled by default.
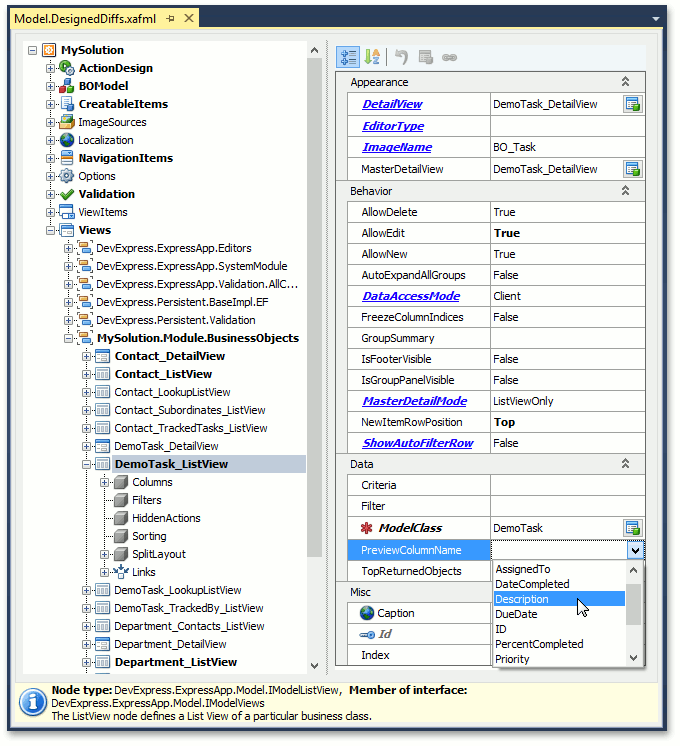
Invoke the Model Editor for the MySolution.Module project. Navigate to the Views | MySolution.Module.BusinessObjects | DemoTask_ListView node. It defines the List View that is used for DemoTask objects via the properties to the right. Set the PreviewColumnName property to “Description”. As a result, the text for the preview section will be retrieved from the DemoTask.Description property.
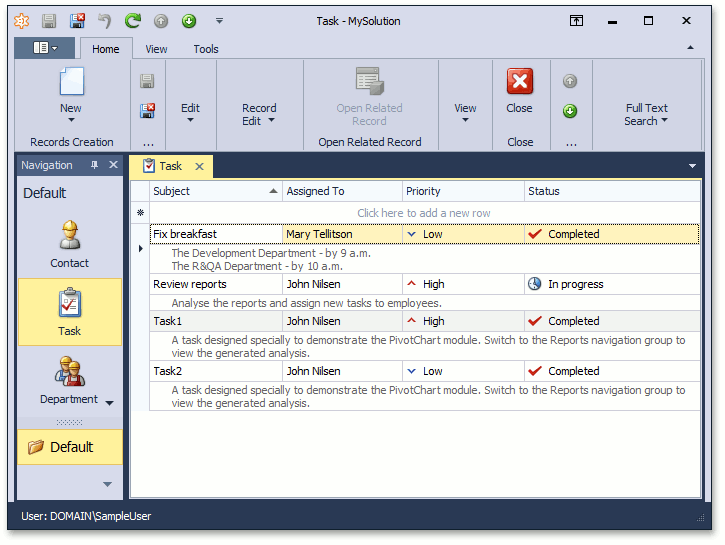
Run the WinForms or ASP.NET application. Navigate to the DemoTask List View. Check to see that the preview section is enabled and it shows the DemoTask.Description property.
To see the changes made in this lesson, invoke the Model Editor for the Main Demo‘s MainDemo.Module, MainDemo.Module.Win and MainDemo.Module.Web projects. The MainDemo application is installed in %PUBLIC%\Documents\DevExpress Demos 18.2\Components\eXpressApp Framework\MainDemo by default. The ASP.NET version of this demo is available online at https://demos.devexpress.com/XAF/MainDemo.
Next Lesson: Filter List Views