Apply Grouping to List View Data
- 2 minutes to read
This lesson will teach you how to apply grouping to List View data. For this purpose, you will group Contact List View data by the Department property.
Note
Before proceeding, take a moment to review the Place an Action in a Different Location lesson.
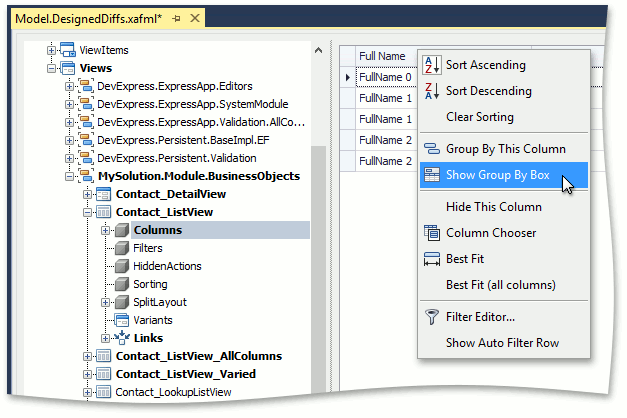
Invoke the Model Editor for the MySolution.Module project. Navigate to the Views | MySolution.Module.BusinessObjects | Contact_ListView | Columns node to invoke the Grid List Editor Designer. It will display the default structure of the List View. You can customize the default appearance of the List View. Invoke the Customization window by right-clicking the table header and selecting Show Group By Box.
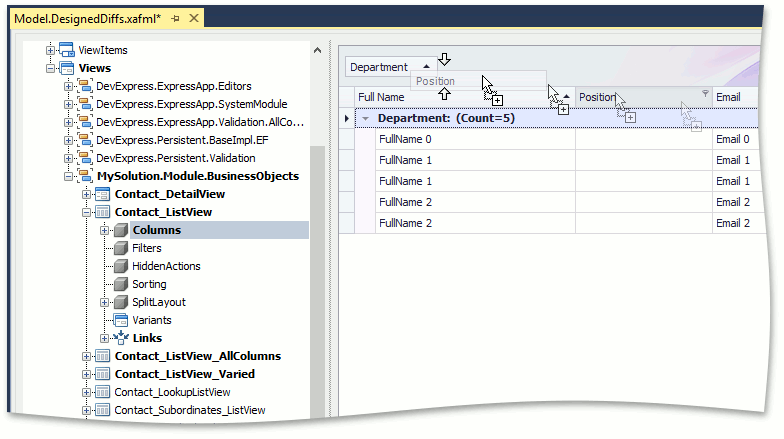
This will set Contact_ListView‘s IsGroupPanelVisible property to true and display a special group area for Contact List Views in both the WinForms and ASP.NET applications. To specify the column by which the Contact List View will be grouped by default, drag the column’s header to the group area. A nested grouping can be applied by dragging multiple columns to the group area. Group the Contact List View against the Department column, then against the Position column.
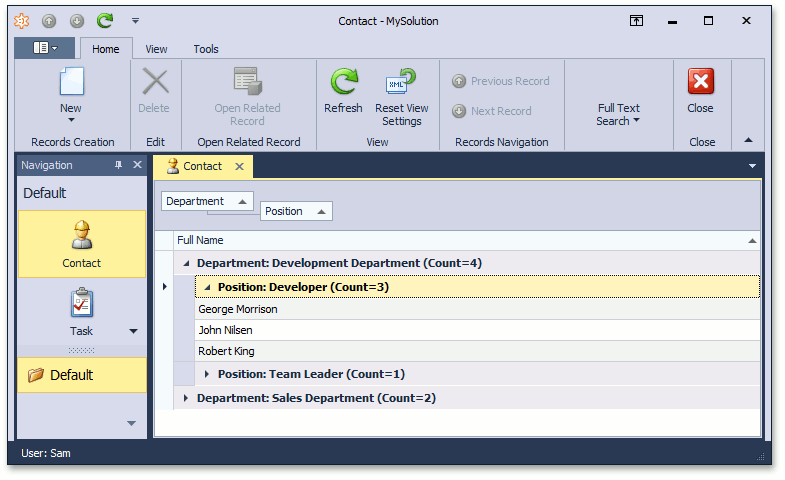
Run the WinForms or ASP.NET application and select the Contacts item in the navigation control. The group area is displayed in Contact List View. The column order within this area represents the nesting order of data groups. The Contact List View is grouped by the Department and Position columns.
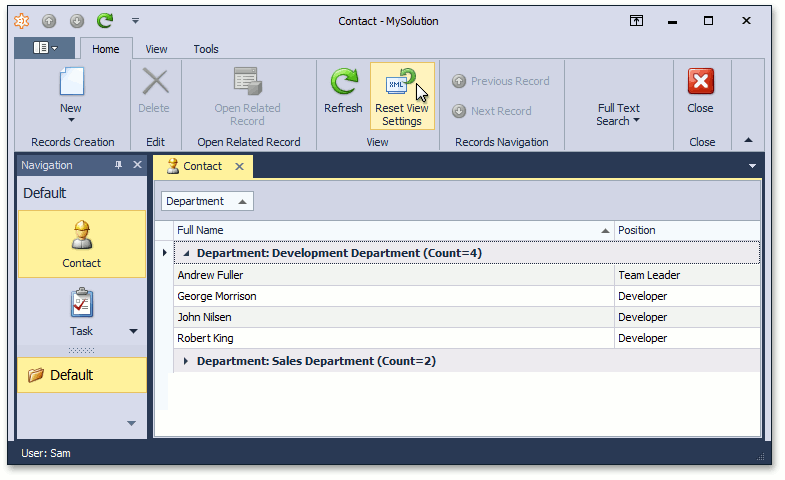
You can specify this group area in runtime similarly to described above method. If you want to reset changes clicking Reset View Settings button.
Note
There is another approach for grouping based on changing the value of GroupIndex property of specific columns (Columns node’s child nodes). Refer to the List View Columns Customization article to learn more.
You can see the changes made in this lesson in the Model Editor invoked for the Model.DesignedDiffs.xafml file located in the Main Demo | MainDemo.Module project. The MainDemo application is installed in %PUBLIC%\Documents\DevExpress Demos 18.2\Components\eXpressApp Framework\MainDemo by default. The ASP.NET version of this demo is available online at https://demos.devexpress.com/XAF/MainDemo.
Next Lesson: Choose the WinForms UI Type