Add an Editor to a Detail View
- 3 minutes to read
In this lesson, you will learn how to add an editor to a Detail View. For this purpose, the Department.Office property will be added to the Contact Detail View. You will also learn how to change the layout of a Detail View‘s editors.
Note
Before proceeding, take a moment to review the Place an Action in a Different Location lesson.
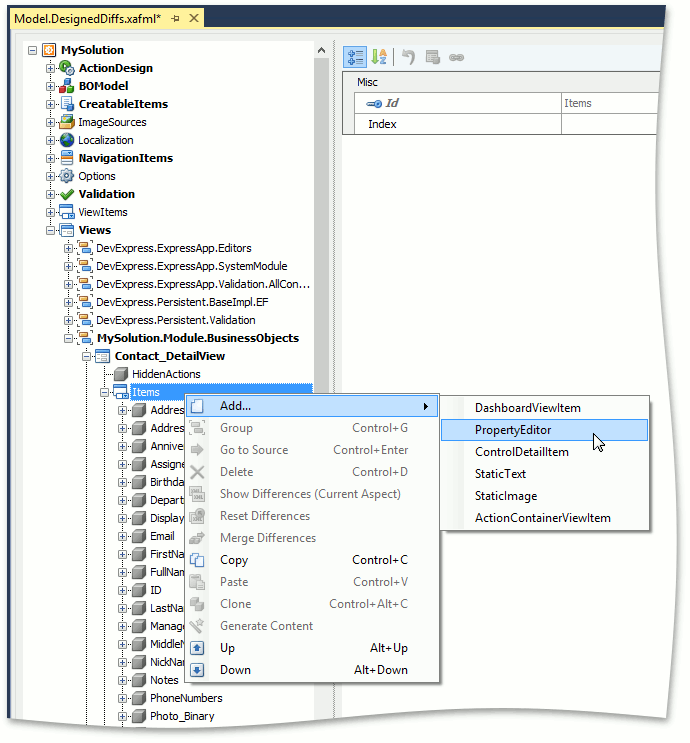
Invoke the Model Editor for the MySolution.Module project. Navigate to the Views | MySolution.Module.BusinessObjects node. Expand the Contact_DetailView child node. It contains the Items and Layout child nodes. To add an editor to a Contact Detail View, right-click the Items node and select Add | Property Editor.
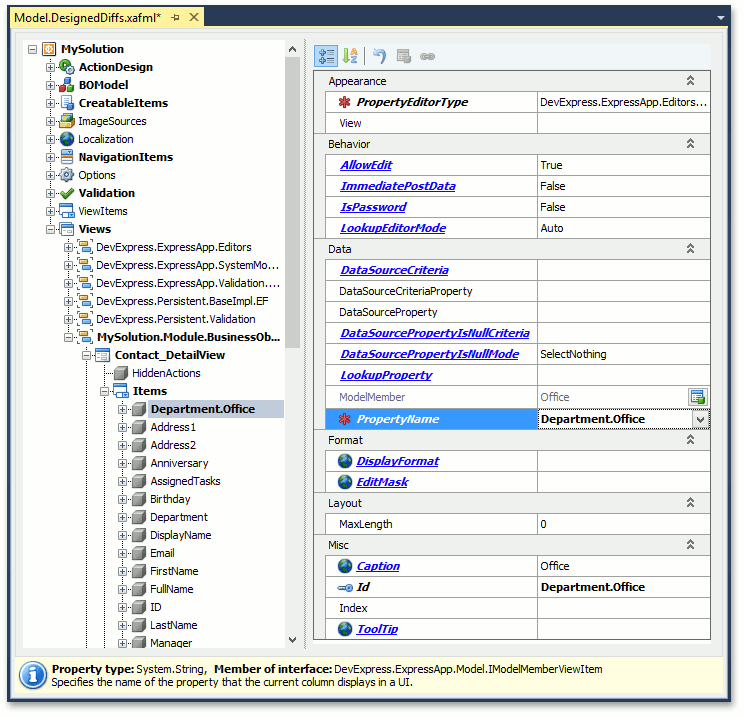
For the new node, set the PropertyName and Id properties to “Department.Office”.
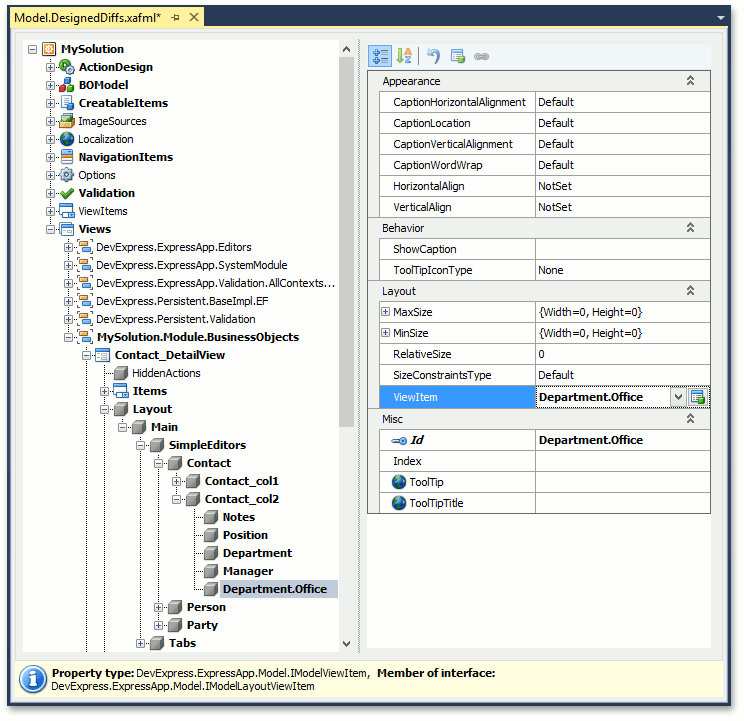
To display the new editor in a Contact Detail View, find the Layout node located under the Contact_DetailView node, expand its Layout | Main | SimpleEditors | Contact child node, right-click Contact_col2 and select Add | LayoutViewItem. For the new node, set the ViewItem and ID properties to “Department.Office”.
Generally, you can place the editor in any layout group within the Layout node.
You can see how the new editor will be displayed in a Contact Detail View by selecting the Layout node. The property list to the right will be replaced with a design surface that imitates the Contact Detail View. You can drag the new editor to the required location if the current one does not satisfy your needs. For this purpose, right-click an empty space and choose Customize Layout. The Customization Form will be invoked. Now, you can drag items to the required locations. When finished, close the form. For details, refer to the Customize the View Items Layout topic.
To learn more about the Customization Form, the Layout Tree View tab and its context menu, refer to the Default Runtime Customization topic.
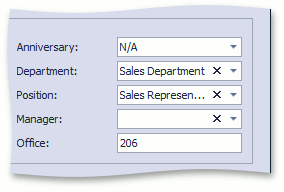
Run the WinForms or ASP.NET application and invoke a Contact Detail View. Notice the Office editor is located together with the Department editor, Position editor, etc.
You can see the changes made in this lesson in the Model Editor invoked for the Model.DesignedDiffs.xafml file located in the Main Demo | MainDemo.Module project. The MainDemo application is installed in %PUBLIC%\Documents\DevExpress Demos 18.2\Components\eXpressApp Framework\MainDemo by default. The ASP.NET version of this demo is available online at https://demos.devexpress.com/XAF/MainDemo.
Note
Alternatively, you can customize the Contact Detail View layout at runtime, and then merge these customizations into the MySolution.Module project. Refer to the How to: Merge End-User Customizations into the XAF Solution topic for details.
Next Lesson: Change Field Layout and Visibility in a List View