Display a Detail View with a List View
- 2 minutes to read
In this lesson, you will learn how to display a Detail View together with a List View. For this purpose, the Department List View will be used. The object selected in it will be displayed in the corresponding Detail View.
Note
Before proceeding, take a moment to review the Place an Action in a Different Location lesson.
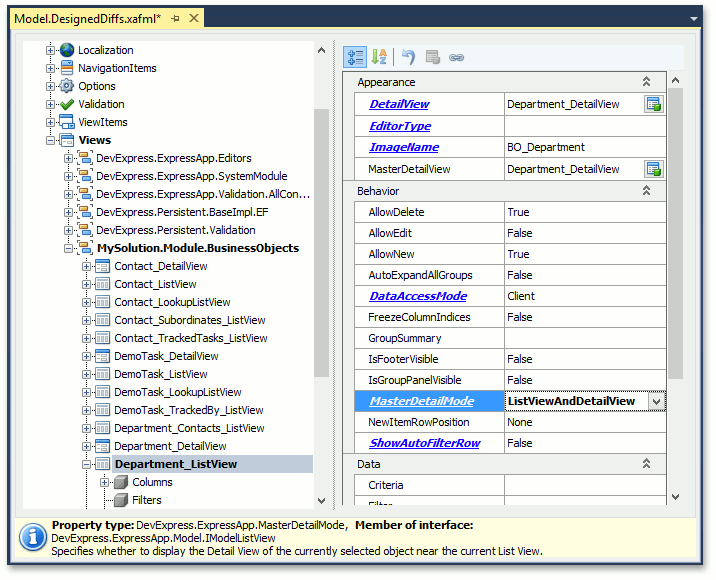
Invoke the Model Editor for the MySolution.Module project. Navigate to the Views | MySolution.Module.BusinessObjects | Department_ListView node. It defines the List View that is used for Department objects using the properties to the right. In the MasterDetailMode property’s dropdown list, select ListViewAndDetailView.
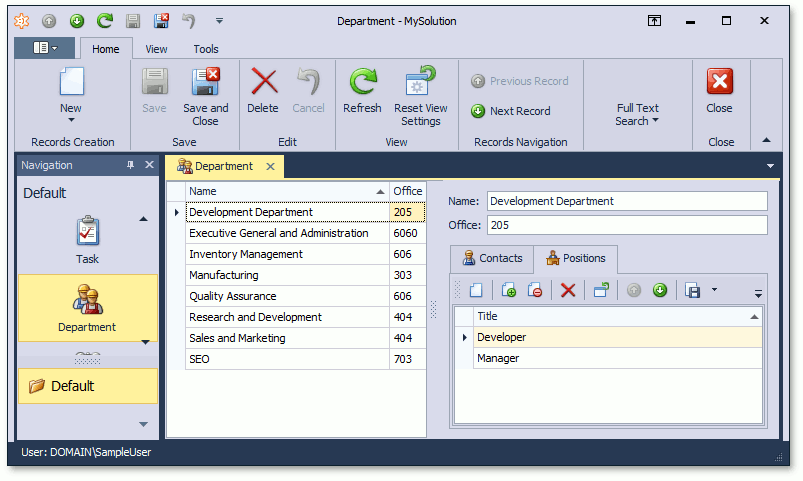
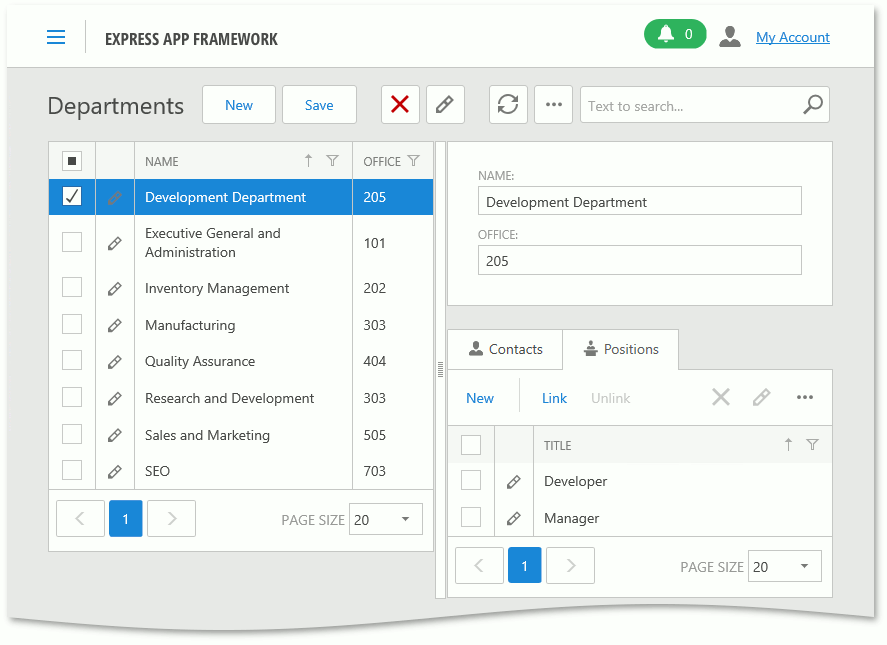
Run the WinForms or ASP.NET application. The Department List View will appear as follows.
WinForms Application
ASP.NET Application
In the WinForms application, use the Save ( ) or SaveAndClose (
 ) buttons on the toolbar to commit changes made in the Detail View. To cancel the changes, use the Cancel (
 ) button.
Note
- You can specify the Detail View that should be displayed alongside the List View (see ListView.DetailViewId).
- To specify the Detail View location, use the IModelSplitLayout.Direction and IModelListViewSplitLayout.ViewsOrder properties of the ListView | SplitLayout node.
- The Reset View Settings Action resets settings for both List and Detail Views in the ListViewAndDetailView display mode.
In the ASP.NET Application, the IModelListViewWeb.DetailRowMode option is similar to MasterDetailMode, but it allows you to show a Detail View in a List View’s Detail Row.
You can see the changes made in this lesson in the Model Editor invoked for the Model.DesignedDiffs.xafml file located in the Main Demo | MainDemo.Module project and the Model.DesignedDiffs.xafml file located in the Main Demo | MainDemo.Module.Web project. The MainDemo application is installed in %PUBLIC%\Documents\DevExpress Demos 19.1\Components\eXpressApp Framework\MainDemo by default. The ASP.NET version of this demo is available online at https://demos.devexpress.com/XAF/MainDemo.
Next Lesson: Make a List View Editable