Add an Item to the New Action
- 2 minutes to read
In this lesson, you will learn how to add an item to the New Action (NewObjectViewController.NewObjectAction). The Event business class from the Business Class Library will be used.
Note
Before proceeding, take a moment to review the following lessons.
- Place an Action in a Different Location
- Add a Class from the Business Class Library and Use the Scheduler Module (XPO/EF)
The New Action’s items are defined in the Application Model by child nodes of the CreatableItems node. So, to add an item to the New Action, it is necessary to add a child to the CreatableItems node. By default, business objects whose declarations are decorated by the CreatableItemAttribute or DefaultClassOptionsAttribute can be created via the New Action from any View. However, the Event class (added in the Add a Class from the Business Class Library (XPO) topic) has none of these attributes applied. This class is declared in the Business Class Library. Although it is possible to modify the library sources and recompile the library, it is more convenient to make customizations in the Application Model.
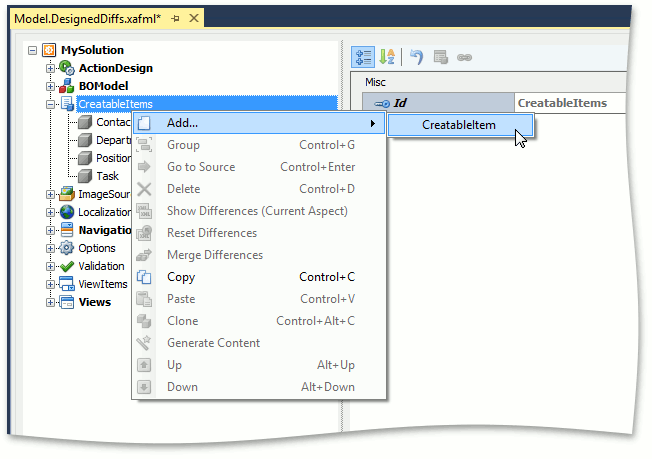
Invoke the Model Editor by double-clicking the Model.DesignedDiffs.xafml file from the MySolution.Module project. In the tree view, navigate to the CreatableItems node. If you expand this node, you will see the items that correspond to the business classes used in your application. These items were generated because the DefaultClassOptions attribute is applied to the corresponding classes. To add another item, right-click the CreatableItems node, and choose Add… | CreatableItem.
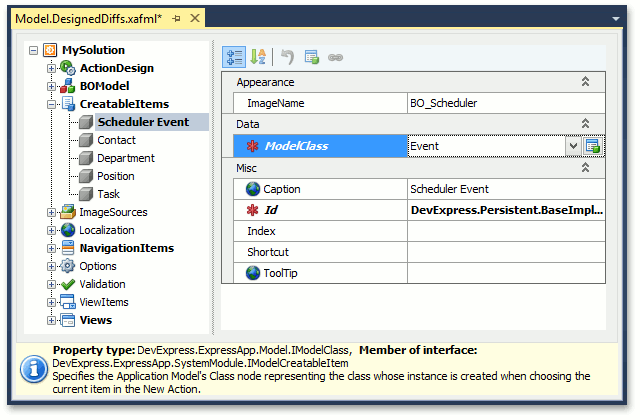
For the newly created node, select “Event” in the ModelClass dropdown list. The Caption property will automatically be set to “Scheduler Event”.
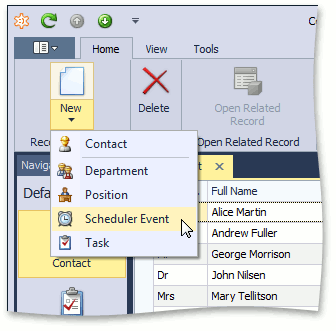
Run the WinForms or ASP.NET application. Notice that the Scheduler Event item has been added to the New Action’s dropdown list. This item allows you to create Event objects, when objects of another type are displayed in the List View. Also note that an image has already been assigned to this item.
You can see the changes made in this lesson in the Model Editor invoked for the Model.DesignedDiffs.xafml file located in the Main Demo | MainDemo.Module project. The MainDemo application is installed in %PUBLIC%\Documents\DevExpress Demos 18.2\Components\eXpressApp Framework\MainDemo by default. The ASP.NET version of this demo is available online at https://demos.devexpress.com/XAF/MainDemo.
Next Lesson: Add an Item to the Navigation Control