Change Field Layout and Visibility in a List View
- 3 minutes to read
This lesson will guide you through the steps needed to select columns displayed in the List View. For this purpose, the Contact List View will be used. At runtime, you can right-click a column header and activate the Column Chooser, then drag invisible columns from the Column Chooser window to the grid control. To set the default table layout, you need to customize it at design-time.
Note
Before proceeding, take a moment to review the Place an Action in a Different Location lesson.
In a WinForms application, the customizations made using the Runtime Column Chooser are persisted in a Model.user.xafml file, located in the application folder by default. In an ASP.NET application, you may need to set the SaveListViewStateInCookies property of the Options node and the SaveStateInCookies property of the corresponding Views | <ListView> node to “true”. This enables you to save the List View state between sessions in a user’s browser cookies, allowing each end-user to customize the List View individually. The set of columns visible by default is generated based on rules described in the List View Column Generation article. Customizing the default column set may be required. To make required columns visible or invisible within the List View by default, use the Model Editor.
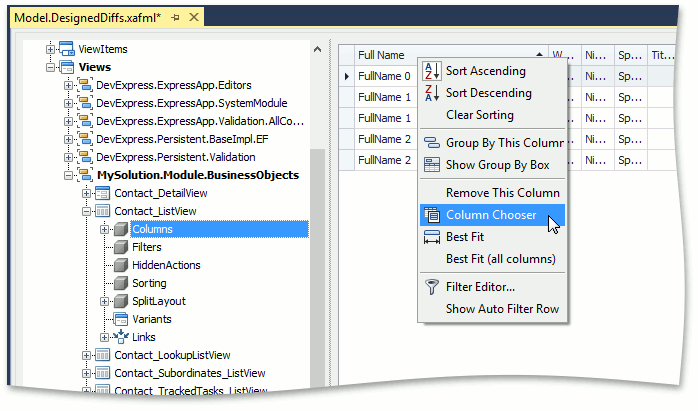
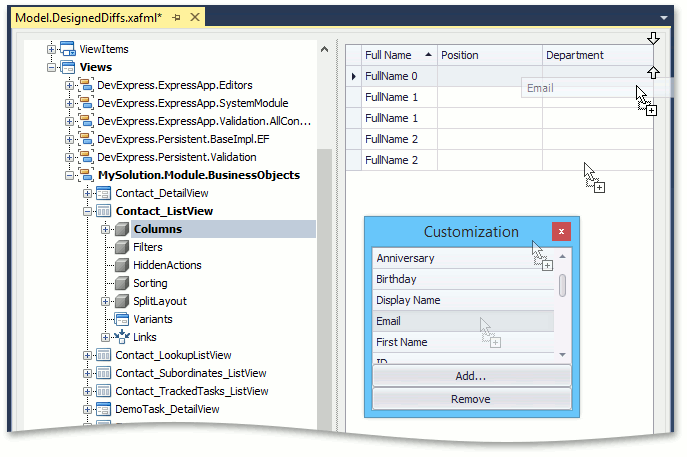
Invoke the Model Editor for the MySolution.Module project, and navigate to the Views | MySolution.Module.BusinessObjects | Contact_ListView | Columns node to invoke the Grid List Editor Designer. It will display the default structure of the List View. You can customize the default appearance of the List View by dragging, resizing and grouping the columns. Invoke the Customization window by right-clicking the table header and selecting Column Chooser.
For example, customize the List View to display the following columns.
- FullName
- Position
- Department
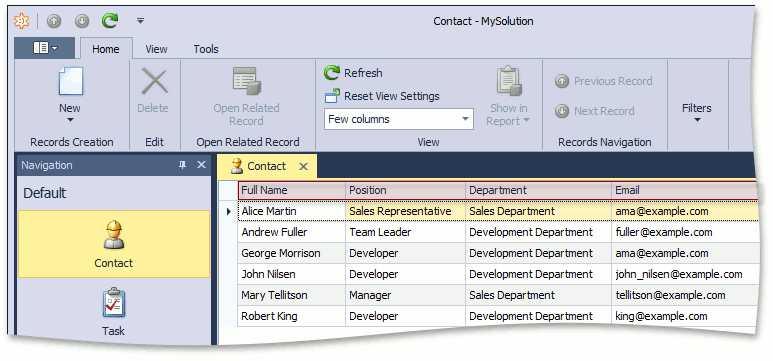
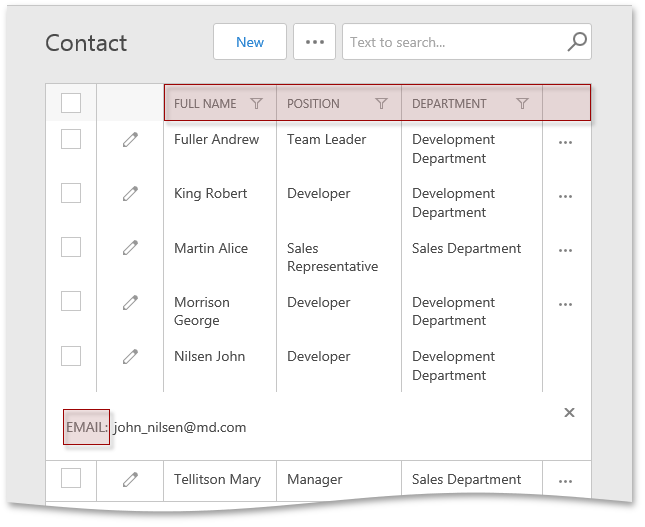
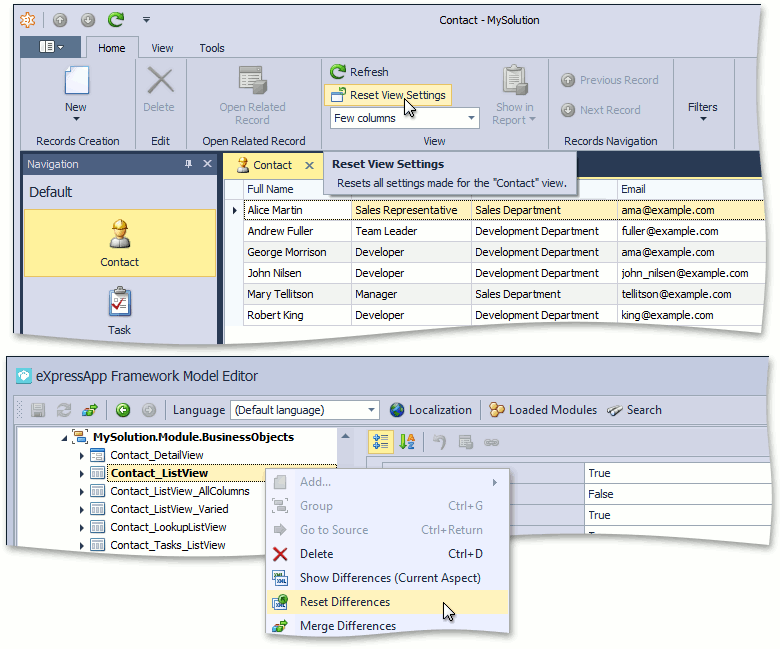
Run the WinForms or ASP.NET application. See if the Contact List View looks like the following image.
Tip
When the browser window shrinks, some columns become hidden and can be accessed using the “…” button (see IModelColumnWeb.AdaptivePriority).
If you previously customized the visibility of the Contact List View columns at runtime, the new set of visible columns will not be applied. To remove the previous customization in a WinForms application, click the Reset View Settings button. Alternatively, you can invoke the Runtime Model Editor (using the Tools | Edit Model menu item), right-click the Views | Contact_ListView node and select Reset Differences.
You can see the changes made in the lesson in the Model Editor invoked for the Model.DesignedDiffs.xafml file located in the Main Demo | MainDemo.Module project. The MainDemo application is installed in %PUBLIC%\Documents\DevExpress Demos 20.2\Components.NET Core Desktop Libraries\eXpressApp Framework\MainDemo by default. The ASP.NET Web Forms version is available online at https://demos.devexpress.com/XAF/MainDemo.
Note
Alternatively, you can customize column order and visibility by changing the value of the Index property of specific columns (Columns node’s child nodes). Refer to the List View Columns Customization article to learn more.
Tip
You can arrange columns into logical groups (bands). For details, refer to the List View Bands Layout topic.
Next Lesson: Display a Detail View with a List View