Create a Solution using the Wizard
- 4 minutes to read
In this lesson, you will learn how to create a new XAF solution. You will also be able to run the generated WinForms and ASP.NET Web applications, and see the default application state.
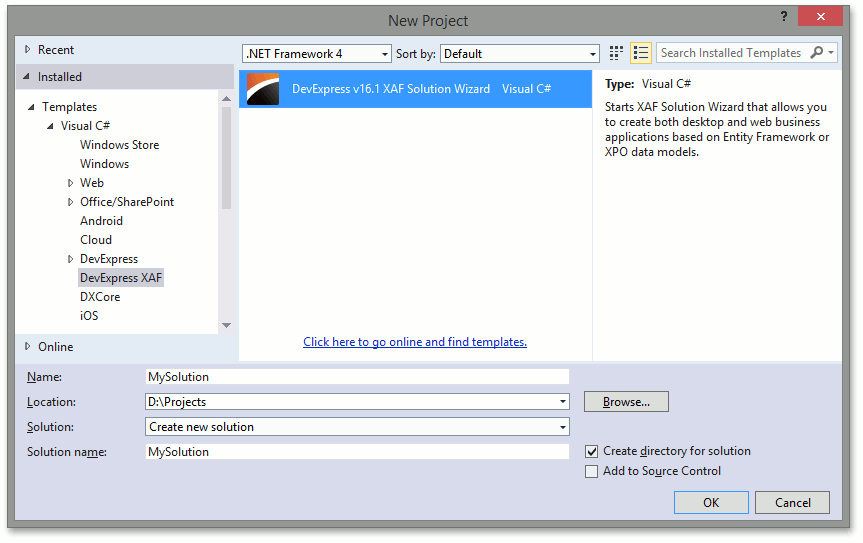
- In the main menu of Visual Studio, select File | New | Project… to invoke the New Project dialog.
In the Installed | Templates tree, expand the desired language (Visual C# or Other Languages | Visual Basic), and then choose DevExpress XAF. In the panel to the right, select DevExpress v18.2 XAF Solution Wizard, specify the new solution’s name (“MySolution”) and click OK.
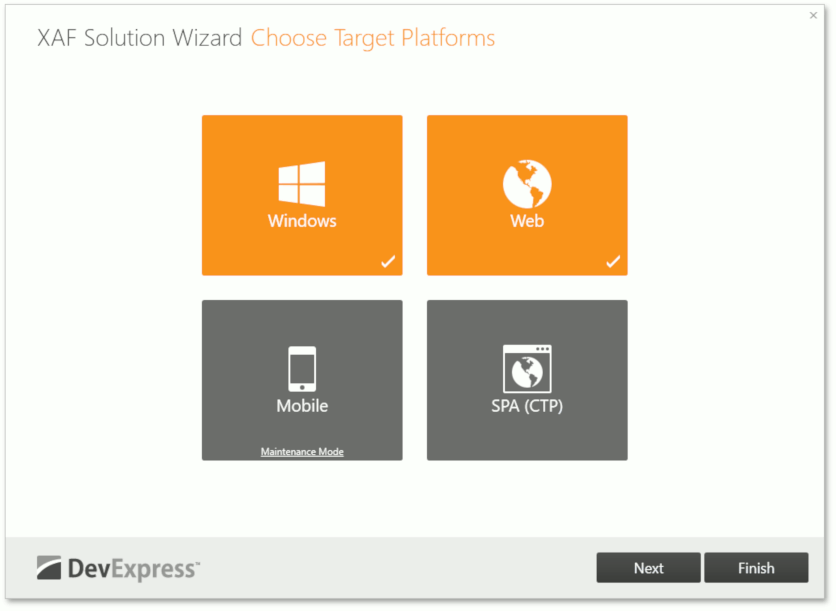
This will invoke the Solution Wizard. In the first screen of the wizard, choose the target platform(s). You can create separate WinForms, ASP.NET, Mobile (maintenance mode) applications, or multiple applications at once. Choose the WinForms and ASP.NET platforms and click Next.
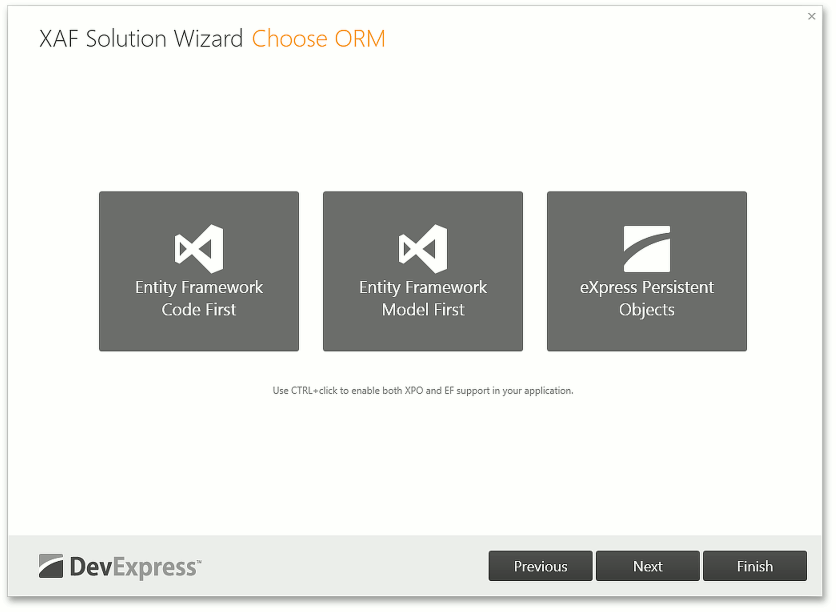
In the next screen, choose Entity Framework Code Fist or eXpress Persistent Objects, and click Next.
Note
You can use the Entity Framework (EF) or eXpress Persistent Objects (XPO) as your project’s object-relational mapping (ORM) tool. In this tutorial, only the EF Code First and XPO approaches are considered. Note that EF is not supported by two extra modules: Audit Trail and Clone Object. If you are going to use these modules, choose XPO. Otherwise, either ORM can be used.
In this tutorial, the EF Model First approach is not examined. To learn how to use it, refer to the How to: Use the Entity Framework Model First in XAF topic.
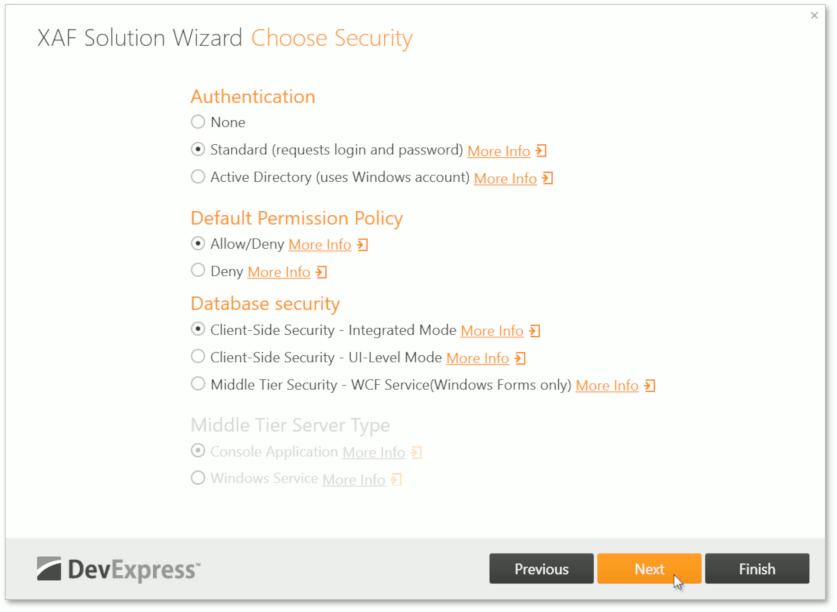
In the next screen, you can choose the security options of your application. Choose Active Directory as the Authentication type, Allow/Deny as Default Permission Policy (and select Client-Side Security - Integrated Mode as the Database security type if you chose the XPO ORM in the previous step) and click Next.
On the next screen, you can choose the required XAF modules, which will automatically be added to your application. Select the Business Class Library Customization module and click Finish.
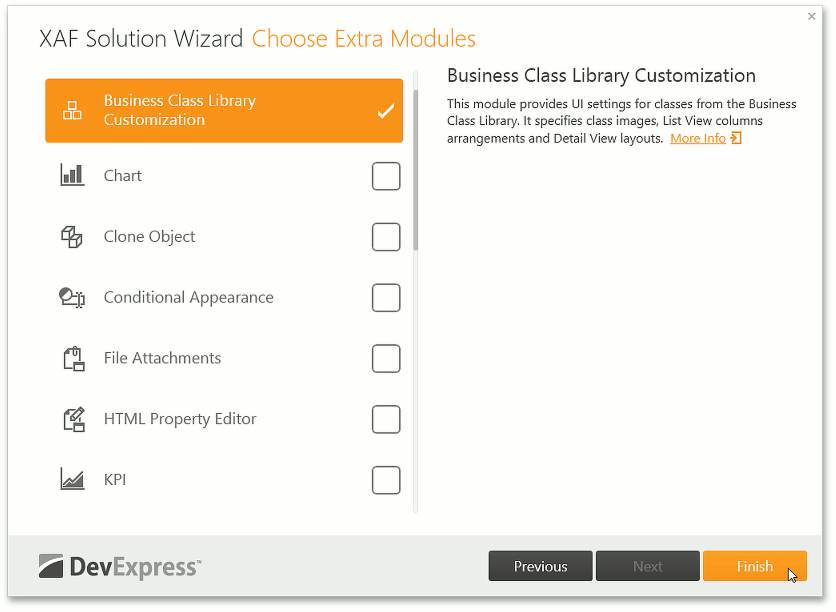
Note
Most of the other modules will be added manually in the Extra Modules section.
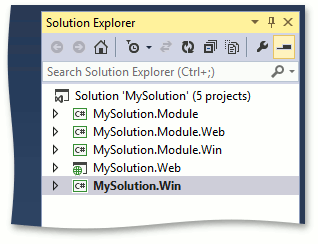
Once the solution has been created, you will see five projects in the Solution Explorer.
- MySolution.Module - the basic module project that contains code common to WinForms and ASP.NET Web applications.
- MySolution.Module.Web - the module project that contains code specific to the ASP.NET Web application.
- MySolution.Module.Win - the module project that contains code specific to the WinForms application.
- MySolution.Web - the ASP.NET application project is similar to the WinForms application, but generates a browser-based interface instead of a WinForms interface. Do not use this project for feature implementation. All application logic should be implemented in the appropriate Module projects.
- MySolution.Win - the WinForms application project, which relies on basic and WinForms modules, automatically generates the Windows user interface. Do not use this project for feature implementation. All application logic should be implemented in the appropriate Module projects.
You can refer to the Application Solution Structure topic for additional information on the XAF solution structure.
Note
The wizard attempts to detect your installed SQL server and changes the connection string accordingly. Supported servers are Microsoft SQL Server (including the Express and LocalDB editions). To use another database system (PostgreSQL, MySQL, Oracle, SQLite, Firebird, etc.), change the ConnectionString argument in the App.config and Web.config files of the WinForms/ASP.NET application projects. Refer to the Connect an XAF Application to a Database Provider topic for details about connecting to different database systems.
You can now run the WinForms and ASP.NET applications. By default, the WinForms project is set as the startup project. To run the ASP.NET Web application, right-click the MySolution.Web project in the Solution Explorer, and select the Set as StartUp Project item from the context menu. Then, click Start Debugging or press the F5 key.
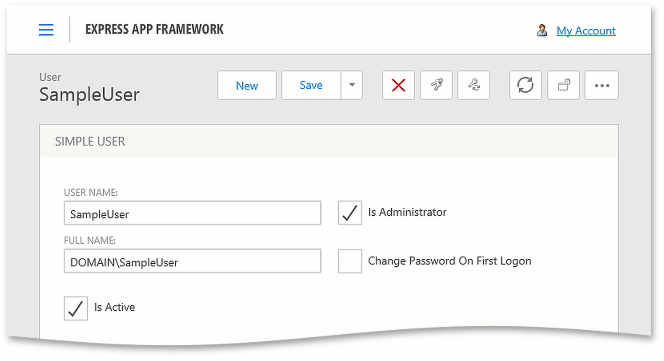
The following images show the resulting WinForms and ASP.NET applications. They will already contain the security options for your Active Directory account.
WinForms

ASP.NET
By default, the wizard enables the Tabbed MDI UI type and the Ribbon Form Style in the WinForms application. Refer to the Choose the WinForms UI Type and Toggle the WinForms Ribbon Interface topics to learn how to change these options.
To proceed to the next lesson, choose from the following lessons, depending on the ORM tool selected in the wizard.
- Inherit from the Business Class Library Class (XPO) - eXpress Persistent Objects
- Inherit from the Business Class Library Class (EF) - Entity Framework