Lesson 1 - Create a Static Report
- 4 minutes to read
This tutorial describes how to add a report to a Silverlight application, and show its Print Preview on a Web page, where it can be printed and/or exported.
To preview a report in Silverlight, a server-side ReportService is required, where the report generation and export are performed. In contrast, the client-side only provides the capability to interactively view reports.
Tip
Online Example: How to implement a Document Preview in a Silverlight application
Perform the actions below to prepare a report for printing from a Silverlight application.
Create a Silverlight Application with a Report and WCF Report Service
- Run Microsoft Visual Studio 2010, 2012, 2013, 2015, 2017, or 2019.
Start a new project (CTRL+SHIFT+N), and create a new Silverlight Application.
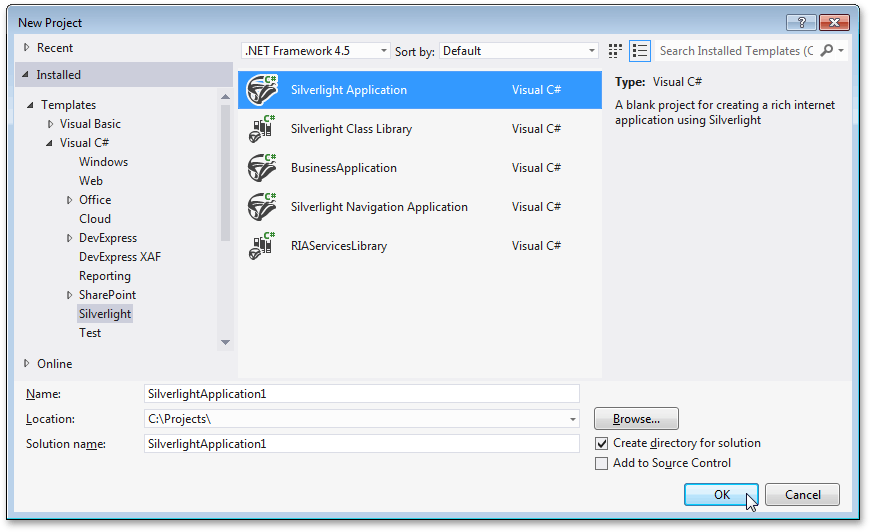
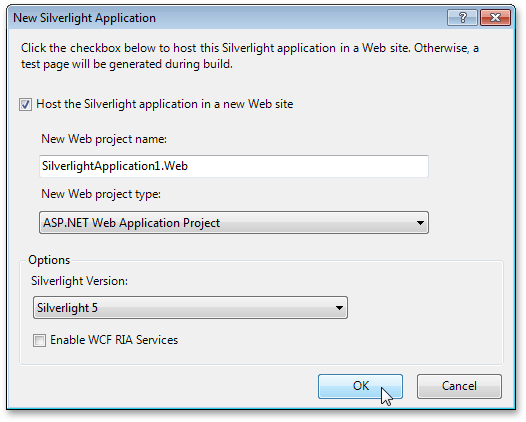
In the invoked dialog, make sure to check the following option: Host the Silverlight application in a new Web site. This will automatically generate the application’s Web-part, where both the report and report service will reside.
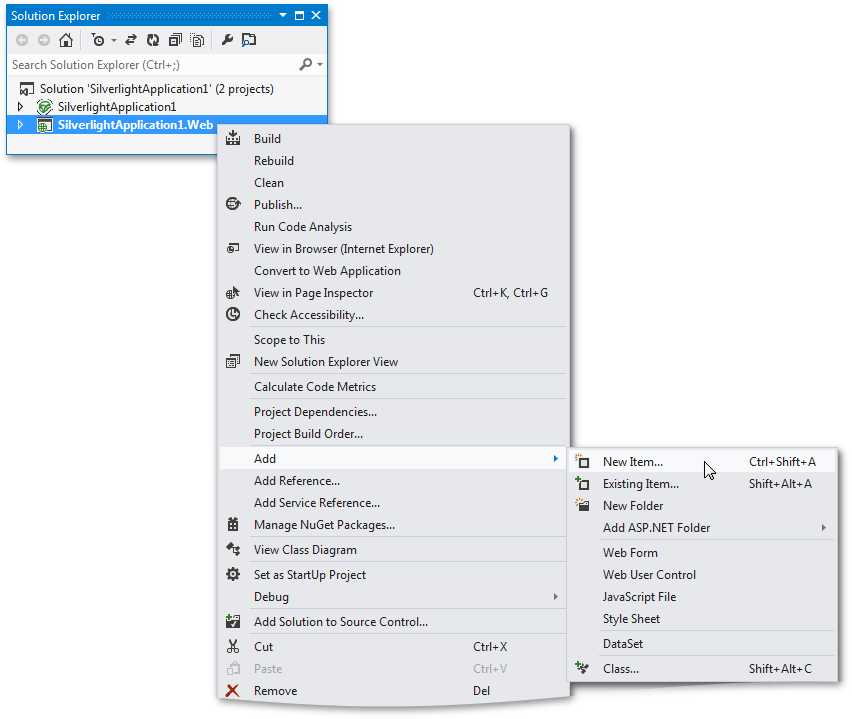
To add a ReportService to the application, switch to the Visual Studio Solution Explorer (CTRL+ALT+L). Then, right-click the SilverlightApplication1.Web file, and in its menu, choose Add | New Item…
In the invoked dialog, switch to the Reporting section, and choose the DevExpress v14.2 Report Service.
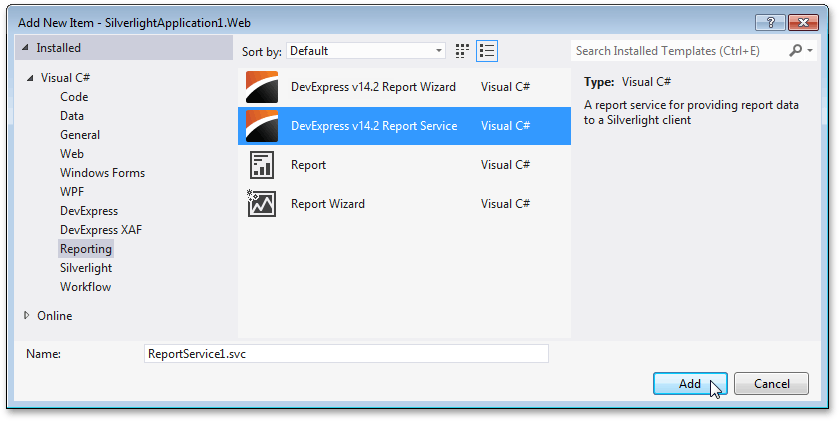
After that, Visual Studio automatically creates the ReportService1.svc in the Web application, and adds all the required settings into the configuration section of the Web.config file.
For this example to work correctly, set SilverlightApplication1.Web as a Start Up Project, and SilverlightApplication1TestPage.aspx as the Start Page. For more details, see XtraReports Service Troubleshooting.
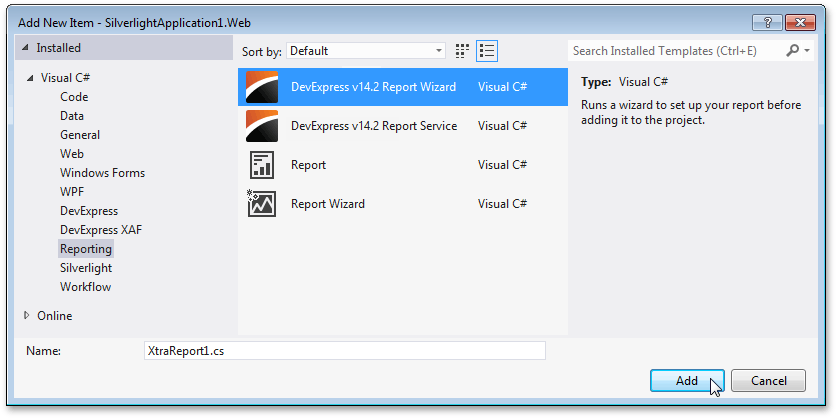
Again, in the Visual Studio Solution Explorer, right-click the SilverlightApplication1.Web file, and in its menu, choose Add | New Item… In the invoked dialog, select the DevExpress v14.2 Report Wizard item and click Add.
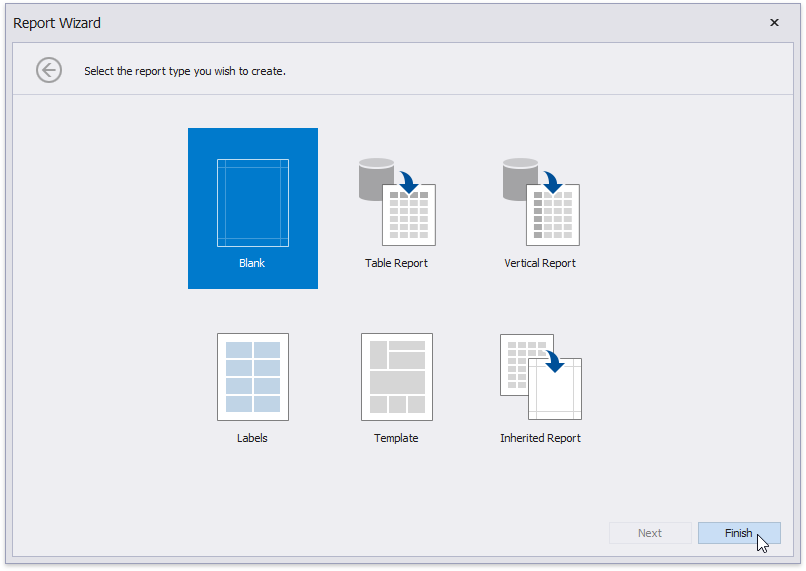
In the XtraReport Wizard dialog, select Blank and click Finish.
Construct the Report
Let’s use the Visual Studio report designer to create a simple static report that repeats some text over again and shows the page numbers for every page.
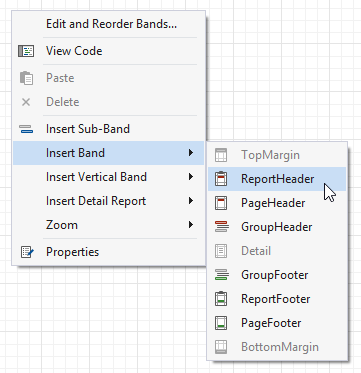
To add a report header where we will show the page numbers, right-click the report area and choose Insert Band | Report Header in the invoked context menu.
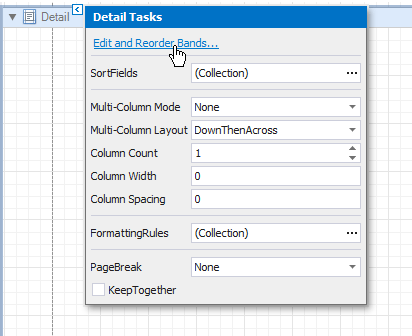
You can also manage the report’s collection of bands by clicking the Edit and Reorder Bands link that is accessible via any band’s smart tag.
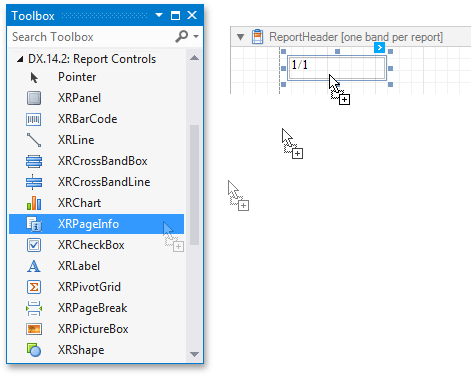
To add a control showing the page numbers on the report header, open the Visual Studio Toolbox (CTRL+ALT+X), and drop an XRPageInfo from the DX.14.2: Report Controls tab onto the band.
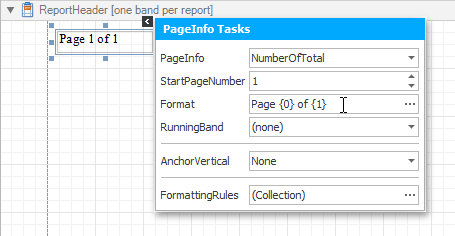
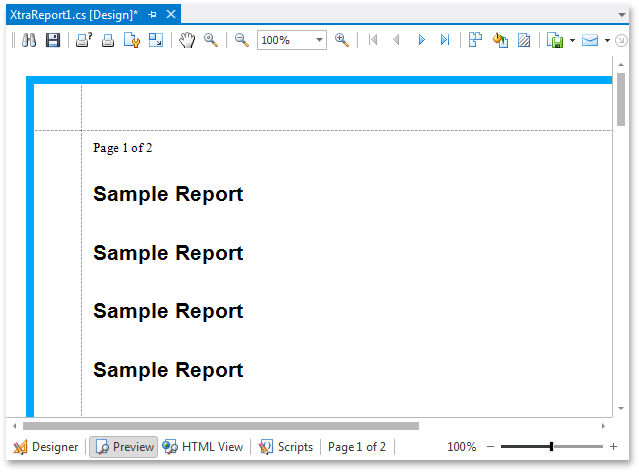
To change the display format for the created control, click its smart tag and specify the Format property (e.g., Page {0} of {1}).
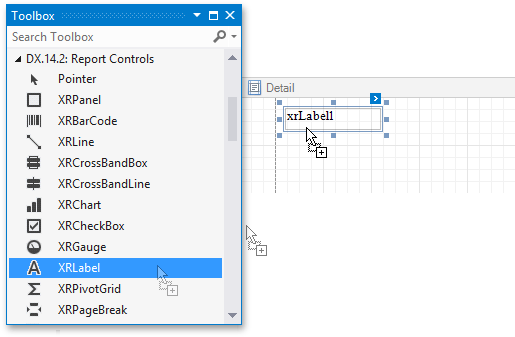
A report uses the Detail band to show its general data. To add a text label to the report, drop an XRLabel from the DX.14.2: Report Controls tab onto the Detail band.
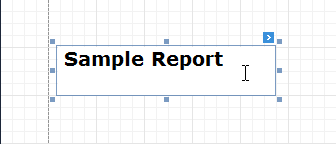
Double-click the created label to edit its text in-place. To quickly adjust the text color and font options, use the XtraReports Toolbar.
When working with dynamic data, the Detail band is printed multiple times, according to the data retrieved for controls that the band contains.
For static data, such as in this tutorial, you may wish to repeat the same text over again in your report a certain number of times.
To do this, set the number of times the Detail band is printed, by setting your report’s XtraReportBase.DetailPrintCountOnEmptyDataSource property.
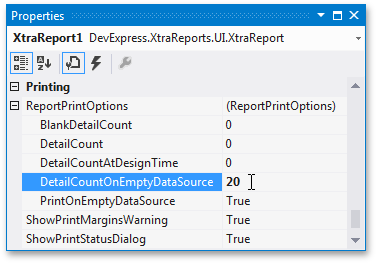
You can also forbid rendering your report until any data source is provided to it and it has at least one data-bound control, via the DetailBand.PrintOnEmptyDataSource property.
While editing the report, you can view how the report layout will look on a web page by switching to the Preview tab at the bottom of the report designer.
Show the Print Preview
To create a report document and show its Print Preview from where it can be printed or exported, do the following.
Switch to the MainPage.xaml file in SilverlightApplication1 and drop the DocumentViewer item from the DX.14.2.Silverlight: Reporting Toolbox tab onto the page.
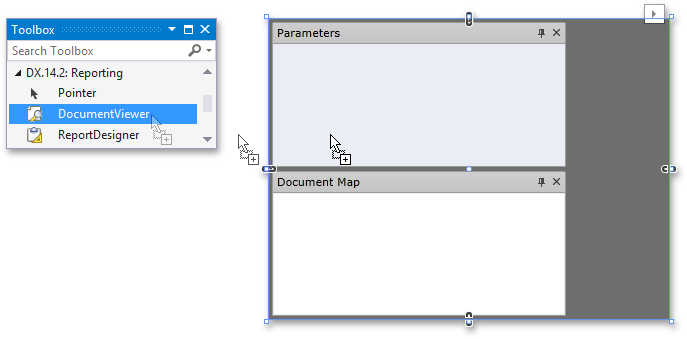
Then, enable its AutoCreateDocument property, and define its DocumentPreview.Model property, as follows.
<dxp:DocumentViewer Name="documentViewer1" AutoCreateDocument="True">
    <dxp:DocumentViewer.Model>
        <dxp:ReportPreviewModel ServiceUri="../ReportService1.svc"
                                ReportName="SilverlightApplication1.Web.XtraReport1" />
    </dxp:DocumentViewer.Model>
</dxp:DocumentViewer>
View the Result
Run the application and view the result.
