Create a Side-by-Side Report
- 3 minutes to read
This tutorial describes the steps required to create a report that shows two subreports side-by-side, at design time within Visual Studio. Each subreport displays information about a selected employee, providing a convenient way to put employee resumes together. You can use a similar approach to show two completely different reports (which use different data sources) within a single report document.

Tip
To get started with this tutorial, open an existing reporting application or create a new application (the Add a Report to Your .NET Application section explains how to create a reporting application on different platforms).
Create a Detail Report
To create a detail report in this tutorial, start with a report (named detailReport1) that is bound to the “Employees” table of the sample Northwind database. To learn more about binding a report to a data source, see Provide Data to Reports.
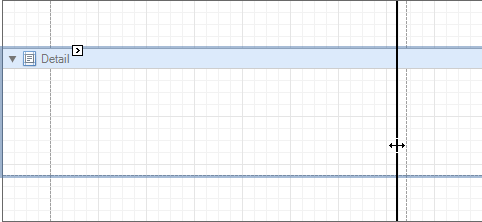
Decrease the detail report’s right margin, so that two reports will fit into the width of the master report.
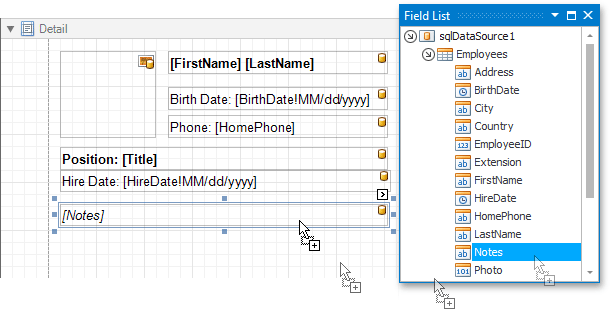
Drop the required data fields from the Field List onto the report’s Detail band and adjust the layout accordingly.
You can use the mail merge feature to make a control show both static and dynamic content, or to bind a control to several data fields simultaneously.
Create a Side-by-Side Report
- Add another report to the application (named masterReport) that will show the detail reports side-by-side.
Open your report in the Visual Studio Designer and press CTRL+ALT+X to run the Toolbox. Expand the DX.23.2: Report Controls category and drop two XRSubreport controls onto the report’s Detail band.

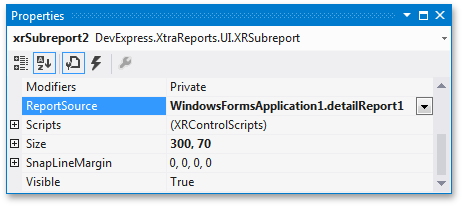
For both subreports, set the SubreportBase.ReportSource property to detailReport1.
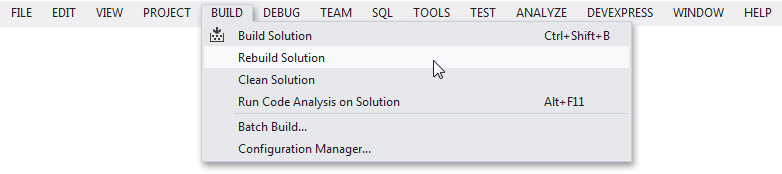
To apply the changes, select BUILD | Rebuild Solution in the main menu of the project.
To select an employee for each subreport, handle the subreports’ BeforePrint event in the following way.
using System.ComponentModel;
using DevExpress.XtraReports.UI;
// ...

private void xrSubreport1_BeforePrint(object sender, CancelEventArgs e) {
    ((XRSubreport)sender).ReportSource.FilterString = "[EmployeeID] = 1";
}

private void xrSubreport2_BeforePrint(object sender, CancelEventArgs e) {
    ((XRSubreport)sender).ReportSource.FilterString = "[EmployeeID] = 2";
}
Your report is now ready to be generated. In Visual Studio, you can view the report by switching to the Preview tab.