Manipulate Report Controls
- 5 minutes to read
This document describes how to manipulate report controls in the Report Designer and customize the report’s layout.
Accessing Report Element Settings
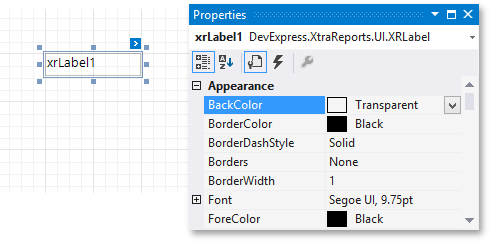
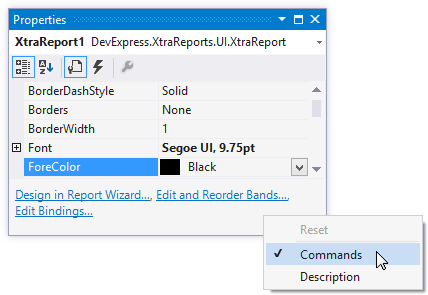
You can use the Property Grid to access a selected element’s settings.
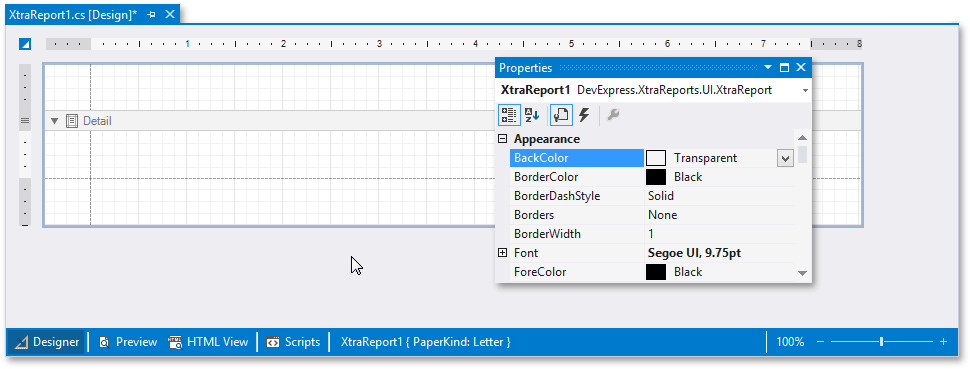
Clicking the gray area around the design surface selects the report.
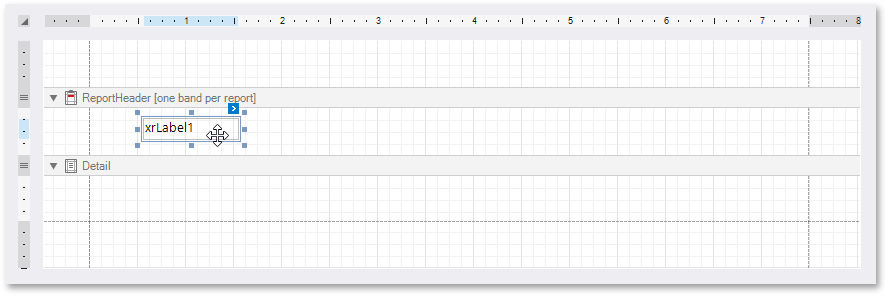
You can also use an element’s smart tag to access its most commonly used settings.
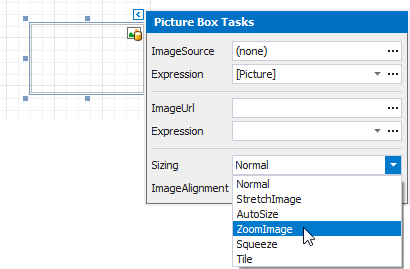
Smart tags are available for most report controls, bands and a report itself.
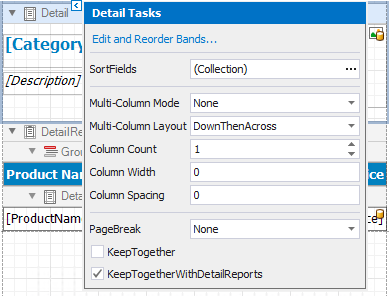
In addition to properties, smart tags can contain context links enabling you to perform various actions.
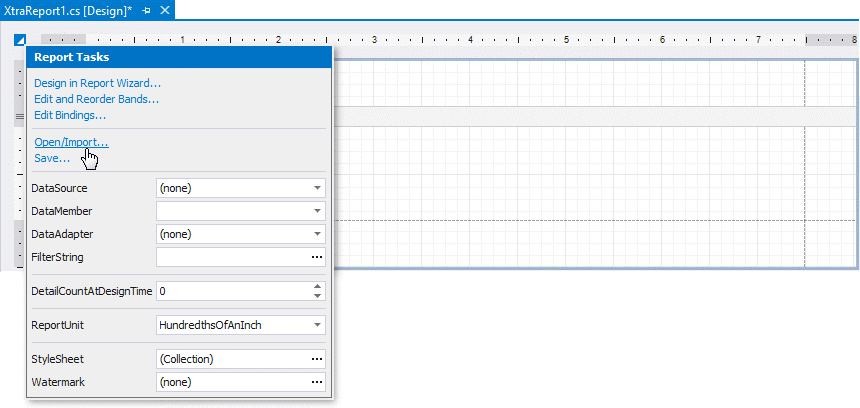
These commands are also available in the Property Grid.
Moving and Resizing Report Controls
You can move report controls using the mouse in the same way you move other controls in Visual Studio. To select multiple controls, press and hold the SHIFT or CTRL key and click the required controls.
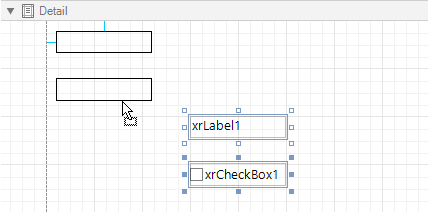
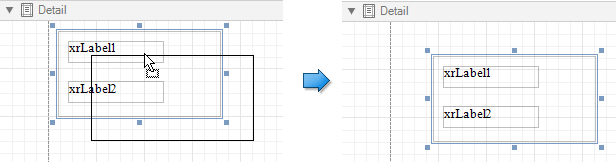
You can select all the controls within a specific area by clicking an empty place on a report’s surface and drawing a rectangle around the required controls.

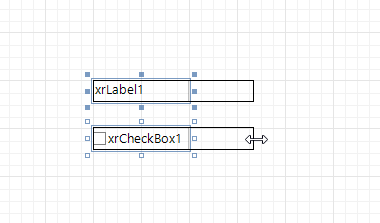
Use the handles displayed around selected controls to change their size.
Copying Report Controls
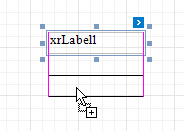
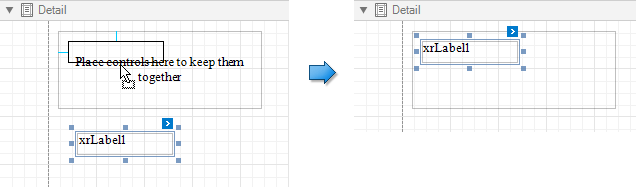
You can clone an existing report control by selecting it using the mouse, holding the CTRL key and moving the mouse to the required location. A cloned control has the same settings as the initial control.
You can also copy report controls to the clipboard using CTRL + C or the Copy command, and then paste these controls to a new container or band.
The original control positions are preserved when inserting controls by pressing CTRL + V or using the Paste toolbar command.

The pasted controls are repositioned by an offset of 10 units on both axes if another control already occupies the target position.
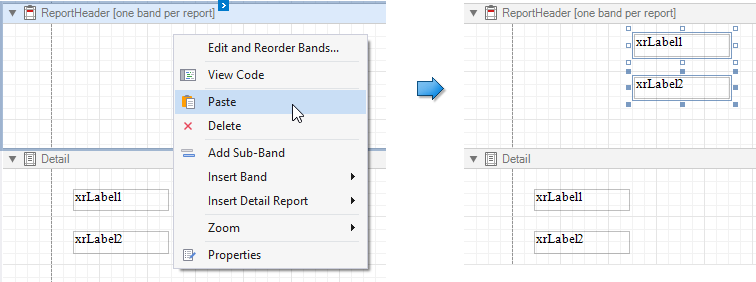
When inserting controls using the Paste context menu command, controls are inserted at the mouse position where you invoked the context menu.
Reusing Report Controls
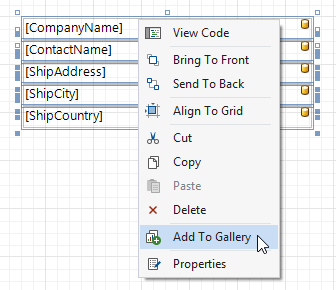
You can add selected controls to the Report Gallery and reuse them later in other reports.
To add a selected template to a report, drag it from the Report Gallery onto a report’s surface.
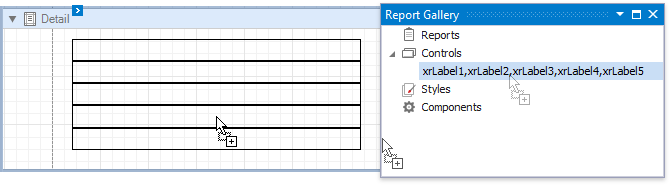
A template stores various settings related to its controls, such as binding information and appearance options. All these settings are restored after adding controls to a report.
Arranging Report Controls
The following tools allow you to control report elements’ size, location, alignment and to maintain the distance between them:
Rulers
The Report Designer provides horizontal and vertical rulers to help you determine report elements’ size and location.
Layout Toolbar
You can align report controls using the Layout Toolbar commands, similar to aligning other controls in Visual Studio.

Snapping
A report’s XtraReport.SnappingMode property defines whether automatic report control snapping is enabled and allows you to switch between snapping to a grid and/or snap lines.
Snap Grid
The report’s editing surface displays a visual grid by default, allowing you to determine elements’ size and location in a report. Use the XtraReport.SnapGridSize and XtraReport.SnapGridStepCount properties to customize the grid’s settings.
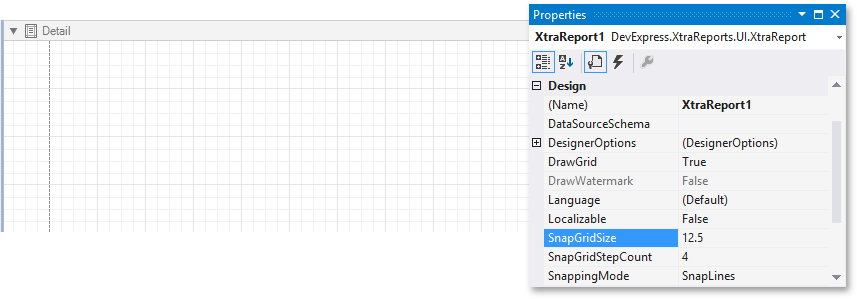
You can hide the grid by setting the XtraReport.DrawGrid property to false.
Tip
To select the measurement units applied to the grid size, use the XtraReport.ReportUnit property.
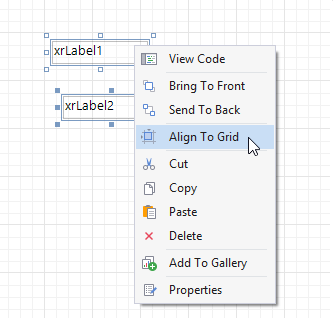
Use the context menu to align the selected controls to the grid’s cells.
Relocating a report control using the mouse or ARROW keys automatically aligns it to the nearest grid cell.
Tip
Hold down ALT when using the mouse and CTRL when using the keyboard to avoid snapping to the grid when moving or resizing controls.
Snap Lines
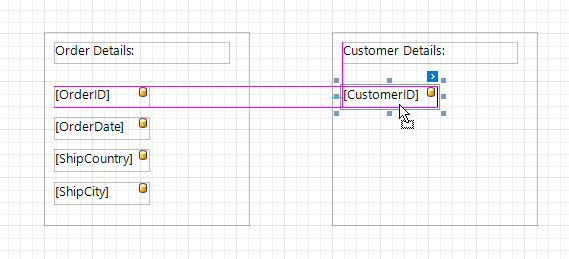
The Report Designer displays snap lines by default when moving or resizing report controls, enabling you to align these controls to other report elements.
Tip
When you move a report control using the ARROW keys or resize it by pressing SHIFT+ARROW, this control is aligned to the nearest report element in that direction using snap lines.
To maintain a uniform distance between elements in a report, use report elements’ XRControl.SnapLineMargin property and the band’s or panel’s XRControl.SnapLinePadding property.
Tip
Hold down ALT when using the mouse and CTRL when using the keyboard to avoid snapping controls that are being relocated or resized.
Adding Report Controls to Containers
The Panel control allows you to place various report controls on it to combine them into a group.
You can use this panel to move, copy, change appearance settings, etc. instead of adjusting individual controls.
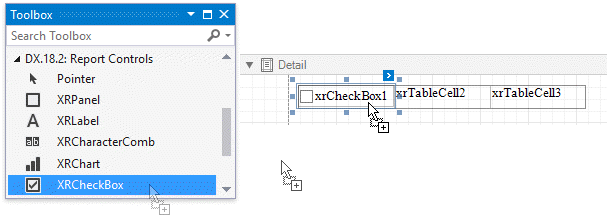
A table cell can also act as a container for other controls.
Both panel and table cell cannot contain the following report controls:
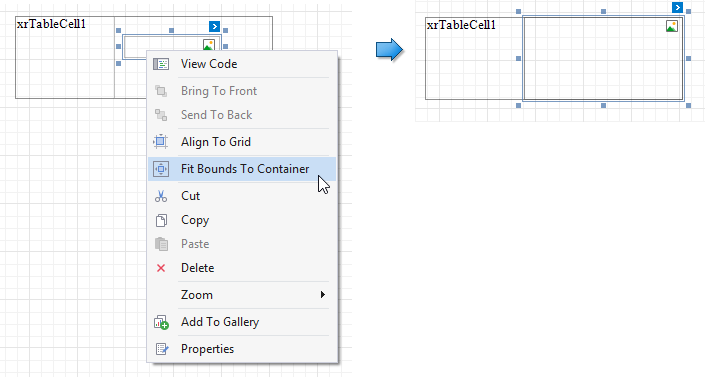
If a panel or table cell includes only one control, you can position it within the container using the Fit Bounds to Container command in the context menu. This command resizes the control so that it occupies all the available space (excluding borders).
Validating the Report Layout
Your report layout should meet the following requirements to be correctly exported to specific formats:
Avoid intersecting controls
Intersecting controls are highlighted in red by default.

Tip
To ignore this rule and disable highlighting intersecting controls, set the DesignerOptions.ShowExportWarnings property to false.
Avoid placing controls outside page margins
Controls that do not fit into the printable page area are highlighted in red by default.

Tip
To ignore this rule and disable highlighting intersecting controls, set the DesignerOptions.ShowPrintingWarnings property to false.