Draw Borders (Lines) for Report Controls
- 2 minutes to read
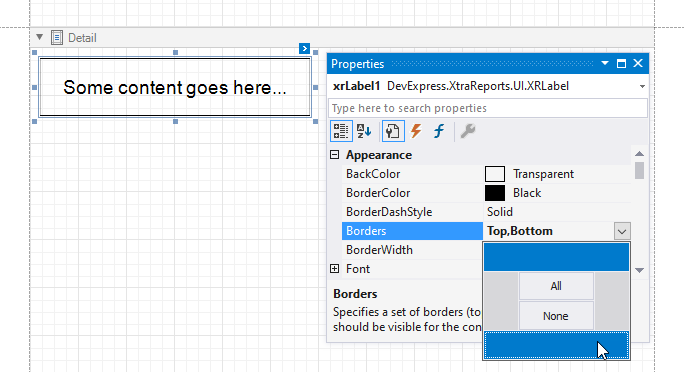
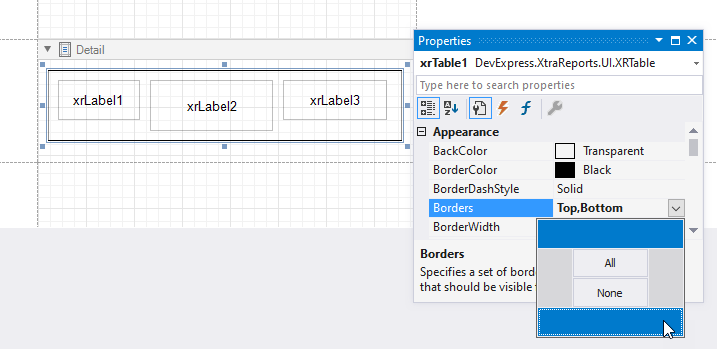
To draw borders for a control, locate the Borders property in the control’s property grid. Then, select which borders to draw: Left, Right, Top, and/or Bottom.
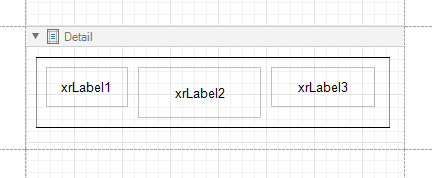
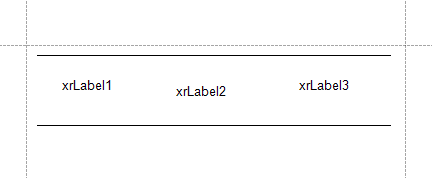
The following example shows how to draw Top and Bottom borders for the XRLabel control:
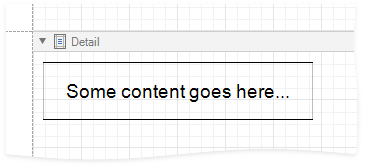
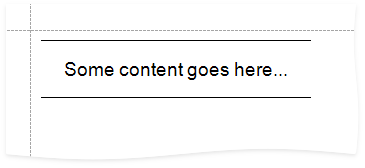
The specified borders are displayed both in the Designer and Print Preview:
Designer | Print Preview |
|---|---|
|
|
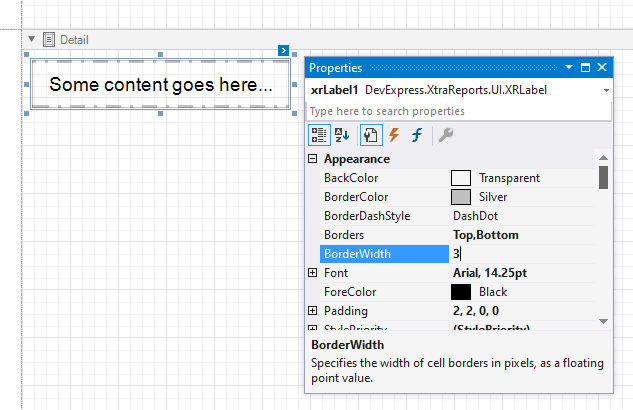
Use the BorderColor, BorderDashStyle, and BorderWidth properties to customize the border appearance.
Draw Borders for Tables
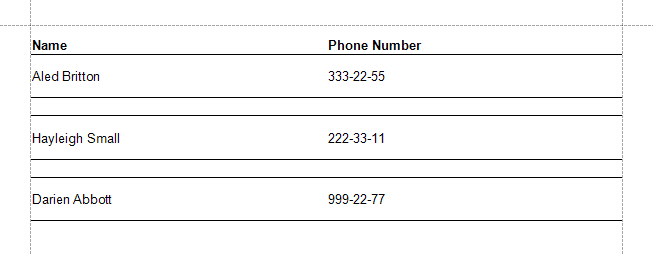
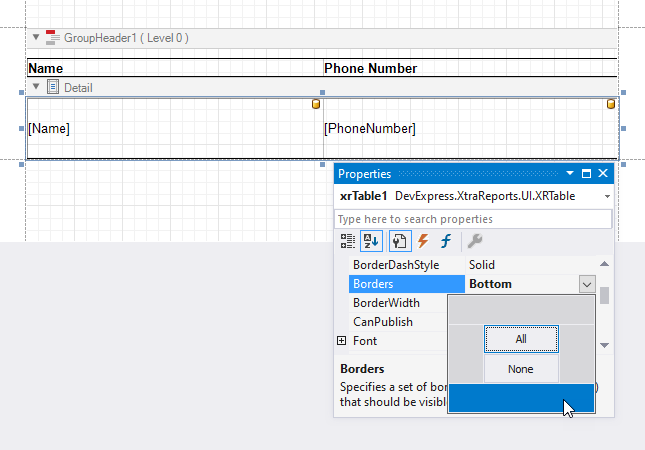
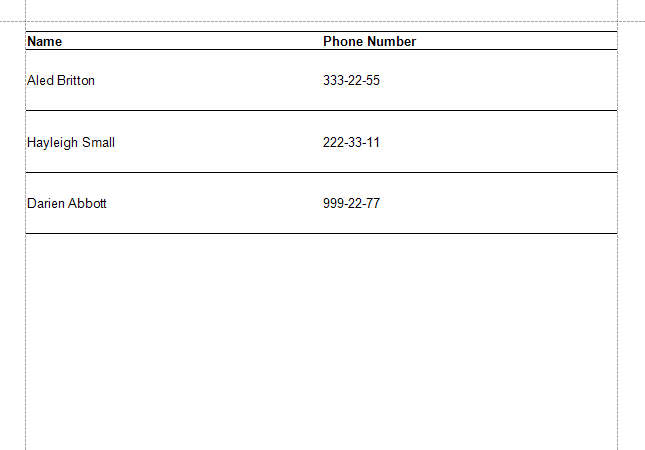
You can set borders for a table, its rows and its cells. The following example demonstrates a table in the Designer with Top and Bottom borders enabled:

The following image shows the layout of the above table in Print Preview:
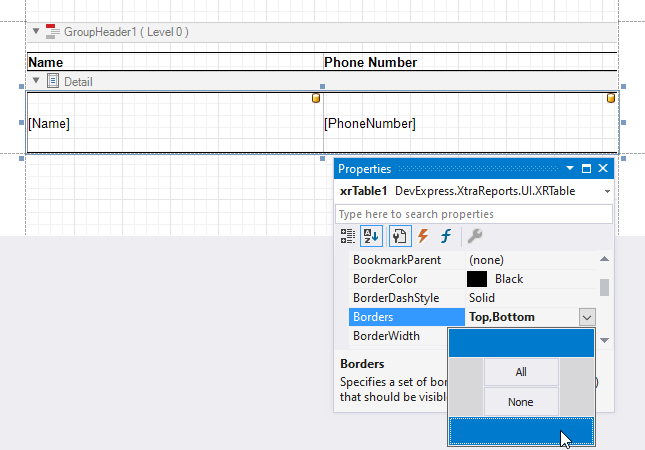
If a table occupies the entire Detail band and the table’s top and bottom borders are enabled, the table borders are be duplicated in Print Preview. To avoid duplication, do the following:
- Select only a bottom table border.
- Create a group header band.
- Add a table header to the newly created band.
- Enable the header’s top and bottom borders.
Designer. The table occupies the entire Detail band. Both Top and Bottom borders of the table and the header are enabled.
Print Preview. The top and bottom borders of the table’s rows overlap and are duplicated.
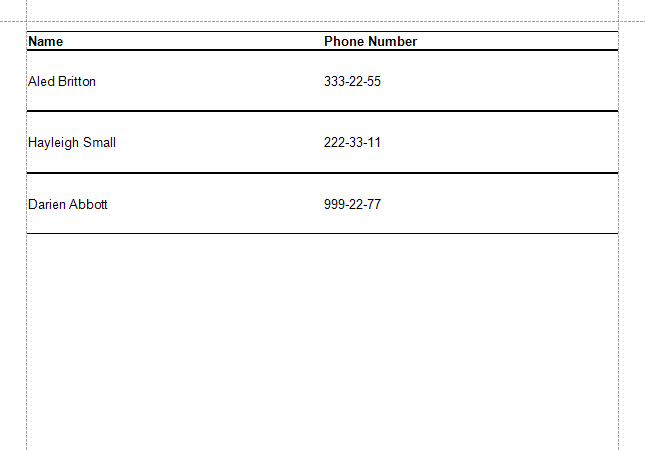
Designer. The table occupies the entire Detail band. Only the Bottom border of the table is enabled.
Print Preview. Only the bottom border of the table is displayed. The top border of the table’s first row matches the bottom border of the header.
Draw Common Border for Multiple Controls
To draw a common border for several controls, place the controls inside a table with one cell, and then specify the table borders:
Designer | Print Preview |
|---|---|
|
|
Note
Refer to the XRLine control description for information on how to use lines to visually separate report elements.