Report Gallery
- 6 minutes to read
The Report Gallery allows you to store and reuse reports and their elements.
Do not confuse the Report Gallery with the Report Explorer that has a similar user interface. The Report Gallery stores shared templates. The Report Explorer displays the current report structure.
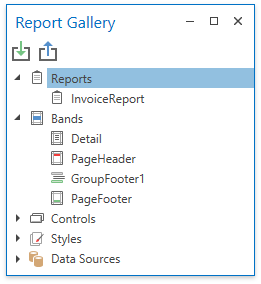
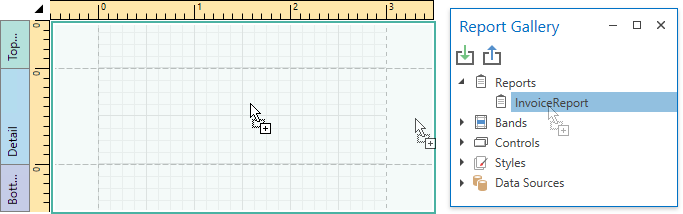
Reports
The Report Gallery displays report layout templates in the Reports category.
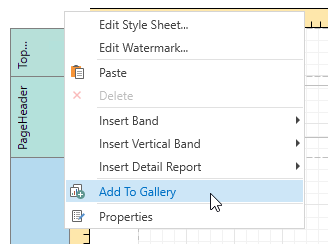
To create a new template, right-click an empty area around the design surface and select Add To Gallery in the context menu. The report’s Name property value defines the template name.
Do one of the following to apply a template to the current report:
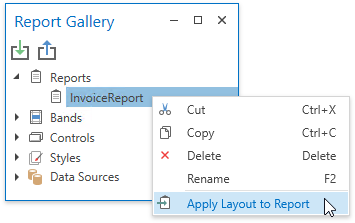
Right-click the template in the Report Gallery and select Apply Layout to Report.
Drag and drop the template from the Report Gallery onto the report.
The following dialog warns you that the template overrides the current layout:
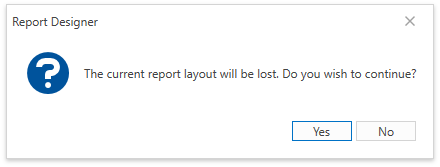
When you apply the report template, all the associated styles and components are added to the current report as well.
Bands
The Report Gallery’s Bands category contains band templates.
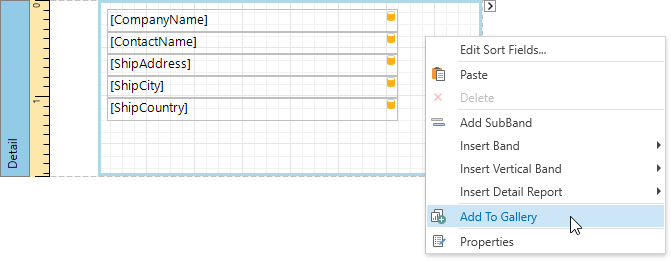
To create a new template, right-click a report band and choose Add To Gallery in the context menu. The band’s Name property value defines the template name.
Use the following ways to apply a band template:
Drag and Drop
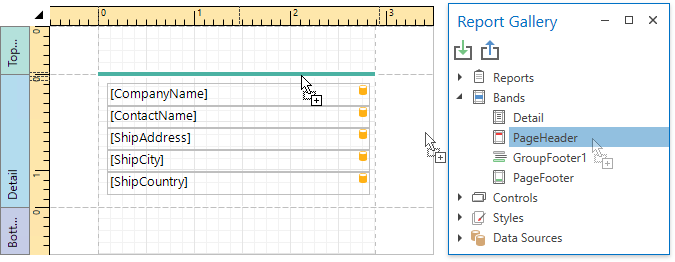
Drag and drop the template from the Report Gallery onto the band of the same type to replace the band’s content.
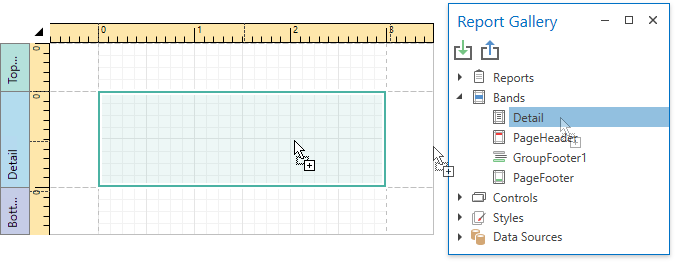
To create a new band, move the mouse cursor to the delimiter between bands and drop the template.
You can always create new Detail Report bands and Group Headers/Footers. You can add the Report Header/Footer or Page Header/Footer only if the report does not contain this band.
Gallery Context Menu
Right-click a template in the Report Gallery and choose Apply Layout to Band in the context menu.
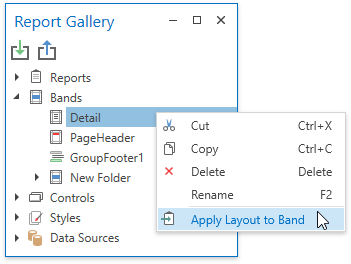
This action’s behavior depends on the template’s band type and the selected report band.
Template’s Band Type
Action Result
Detail Band
Vertical Detail Band
Top Margin
Bottom Margin
Replaces the corresponding band’s content independently from the selected band type.
Group Header
Group Footer
Detail Report Band
If the same band is selected in the report, replaces the band’s content.
Otherwise, adds a new band to the deepest hierarchy level.
Report Header
Report Footer
Page Header
Page Footer
Vertical Header
Vertical Footer
If the same band exists in the report, replaces the band’s content.
Otherwise, adds a new band.
Note that the template stores settings related to the band and its controls (binding information, appearance options, etc). All these settings are restored when you apply the template.
Controls
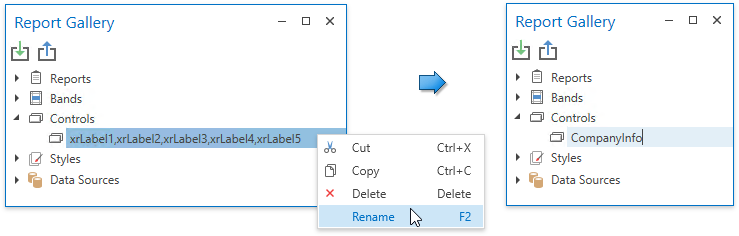
You can combine report controls from the same band into a template. Hold down SHIFT or CTRL and select controls. Then, right-click the selection and choose Add To Gallery in the context menu.
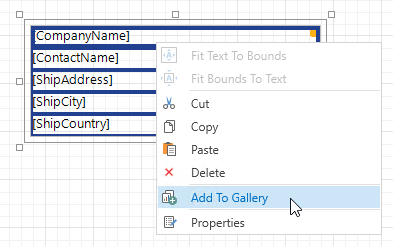
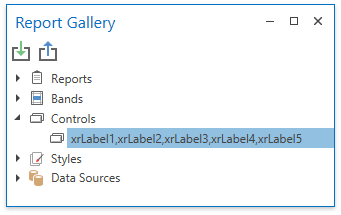
This adds a new template to the Controls section. The template name consists of control names separated by commas.
To apply a control template, drag and drop it from the Report Gallery onto a band.
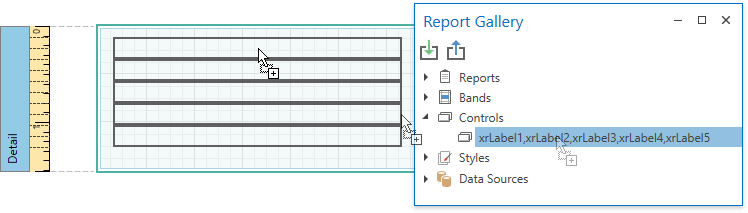
All the control settings are restored when you apply the template.
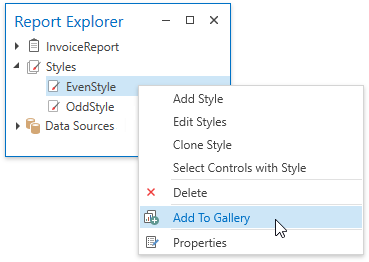
Styles
Right-click a style in the Report Explorer and select Add To Gallery to create a new template in the Styles category.
Use the following ways to apply a style template:
To add the style to the report’s style sheet, right-click the style in the Report Gallery and select Add to Report Style Sheet.
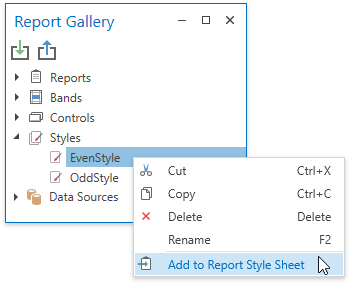
You can also use the same action in the Styles node’s context menu to add all the styles available in the Report Gallery.
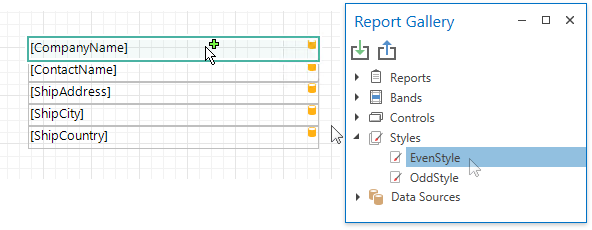
To apply the style to a specific report control, drag and drop this style from the Report Gallery onto this control. This also adds the selected style to the report style sheet if it does not already contain this style.
Data Sources
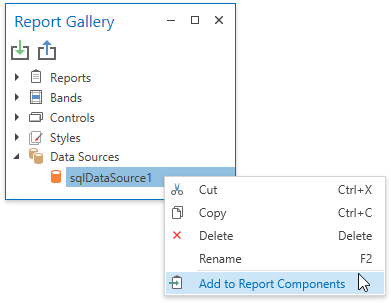
Right-click a data source in the Report Explorer and select Add To Gallery to create a new template in the Data Sources category.
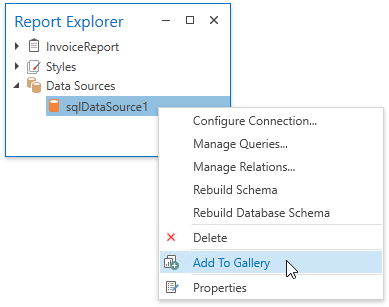
Do one of the following to apply a data source template:
Right-click the template in the Report Gallery and select Add to Report Components in the context menu.
Drag and drop the template from the Report Gallery onto the report.
Rename Templates
To change the template name, select Rename in the template’s context menu and type a new name.
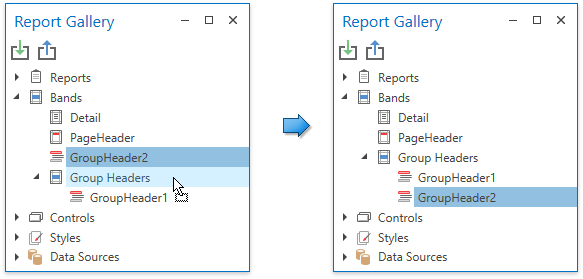
Group Templates
Right-click a root Gallery node and select Add New Folder in the context menu.
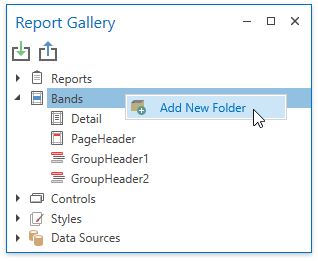
Specify the folder name. Move templates to this folder to combine them into a group.
Import and Export Templates
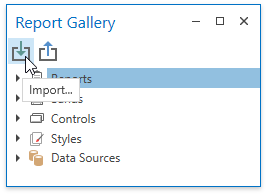
You can import gallery items from an XML file. Right-click the Import toolbar button, locate a file in the invoked Open dialog and click OK.
To save gallery templates to an XML file, click the Export toolbar button and select a target file in the Save dialog.
Provide Custom Storage
The Report Gallery stores templates in the %localappdata%\Developer Express Inc\XtraReports Suite\ReportGallery.xml file. You can implement a custom Report Gallery storage.
Another File
Do the following to store the Report Gallery’s templates in another file:
- Create a new ReportGalleryDirectoryExtension class instance and pass the full file path as the constructor parameter.
- Assign the created instance to the Report Designer’s ReportGalleryOptions.Storage property.
The code below demonstrates how to store templates in the directory that contains the application’s executable file.
using System;
using System.IO;
using DevExpress.XtraReports.Extensions;

// ...
string path = Path.Combine(Path.GetDirectoryName(AppDomain.CurrentDomain.BaseDirectory), "ReportGallery.xml");
reportDesigner.ReportGalleryOptions.Storage = new ReportGalleryDirectoryExtension(path);
Custom Shared Storage
Tip
Online Example: How to implement a custom Report Gallery storage
Do the following to store templates in any location (database, cloud, XPO object, etc.) and share them between multiple users:
Create a descendant from the abstract ReportGalleryExtension class.
Set the EnableSynchronization property to true to synchronize items in local Report Gallery instances with items from a shared storage.
Implement the TryLoadGallery method to load the Report Gallery from the storage.
Implement one of the following methods:
- SaveGallery to save all the gallery items.
- SaveGalleryChanges to save only the changed gallery items.
Create a storage instance and assign it to the Report Designer’s ReportGalleryOptions.Storage property.
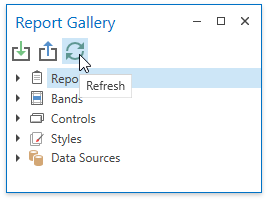
If you enable gallery synchronization, the Refresh button becomes available in the Report Gallery toolbar. Click this button to explicitly synchronize gallery items with the storage.
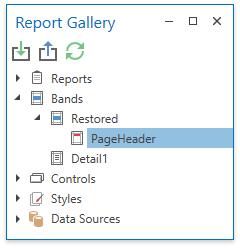
The following dialog appears when you try to move or rename an item that another user removed:

Click OK to restore this item and add it to the Restored folder.