Create an ASP.NET Core Angular Application with a Report Designer
- 5 minutes to read
This tutorial describes how to use the DevExpress Template Gallery and .NET Core command line interface (CLI) to create a new ASP.NET Core Angular application with the End-User Report Designer control.
Tip
See ASP.NET Core Reporting for general information about DevExpress Reporting in ASP.NET Core applications.
The Add a New Report to an ASP.NET Core Application tutorial provides instructions on how to add a report to an ASP.NET Core application.
Use the DevExpress Template Gallery
Perform the following steps to create an ASP.NET Core application in Visual Studio:
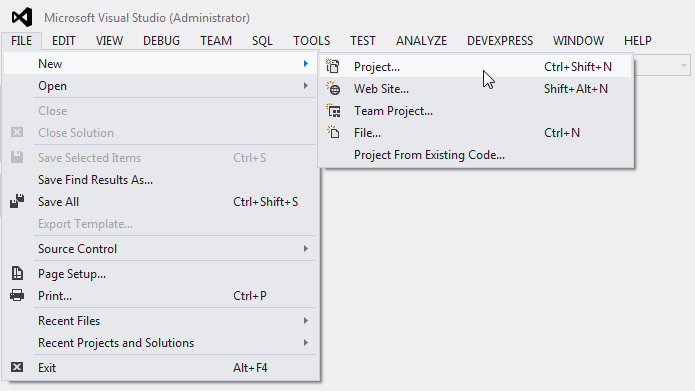
Select FILE | New | Project in the main menu or press CTRL+SHIFT+N to create a new project.
In the invoked New Project dialog, select the Installed | Visual C# | Web category and the DevExpress v19.1 Template Gallery template.

Specify the application name and click OK.
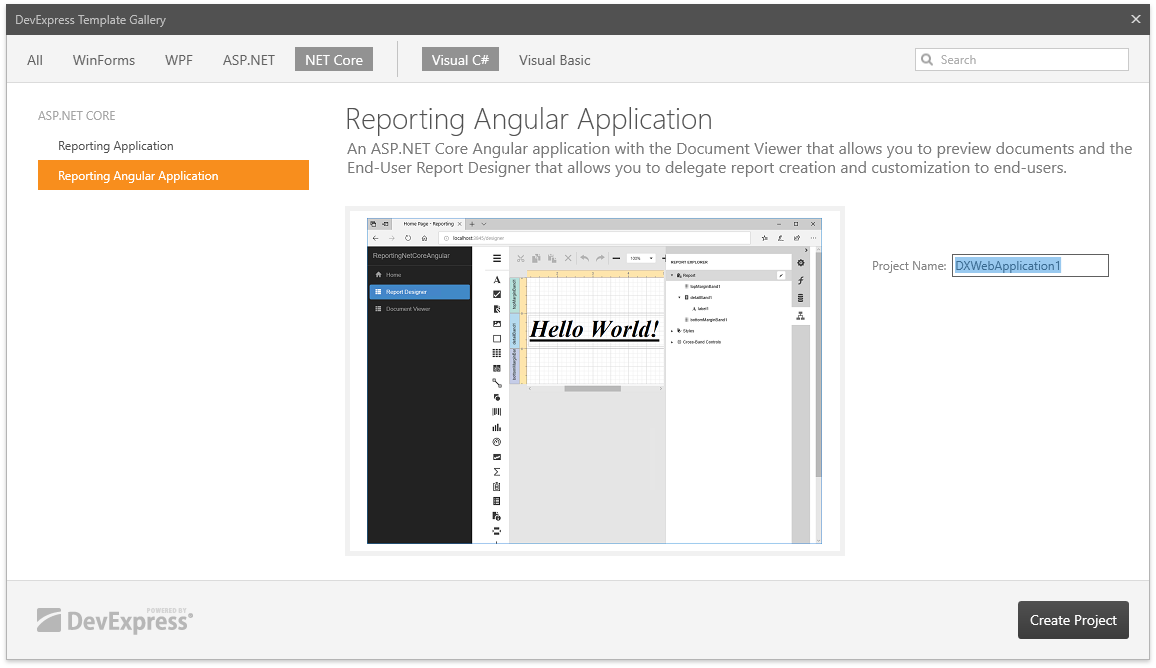
In the invoked DevExpress Template Gallery, select Reporting Angular Application under the NET Core category and click Create Project.
In the invoked DevExpress ASP.NET MVC Project Wizard, enable the Create Designer Page check box to add the Report Designer to the web application (the report-designer.html file) .
Tip
You can add the Web Document Viewer and Report Designer to the application.
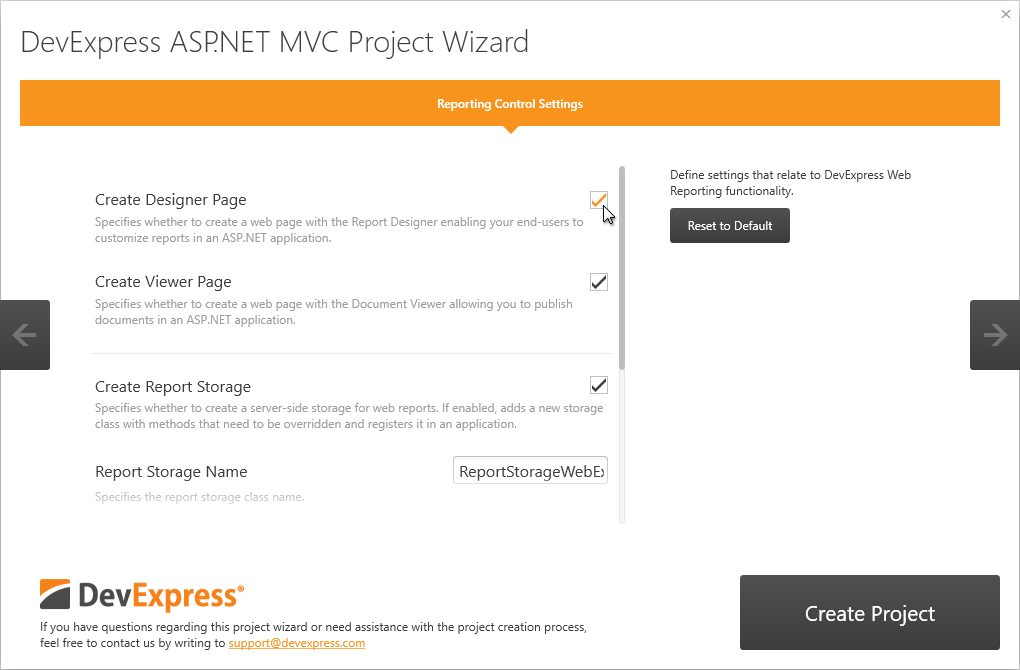
This page provides the following control options:
- Create Report Storage - Specifies whether to create server-side storage for web reports. This option adds a new class inherited from the abstract ReportStorageWebExtension class and registers this custom storage in the application. The Report Designer does not provide specific menu commands and subreports support if you did not implement the report storage.
- Report Storage Name - Specifies the report storage class name.
- Data Binding Mode - Specifies the mode to provide data to report controls. Select Expressions or Expressions (Advanced) to enable expression bindings for report element properties and additional summary features.
- Log Errors and Events - Specifies whether to use the LoggerService class to log server-side errors and events related to the Report Designer functionality to a particular file.
- Add Sample Data Source - Specifies whether to add a sample database file to an application and register the connection string in the app.settings file.
Click Create Project to complete the creation process.
Once Visual Studio created the application, right-click the Dependencies | npm folder in the Solution Explorer window and choose Restore Packages (you should run Visual Studio with administrator privileges).
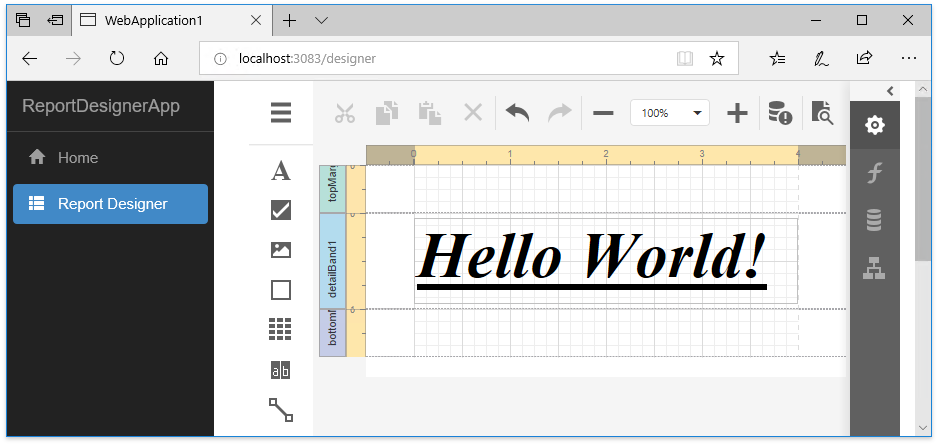
The created project includes the registered ReportStorageWebExtension1 report storage. This storage provides reports added to the project at design time as embedded resources. At runtime, the Report Designer’s Open Report dialog includes these reports.
You can specify a report to open in the Report Designer when the application starts. Navigate to the ClientApp | app | components | report-designer | report-designer.ts file and find the following code line, where you can replace the built-in unique report name with your report’s type name:
const reportUrl = ko["observable"]("FullReportTypeName")The ReportStorageWebExtension1 storage saves the reports you change in the Report Designer to a dictionary. You can inherit your custom class from the abstract ReportStorageWebExtension class and implement logic to save reports to any other location.
Use the Console
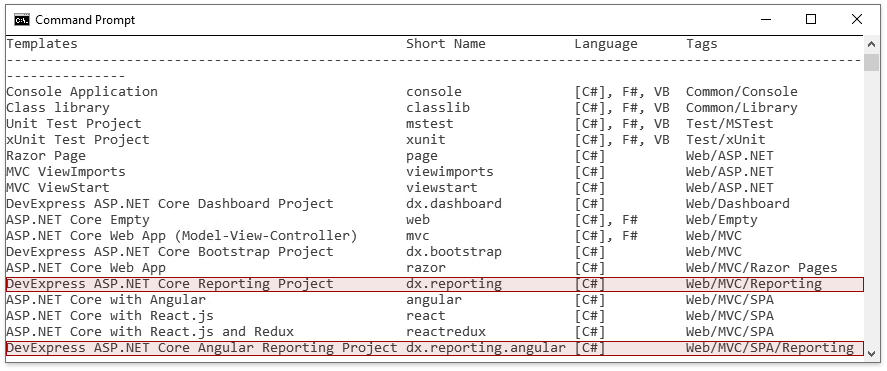
Use the .NET Core command line interface (CLI) to create an ASP.NET Core Angular Reporting application from the console:
Open the console and type the following command to install DevExpress CLI templates:
dotnet new -i "DevExpress.DotNet.Web.ProjectTemplates"The console displays the list of templates installed on your machine after the installation command is finished.
Refer to the https://nuget.devexpress.com/#feed-url page and obtain the NuGet Feed URL. This URL includes your personal feed authorization key and is used to install NuGet packages that the Report Designer requires.
Use the command below to create a new project with the Report Designer and provide it with a sample data source. Pass the the NuGet Feed URL obtained above as a parameter.
dotnet new dx.reporting.angular --nuget-feed https://nuget.devexpress.com/{auth_key}/api --name ReportDesignerApp --add-viewer false --add-data-source trueDevExpress Reporting templates have the following parameters:
- -nf | –nuget-feed (required) - Specifies your personal DevExpress NuGet Feed URL.
- -ad | –add-designer - Specifies whether to create a web page with the Report Designer that enables your end-users to create and customize reports. The default value is true.
- -av | –add-viewer - Specifies whether to create a web page with the Document Viewer that allows you to preview, print, and export reports. The default value is true.
- -ads | –add-data-source - Specifies whether to add a sample database file to a project and register the corresponding connection string in the application configuration file. The default value is false.
- -ul | –use-logger - Specifies whether to log server-side errors and events related to the Report Designer functionality to a specific file. The default value is false.
Run the commands below to navigate to the created application’s folder and download all the necessary client resources.
cd ReportDesignerApp\ClientAppnpm installTip
Install Node.js and npm if they do not exist on your machine.
Use the following commands to restore dependencies, build the application and get the application URL:
cd ..dotnet restoredotnet runOpen your browser and insert the generated URL to see the result.