Use Visual Studio Templates to Create an Angular Application with a Document Viewer
- 4 minutes to read
This document describes how to use the DevExpress Template Gallery to generate a Single-Page Application (SPA) with the following projects:
- An ASP.NET Core project that works as an API backend
- An Angular project that works as a frontend and contains the Document Viewer control.
Use the DevExpress Template Gallery
The DevExpress Template Gallery implements a step-by-step process that allows you to create an ASP.NET Core application with a Document Viewer.
The created application includes a sample report storage that allows users to open report layout files (REPX) from the Reports folder and instances of report types predefined in the assembly.
Follow the steps below to create an ASP.NET Core application in Visual Studio:
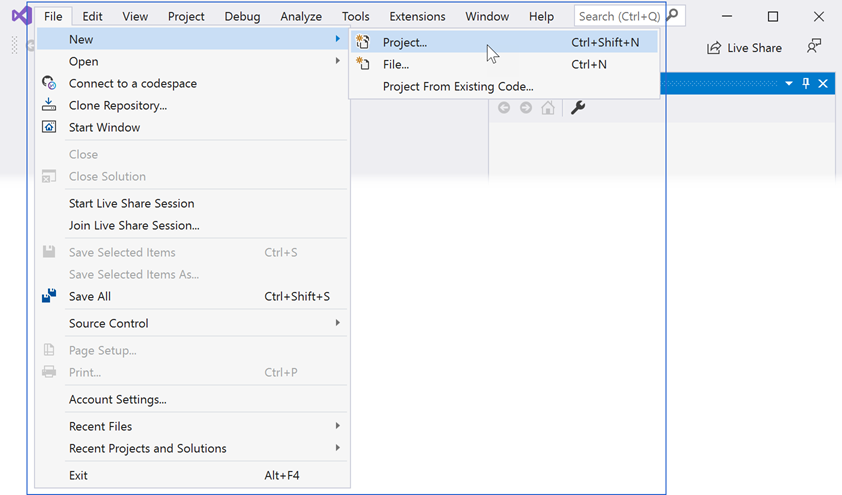
Select FILE | New | Project in the main menu or press CTRL+SHIFT+N to create a new project.
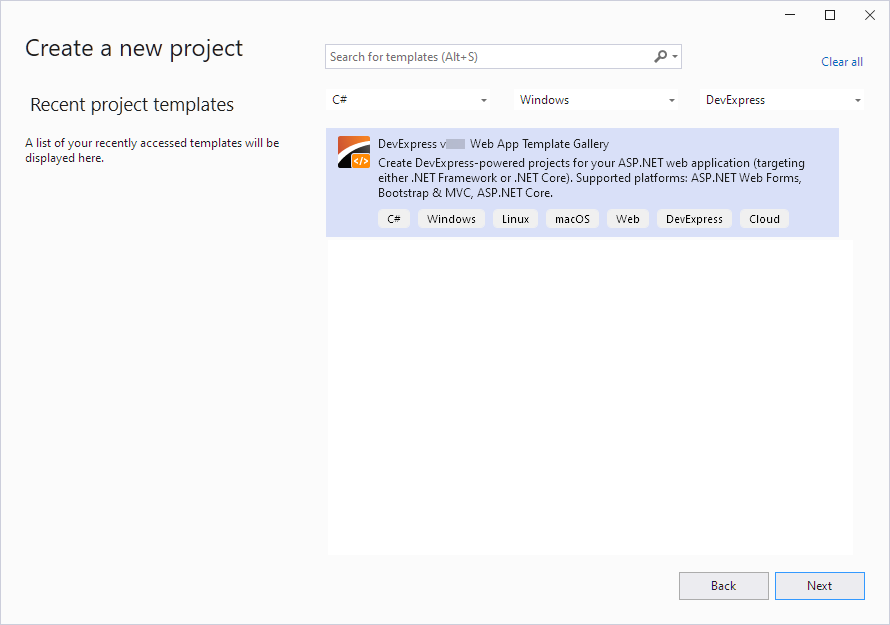
Select the DevExpress v23.2 Web App Template Gallery, and click Next:
Specify a project name and location, and click Create:

Select Reporting Angular Application from the .NET category in the invoked DevExpress Template Gallery.

Select a framework version and click Create Project.
Enable the Add Viewer Page checkbox in the invoked DevExpress ASP.NET MVC Project Wizard to add the Document Viewer to the web application (the report-viewer.html file). You can add a Wesb Document Viewer and a Report Designer to the application.

The following template settings are available:
- Add SQL Data Connection to the Data Source Wizard (applies to Report Designer)
- Specifies whether to create a sample connection string and register it in the Report Designer to create SQL Data Sources in the Report Wizard and Data Source Wizard. The connection string is also used to register a predefined data source.
- Add Sample JSON Data Connection Storage (applies to Report Designer)
- Specifies whether to create a storage and register it to create JSON Data Sources in the Report Wizard and Data Source Wizard.
- Add Data Type to Object Data Source Wizard (applies to Report Designer)
- Specifies whether to add a sample data object to an application and register this data object to create Object Data Sources in the Report Wizard and Data Source Wizard.
- Enable Rich Text Editor (applies to Report Designer)
- Specifies whether to add an in-line Rich Text Editor for the RichText control.
- Specify Document Cache Storage Type
- Specifies the storage type to cache documents that the report creates. For more information, review the following help topic: Web Document Viewer Cache Management.
- InMemory (default)
- Default cache that stores objects directly in memory without serialization, optimized for frequent operations.
- XPO
- Implements database cache based on the XPO library, designed for multi-instance applications to prevent cache data loss.
- File
- Configures the reporting engine to store documents generated by reports on disk instead of in memory.
- DistributedCache
- Enables cache as external service that uses ASP.NET Core distributed caching mechanism and can be shared by multiple application servers.
- Azure
- Configures the application to use Azure caching services.
Optional. You can configure the Document Viewer to load a report when the application starts. Navigate to the ClientApp | src | app | report-viewer | report-viewer.ts file and replace the built-in report name with the name of your report:
reportUrl: string = "TestReport";Run the project to see the result:

Troubleshooting
The following article lists common issues that can occur in a Web Reporting application and describes solutions: Troubleshooting
For information on how to identify the cause of an issue, refer to the following topic: Reporting Application Diagnostics.
What’s Next
Now that you’ve created a basic Angular app with a Document Viewer, you can continue to extend your application with the following features:
- Client-Side Configuration
- Integrate the Document Viewer for Web into your Angular-based application.
- Specify Parameter Values
- Set parameter values in the Document Viewer
- Customize Toolbar and Tab Panel
- Customize available Document Viewer elements.