Create a Custom Print Preview
- 2 minutes to read
Note
You need a WinForms subscription to use the API described in this tutorial.
The Invoke a Default Print Preview Form tutorial illustrates how to open the Print Preview with the Reporting subscription.
You can implement a custom Print Preview form in your WinForms application. This tutorial demonstrates how to do this using the DocumentViewer control and binding it to a report.
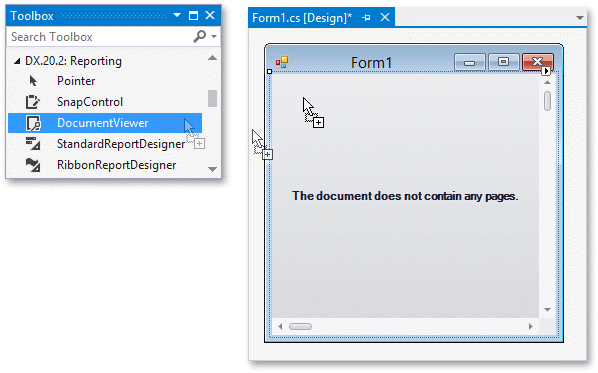
Switch to the application’s main form in Visual Studio and press CTRL+ALT+X to open the Toolbox. Expand the DX.20.2: Reporting category and drop the DocumentViewer control onto the form.
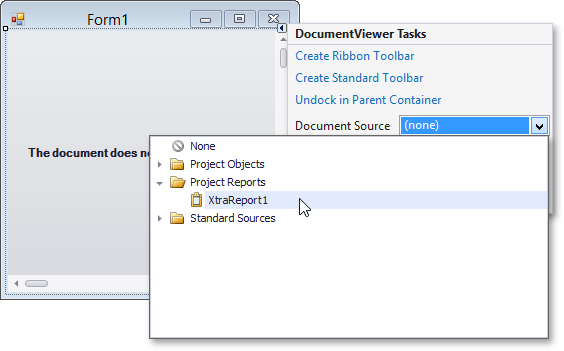
Click the Document Viewer’s smart tag and select the report in the Document Source drop-down menu to assign a report to the DocumentViewer.DocumentSource property.
Tip
The application project should be built so that the reports it includes are available in the Document Source drop-down menu.
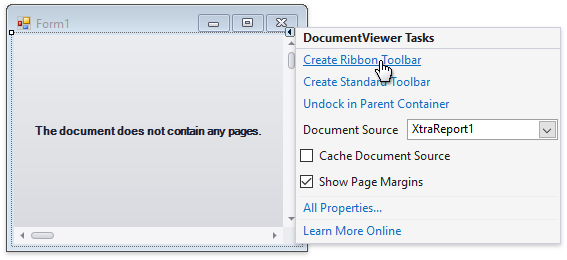
Click the Document Viewer’s smart tag and select the Create Ribbon Toolbar or Create Standard Toolbar action to create the required toolbar.
(optional) If a report is large and previewing it consumes a lot of memory, bind the DocumentViewer control to the CachedReportSource component instead. This component allows you to avoid memory consumption-related issues by storing pages in a file system or database during document generation.
Check the Cache Document Source option in the Document Viewer’s smart tag after setting the Document Source property:
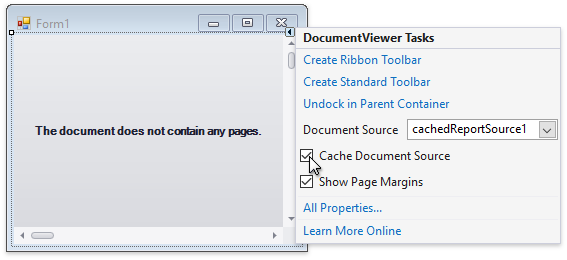
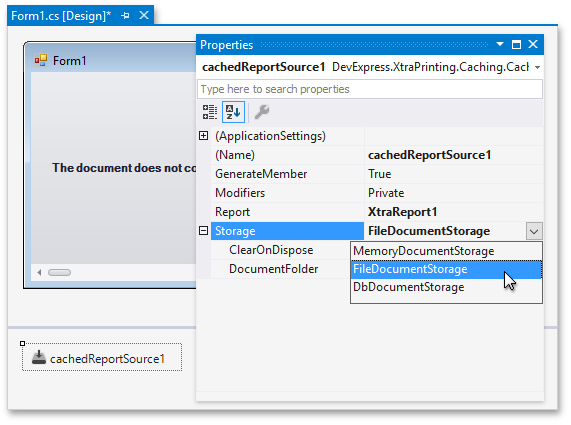
This adds the CachedReportSource component to the form. You can now change the component’s settings. Choose one of the following ready-to-use document storages the Storage property provides:
-
Allows you to compactly store a document in memory.
-
Allows you to store a document as a set of files in the specified directory.
-
Allows you to store a document in a database.