Bind a Report to an Object Data Source
- 4 minutes to read
This tutorial describes how to bind a report to an object data source defined in a separate class within a Visual Studio project.
Tip
Online Example: How to bind a report to an object data source
Create a Project and Prepare a Data Source
Perform the following steps before creating a new data-bound report:
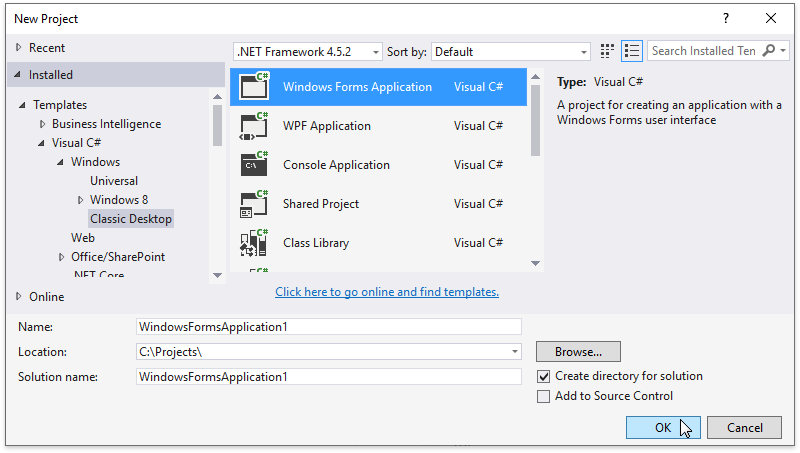
- Start Microsoft Visual Studio 2010, 2012, 2013, 2015 or 2017, and open an existing application or create a new one.
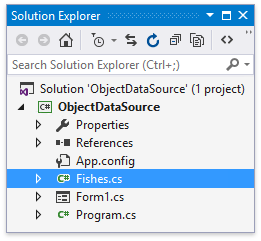
Add a class containing the data source definition (for instance, the Fishes.cs file in this tutorial).
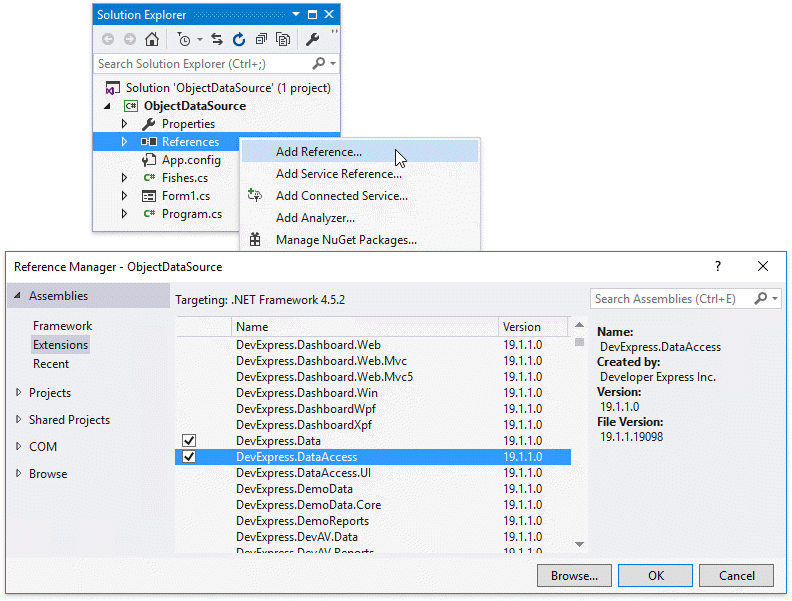
Add the DevExpress.DataAccess assembly to your project’s references list. Right-click the References item in the Solution Explorer and select Add Reference. In the invoked Reference Manager, switch to the Extensions tab, enable this assembly’s checkbox and click OK.
Highlight the added class and a data member using the HighlightedClassAttribute and HighlightedMemberAttribute as demonstrated in the code below.
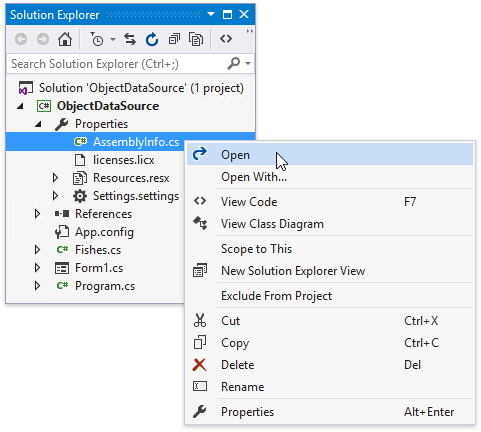
using System.Collections.Generic; using System.ComponentModel; using System.IO; using DevExpress.DataAccess.ObjectBinding; // ... [DisplayName("Fishes")] [HighlightedClass] public class Fishes : List<Fish> { [HighlightedMember] public Fishes(string filePath) { if(File.Exists(filePath)) { using(Stream stream = File.OpenRead(filePath)) { this.LoadFrom(stream); } } } // ... }Open the AssemblyInfo.cs file in the project’s Properties directory. You can find the AssemblyInfo.vb file in the My Project directory in Visual Basic projects.
Apply the HighlightedAssemblyAttribute to the current assembly to add it to the relevant assemblies list.
- Rebuild the solution.
Run the Wizard and Access the Data Source
Do the following to run the Report Wizard and bind a report to an object data source:
Select Add New Item in the PROJECT menu or press CTRL+SHIFT+A to invoke the Add New Item dialog. In this dialog, choose the DevExpress v19.1 Report item and click Add.
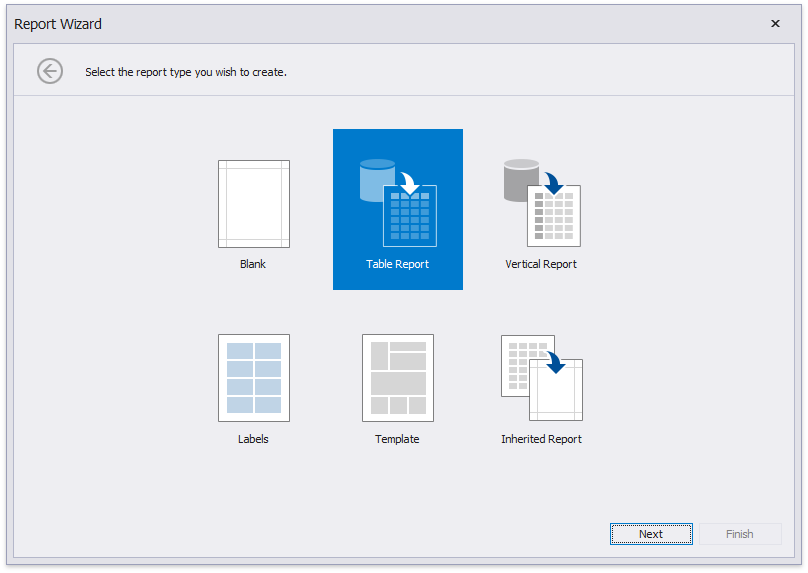
In the invoked Report Wizard, select Table Report and click Next to proceed.
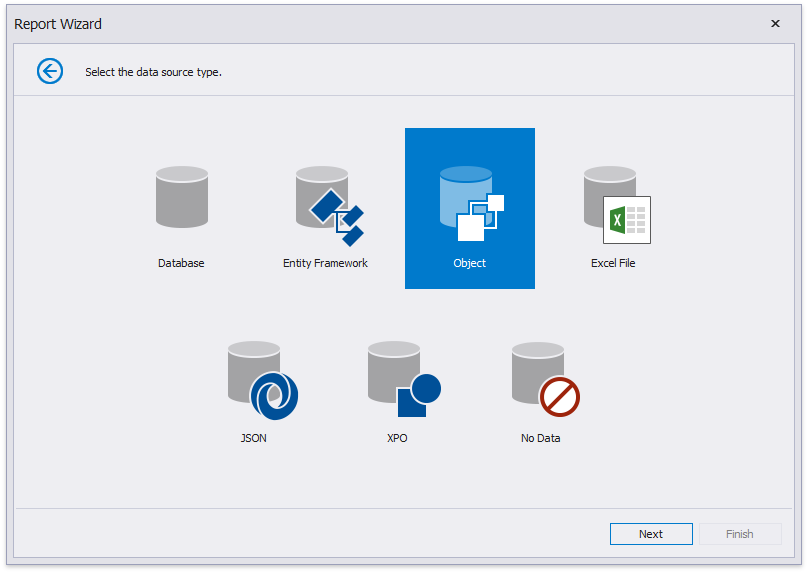
On the next wizard page, choose the Object option and click Next.
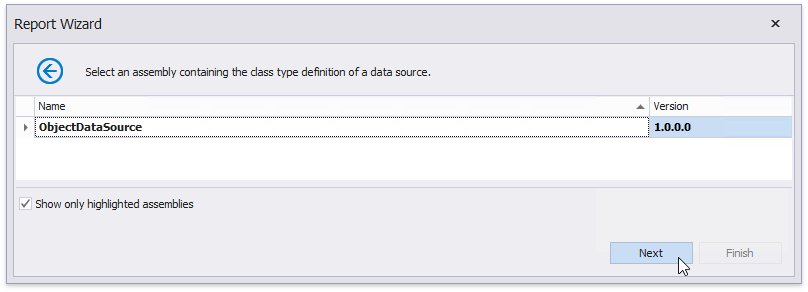
The following wizard page allows you to select an assembly that contains the data source’s class type definition. Use the Show only highlighted assemblies checkbox to exclude irrelevant assemblies from this list.
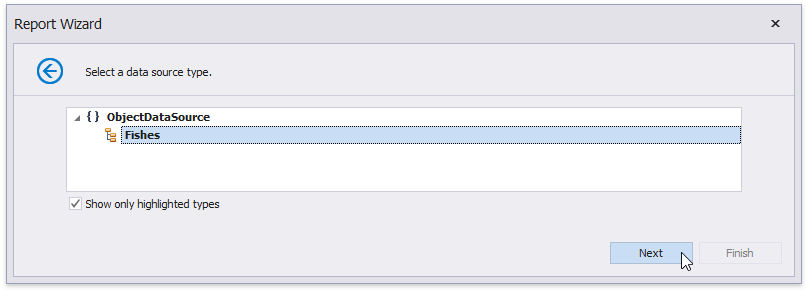
On the next wizard page, select a data source type. Enable the Show only highlighted types checkbox to hide irrelevant classes from this list.
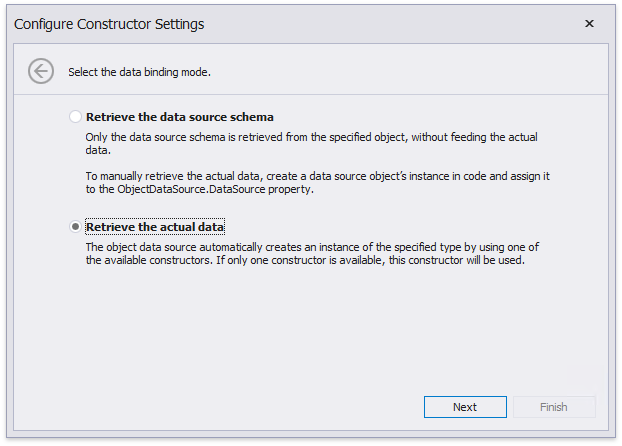
The next wizard page enables you to select whether to obtain the data source schema (enabling you to edit the report layout without having access to the actual underlying data) or retrieve the actual data from the data source.
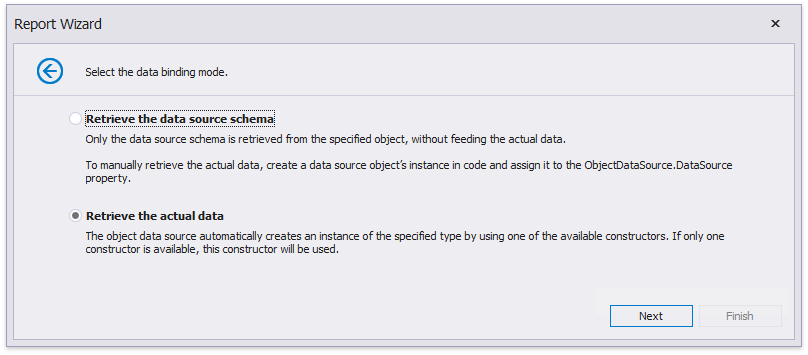
Proceed to the Adjust the Report Layout section (the first option), or continue to the next section‘s steps (the second option).
Retrieve the Actual Data
Perform the steps described below to retrieve the actual data from a custom object data source. The wizard skips these steps when you choose to obtain the data source schema only.
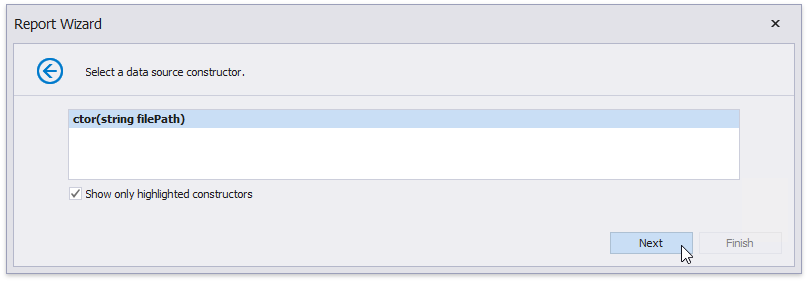
On the following wizard page, select a data source constructor and click Next. Use the Show only highlighted constructors checkbox to exclude irrelevant constructors from this list.
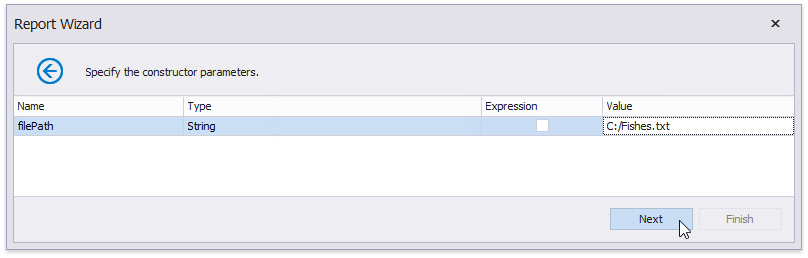
The next wizard page allows you to specify the constructor parameters.
Enabling the checkbox in the Expression column allows you to specify the parameter expression (using the Expression Editor), as well as pass an existing report parameter to the constructor (or create a new report parameter using the in-place editor).
Follow the steps in the next section to continue with the report layout customization.
Adjust the Report Layout
Perform the steps below to construct the required report layout:
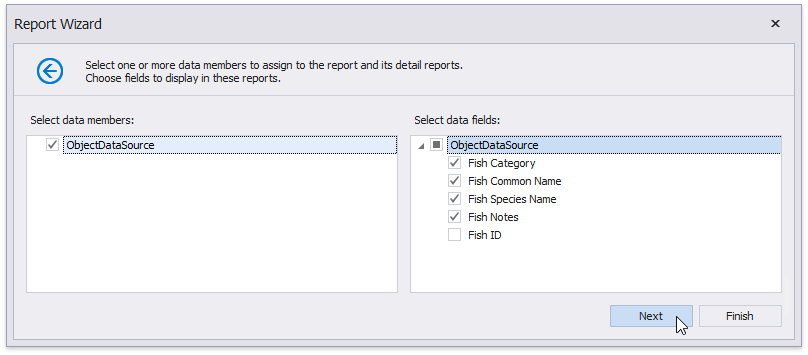
On the following wizard page, select which data fields the report should display and click Next.
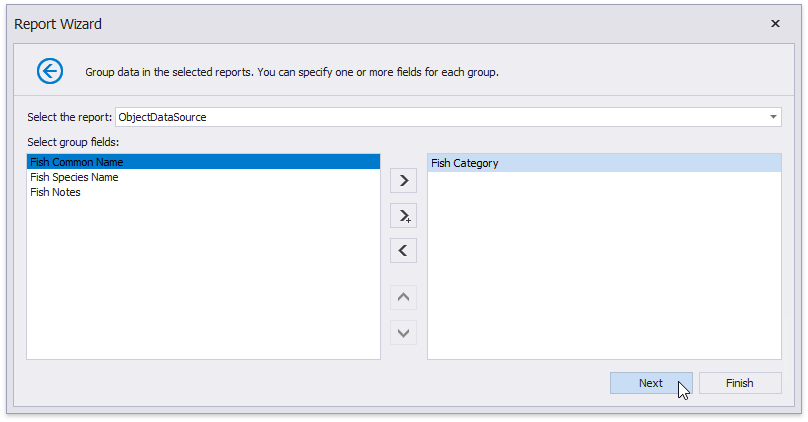
The next page allows you to group report data against one or more fields using the arrow buttons. You can click Next to skip this step.
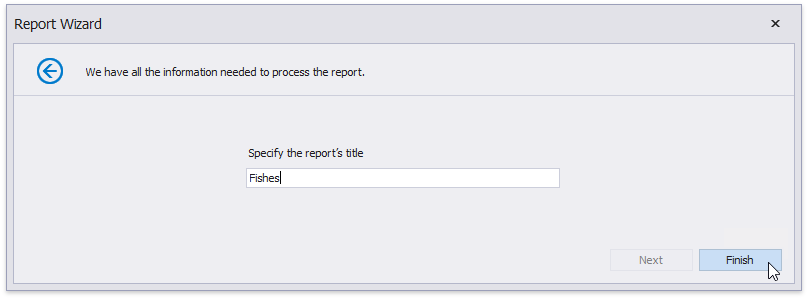
On the final wizard page, specify the report title and click Finish.
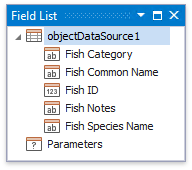
The Field List reflects the data source structure after wizard completion.
View the Result
The Design Surface displays the resulting report layout:

The following image shows the report document in Print Preview.

Customize Data Source Settings
Selecting the data source in the Report Explorer enables you to modify the data source settings in the Properties panel.
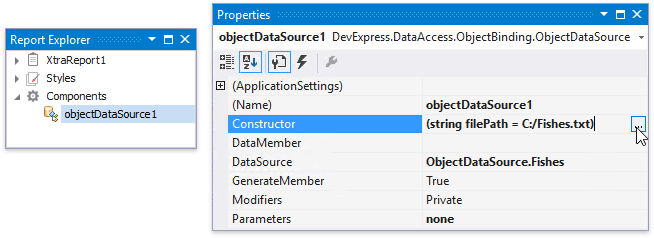
For instance, clicking the ObjectDataSource.Constructor property’s ellipsis button opens the following wizard page: