Conditionally Change a Band's Visibility
- 2 minutes to read
This document describes how to change report band visibility.
Note
This approach to conditionally changing a band’s visibility applies when the UserDesignerOptions.DataBindingMode is set to DataBindingMode.Bindings.
See Conditionally Change a Band’s Visibility to learn about the alternative approach to solving this task.
See Data Binding Modes to learn more about available binding modes.
Create a formatting rule for a band’s Visible property to conditionally change the band’s visibility based on a field’s value or a parameter.
The report created in this tutorial contains two Detail sub-bands with different report controls. These sub-bands are used to display discontinued and current products.

Follow the steps below to see how to change sub-band visibility based on the Product‘s Discontinued field value.
Bind your report to the Products table from the Northwind database.
Add two Sub-bands to the Detail band, and drag the XRLabel from the Toolbox to the first sub-band and XRTable to the second sub-band.
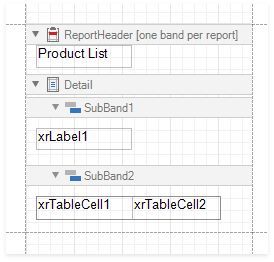
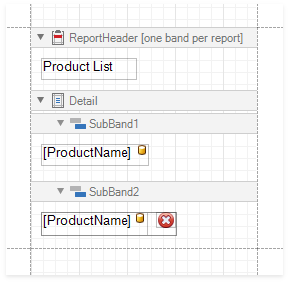
Bind Label1 and TableCell1 to the ProductName field. Add an XRPictureBox control to the TableCell2 and specify its ImageSource property. This picture will serve as an indication of discontinued products.
Select the created SubBand1 and click its smart tag. In the invoked actions list, click the ellipsis button for the XRControl.FormattingRules property.

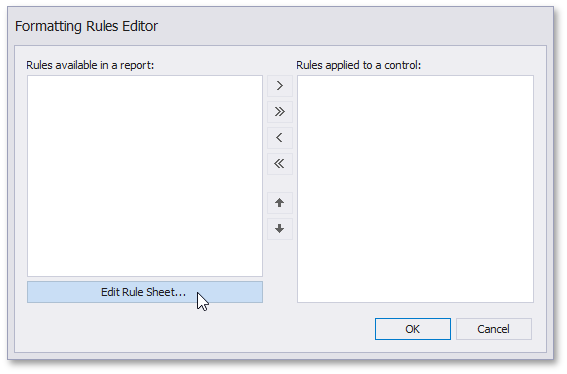
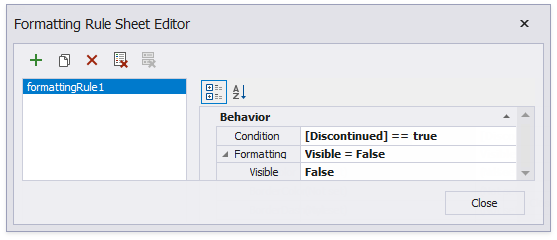
In the invoked Formatting Rules Editor, click the Edit Rule Sheet… button.
In the invoked Formatting Rule Sheet Editor, click
 to create a new formatting rule.
Set the FormattingRule.Condition property to [Discontinued] == true.
Set the Visible property to false.
This means that the Discontinued data field should be true for the SubBand1 to be hidden.
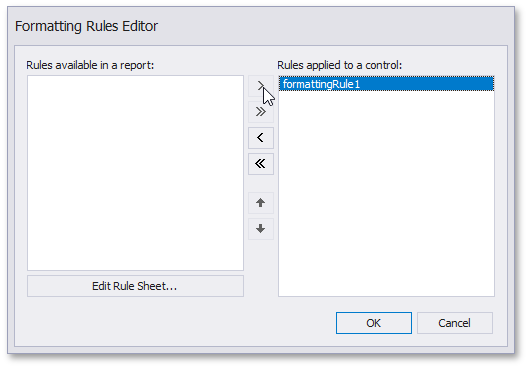
In the Formatting Rules Editor, move the created rule (named formattingRule1) to the list of active rules.
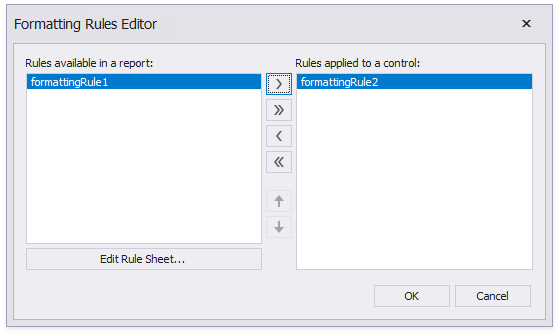
Do the same (the steps 3-5 above) with the SubBand2. Create a formatting rule.
- Set the Visible property to false.
- Set the Condition property to the [Discontinued == false] expression.

In the Formatting Rules Editor, move the created rule (named formattingRule2) to the list of active rules.
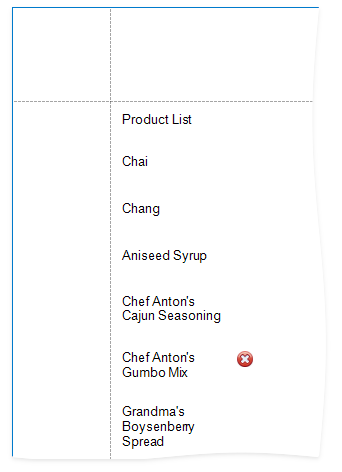
As a result, Print Preview displays how changes to band visibility influence the Product List. The SubBand1 is used to display products that have the Discontinued field set to false, and the SubBand2 is used to display discontinued products.