Add the ASP.NET Document Viewer to an ASP.NET WebForms Application
- 2 minutes to read
This tutorial describes how to place the ASP.NET Document Viewer onto a web page in an ASP.NET WebForms application:
Run the Visual Studio designer and press CTRL+ALT+X to open the Toolbox. Expand the DX.18.2: Reporting tab and drop the ASPxWebDocumentViewer control onto the page.
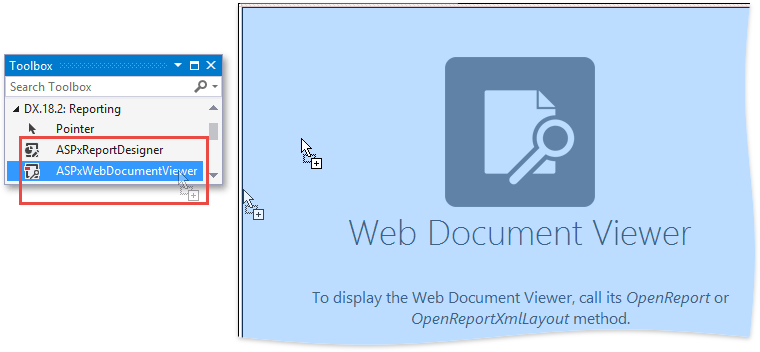
This adds the HTML5 Document Viewer (the latest Web Document Viewer that supports the HTML5/JS technology).
Click the Document Viewer’s smart tag and select Switch to Classic ASP.NET Document Viewer.
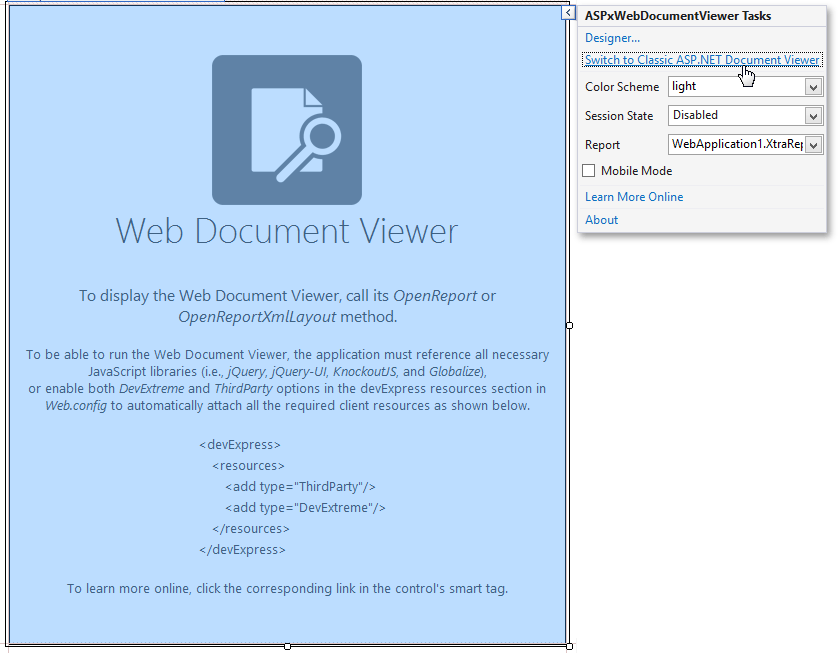
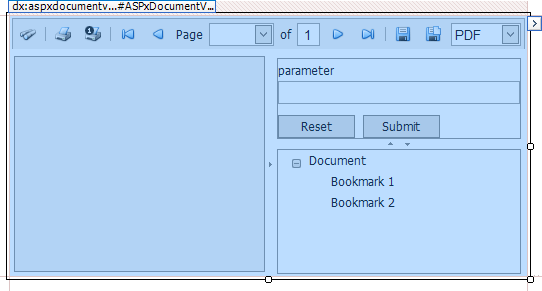
This converts the HTML5 Document Viewer into the ASP.NET Document Viewer (an older Document Viewer version).
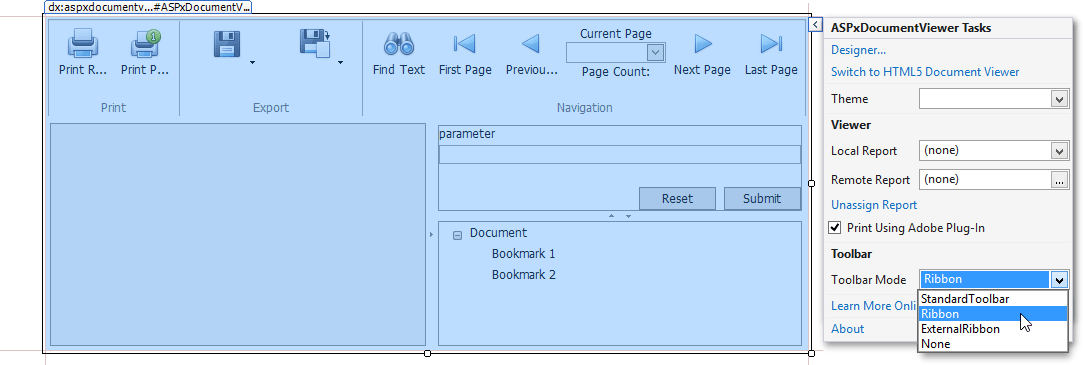
You can change the toolbar type by clicking the Document Viewer’s smart tag and selecting the required type from the Toolbar Mode‘s drop-down list.
The following options are available:
- StandardToolbar (default) - a simple standard toolbar;
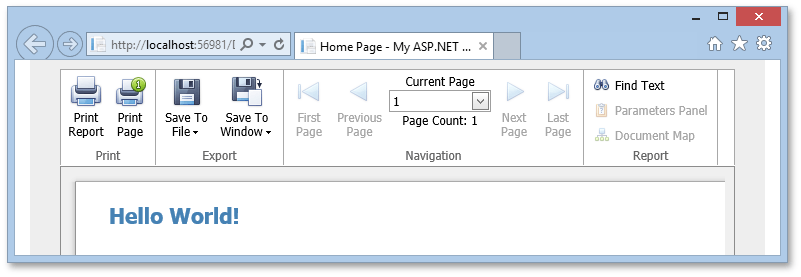
- Ribbon - a grouped ribbon toolbar;
- ExternalRibbon - the Document Viewer allocates its toolbar controls on a specified external ASPxRibbon;
- None - the Document Viewer does not contain a toolbar.
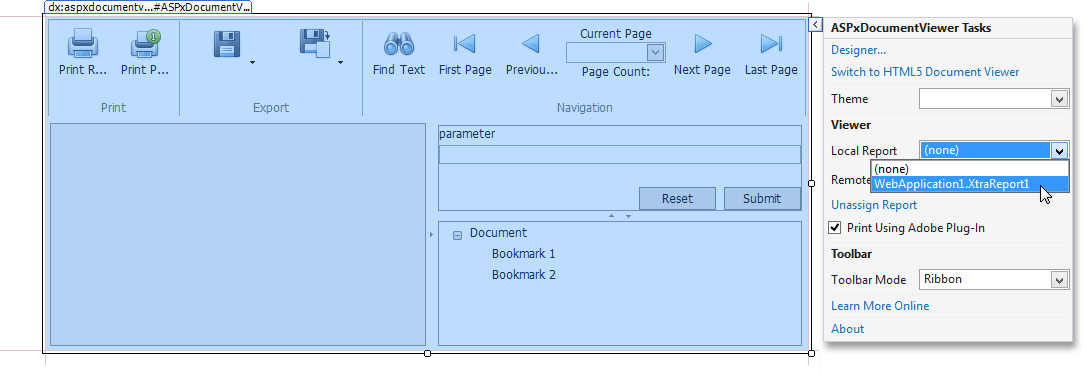
Assign your report to the document viewer by setting its ASPxDocumentViewer.Report property. Click the Document Viewer’s smart tag, expand the drop-down list for the Local Report property and select the report.
Run the application to view the report on a web page.