Lesson 3 - Use Parameters to Filter Data in a Report
- 4 minutes to read
In the previous step, you created a master-detail report. This step explains how to work with report parameters:
- create multi-value and cascading parameters to filter the report’s data,
- set the parameters’ default values,
- display these parameters in Print Preview’s Parameters Panel.
Note
Watch the Video: Reporting: Filtering with Parameters (YouTube)
Add a Report Parameter
The following steps illustrate how to make a report display data corresponding to a specific product category that is selected in Print Preview.
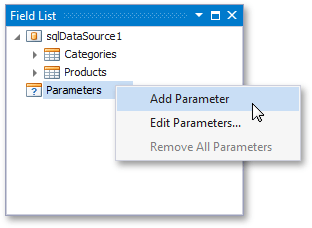
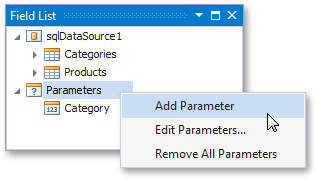
To create a new report parameter that will list product categories and pass the selected value to the report’s filter string, right-click the Parameters node in the Field List and select Add Parameter in the context menu.
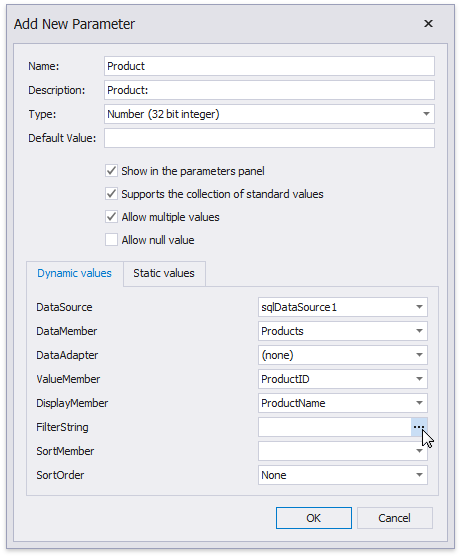
In the invoked Add New Parameter dialog, set the Parameter.Type property corresponding to the type of a data field against which this parameter will be compared in the filter expression.
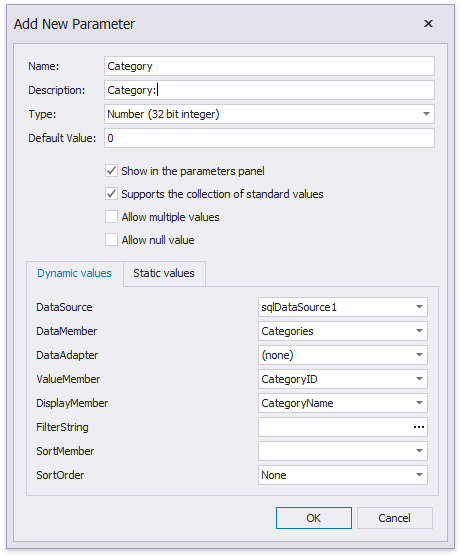
To supply parameter values from a data source, enable the Supports the collection of standard values option. This will enable the following options on the Dynamic values tab.
-
Specifies the data source to which the parameter is bound.
-
Specifies the name of a data column storing the parameter values.
DataAdapter (optional)
This setting is only required when parameter values are supplied from a DataSet.
-
Specifies the name of a data field providing the parameter values.
DisplayMember (optional)
Specifies the name of a data field providing parameter value descriptions displayed in Print Preview.
FilterString (optional)
Enables you to filter the list of parameter values (e.g., to create cascading parameters which are described further in this tutorial).
SortMember (optional)
Specifies the name of a data field that is used to sort parameter values in the lookup editor.
SortOrder (optional)
Specifies the sort order for the parameter values in the lookup editor.
If required, you can customize the parameter’s Parameter.Name (by which it will be referred to in the filter expression) and Parameter.Description (that will be displayed in Print Preview).
-
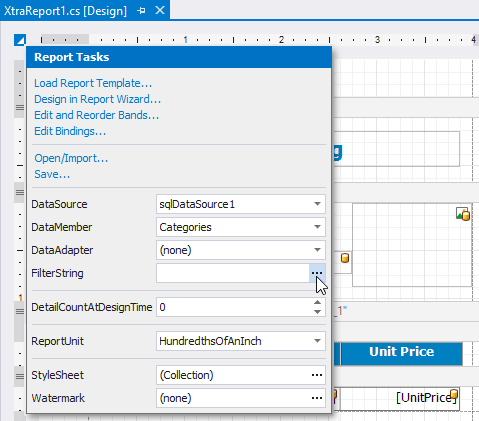
To filter data in a report, click its smart tag, and in the actions list, click the ellipsis button for the XtraReportBase.FilterString property.
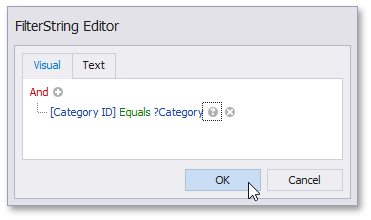
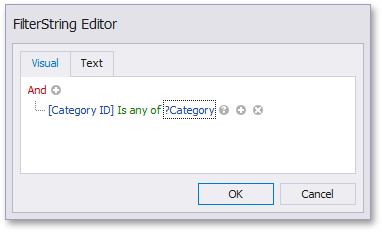
In the invoked FilterString Editor, construct an expression in which the CategoryID data field is compared to the created parameter value. To select the parameter, click the icon on the right until it turns into a question mark.
Note
You can also filter records at the data source level before supplying them to your report. This is a preferred action if your are binding to a large data source and want to speed up the retrieval process. See Filter Data at the Data Source Level for more information.
Switch to the Preview tab and select a required category in the parameter’s lookup editor. Clicking Submit will pass the corresponding value to the report’s filter string and generate the document.

Create a Multi-Value Parameter
To enable a report parameter to accept multiple values at once and filter the report against these values, do the following.
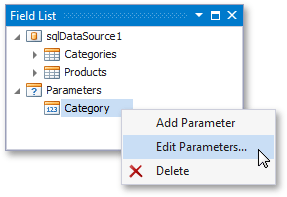
Switch to the Field List and right-click the parameter created in the previous section of this tutorial. In the invoked context menu, click Edit Parameters.
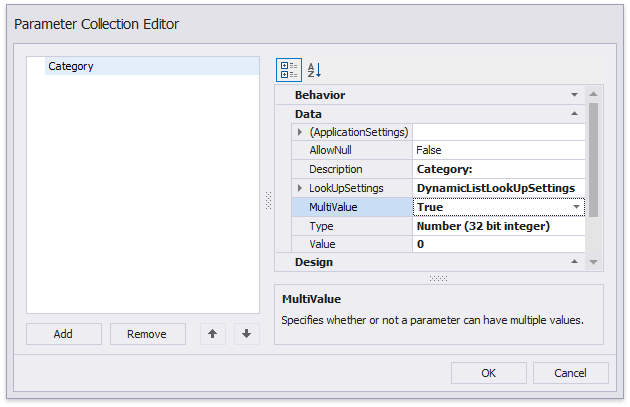
In the invoked Parameter Collection Editor, enable the Parameter.MultiValue property.
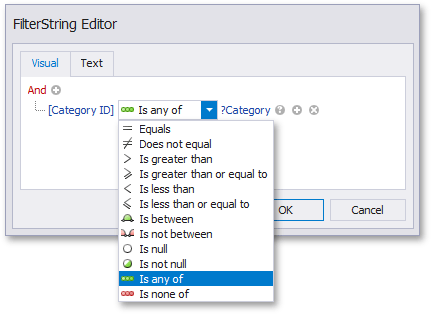
Click the report’s smart tag, and in the actions list, click the ellipsis button for the XtraReportBase.FilterString property.
In the invoked FilterString Editor, customize the expression so that the CategoryID data field is compared to all of the parameter values.
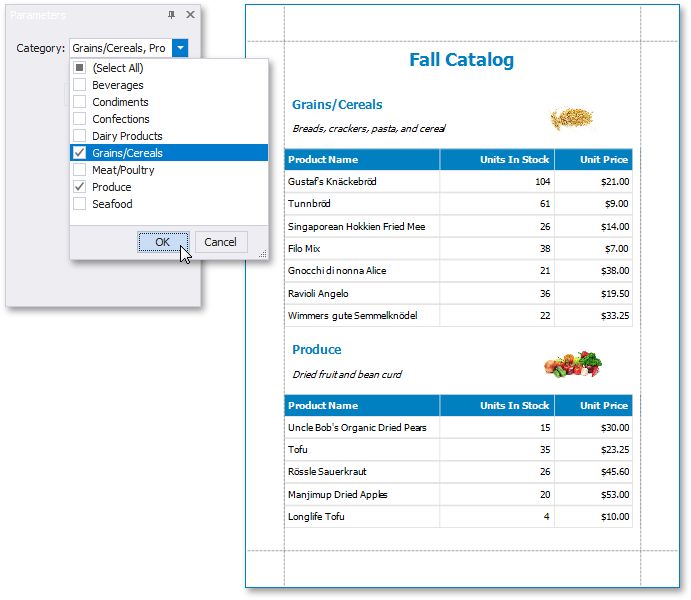
Switch to the Preview tab and select one or more categories in the parameter’s lookup editor. Clicking Submit will pass the corresponding values to the report’s filter string and generate the document.
Create Cascading Parameters
The following steps describe how to filter the list of parameter values depending on the values selected for another parameter. These cascading parameters will be used to filter data of both the master and detail reports.
Add a new parameter using the Field List.
Specify the parameter’s settings and click the ellipsis button for its FilterString property.
In the invoked editor, construct an expression in which the CategoryID data field is compared with another parameter value.
To filter the detail report, click its smart tag and click the ellipsis button for the FilterString property.
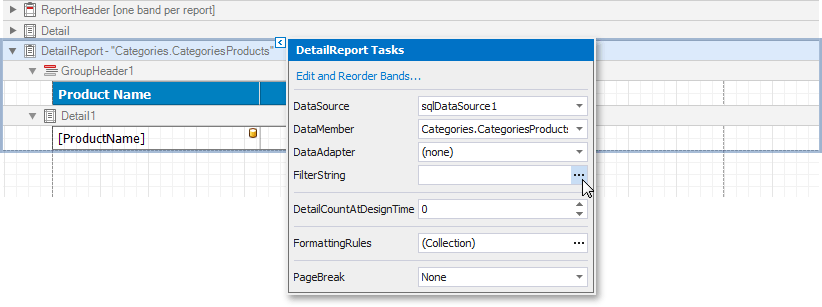
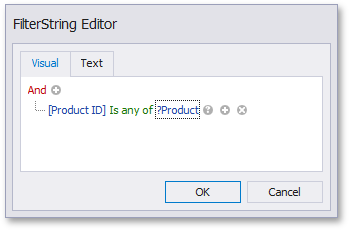
In the invoked editor, construct an expression in which the ProductID data field is compared with the created parameter value.
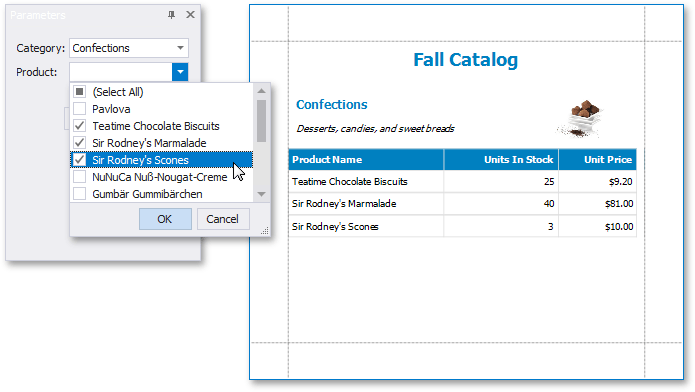
Switch to the Preview tab and select the required categories and products. Clicking Submit will pass the corresponding values to the master and detail reports’ filter strings and generate the document.
Next Lesson: Lesson 4 - Provide Navigation to a Report