Add Grouping Levels (Obsolete)
- 2 minutes to read
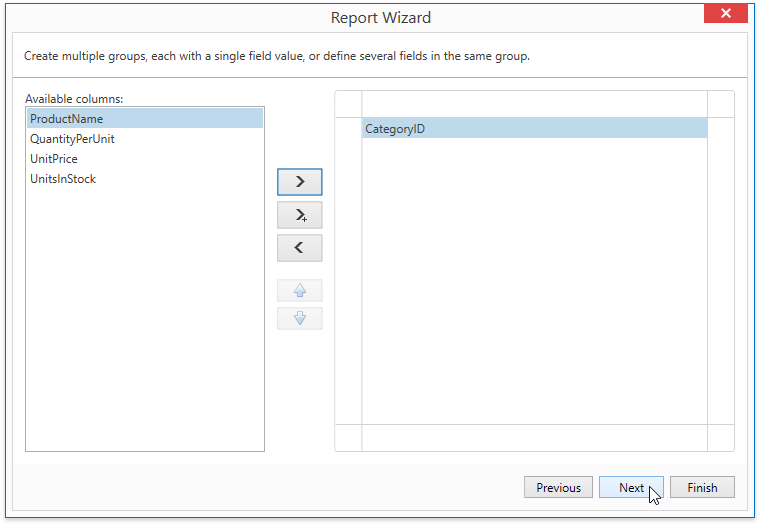
This wizard page allows you to group data in a report. If you don’t need to group your data, simply click Next to skip this step.
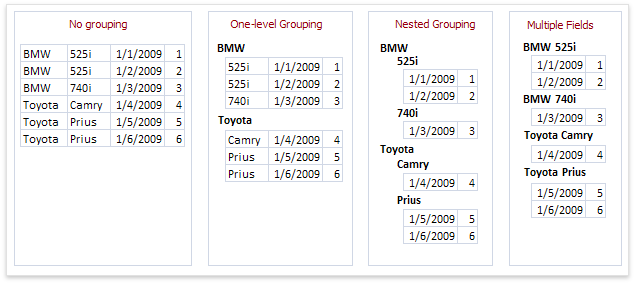
Nested grouping and grouping against multiple fields are fully supported. The following image illustrates all basic grouping types.
The list on the left-hand side displays data fields that can be used to group data. To apply grouping, select a required field and click the right arrow button. To group data against multiple columns, use the  button.
To remove a grouping field, select it in the list on the right-hand side and click the left arrow button. You can also change the order of grouping fields using the up and down arrow buttons.
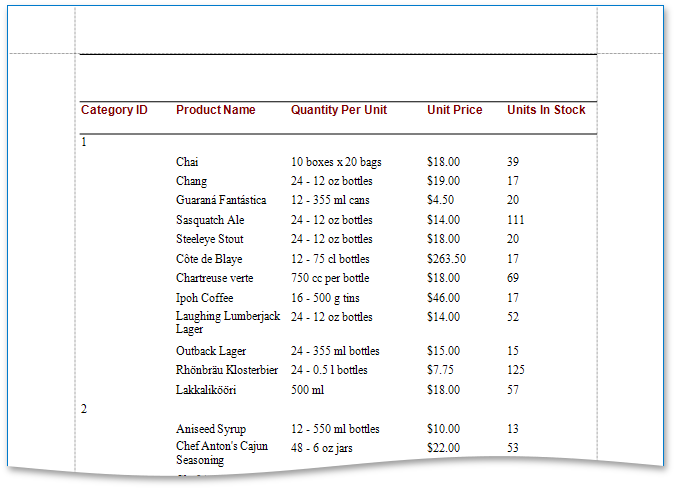
You can stop the wizard on this step by clicking Finish. In this case, the report will look similar to the one in the image below.
If you want to customize your report further, click Next. If data grouping has been applied on this page, proceed to the Specify Summary Options (Obsolete) page. If you haven’t grouped your data, skip the Summaries step and go to the Specify Report Page Settings page.
Note
This wizard page is no longer used in the default Report Wizard implementation. The following master-detail page is used instead: Add Grouping Levels.
To learn how to switch to the standard Report Wizard version, see the following example online: Report Designer for WPF - How to disable the master-detail functionality in the Report Wizard.