Get Started
- 2 minutes to read
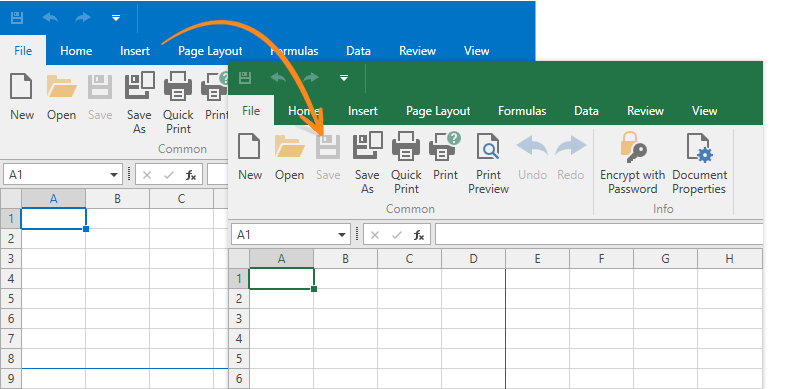
This topic describes how to change MS Excel-inspired Office 2016 Colorful SE theme’s blue colors to green.
Create a New Theme
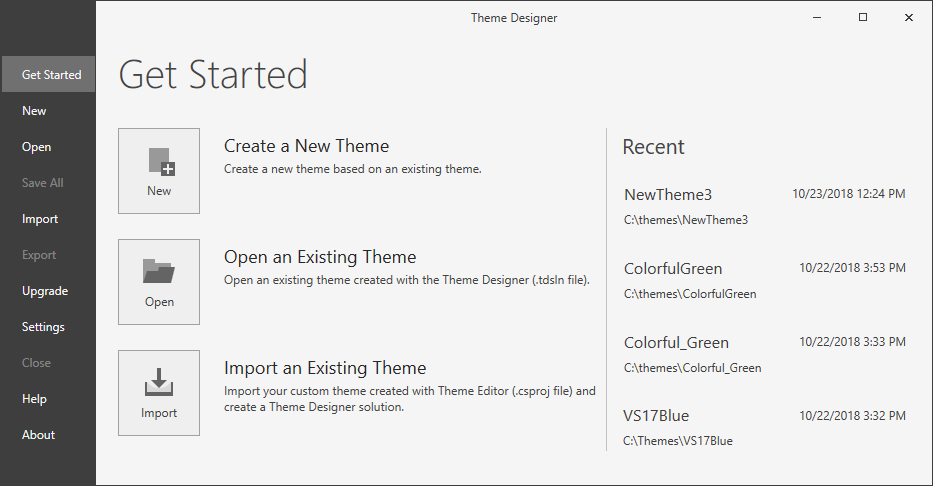
Run the Theme Designer. Open the Get Started Tab and select Create a New Theme.
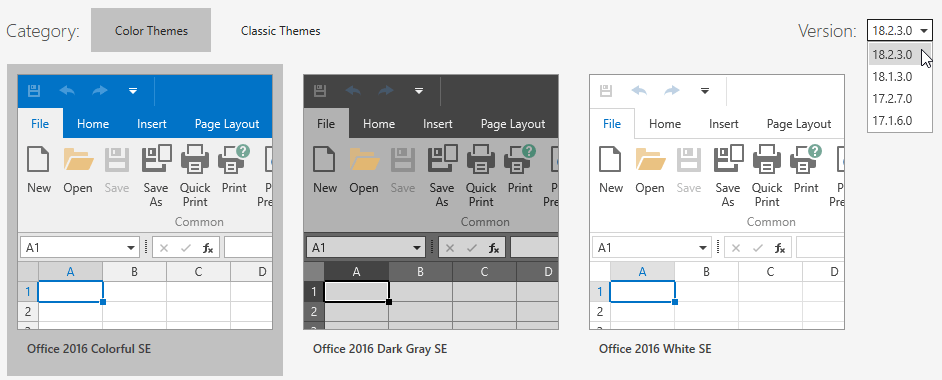
Select your new theme’s version and base theme. In this example, we select the Office 2016 Colorful SE theme and version 18.2.3.
Specify a theme’s name (Colorful_Excel in this tutorial) and path.
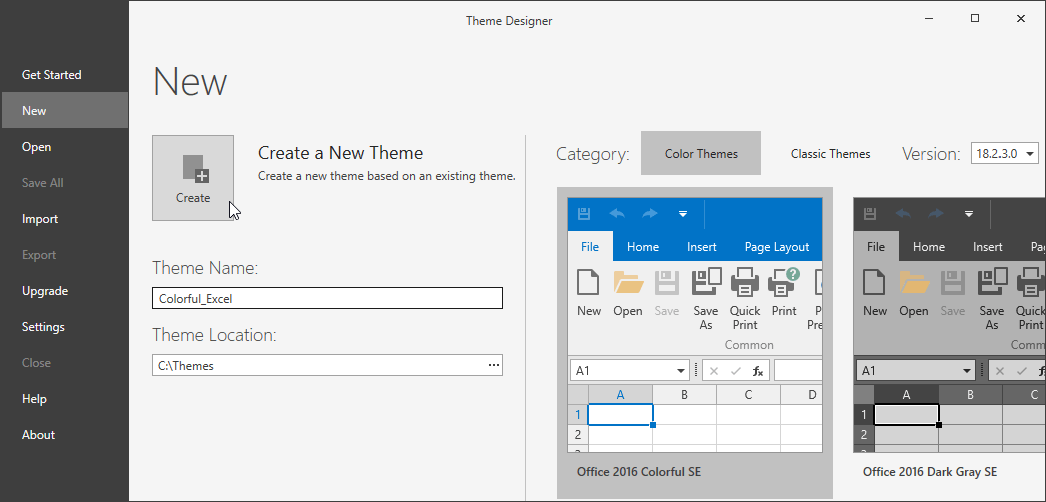
- Click Create.
The Theme Designer copies the Office 2016 Colorful SE base theme and adds it to the specified directory.
Edit a Theme
Set up preview
The Theme Designer allows you to preview the standard and DevExpress controls’ appearance with your theme applied.
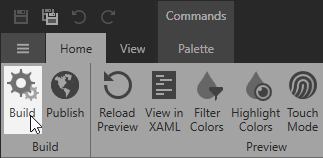
Click Build and select a control in the Navigation window to preview it.
In this tutorial, we use the Spreadsheet control with Ribbon to preview changes.

Change colors
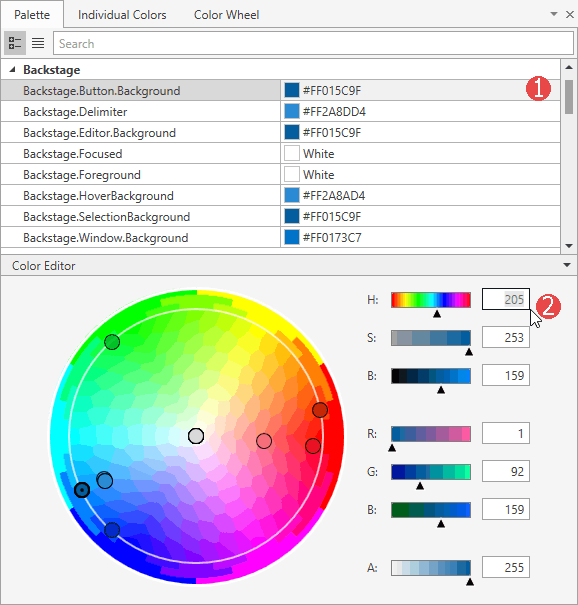
In the palette tab, select the blue colors and change the H (hue) value to 147 to make them green.
Refer to the WPF Theme Designer Tools for more information on advanced color editing tools.
Edit XAML files
Use the View in XAML tool to find an element declaration. You can enable this tool in the ribbon or use the Ctrl+D shortcut.
Point to the element, hold down the Ctrl+Shift and click the element. Theme Designer open this element’s XAML code in the Code View window.
Set the BorderThickness to 2 and the BorderBrush to $Border. Save the XAML file and build the theme to apply the changes.
Note
Refer to the Edit Theme in XAML topic for more information on how to edit themes in XAML files.
Save and Publish
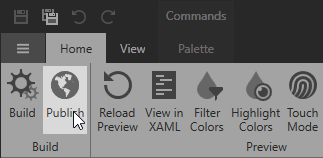
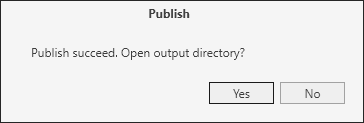
Save your theme and click Publish.
The Theme Designer publishes your theme and prompts you to open the output directory with .DLL and .PDB files.
Apply the Theme to an Application
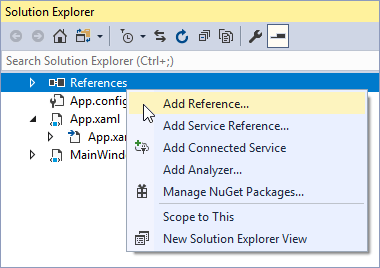
- Run Microsoft Visual Studio and open the WPF application.
Add Reference to the theme’s .DLL assembly.

Add the following code to the App.xaml.cs file:
- Run the application.