Lesson 7 - Insert Two Rows and Three Columns
- 3 minutes to read
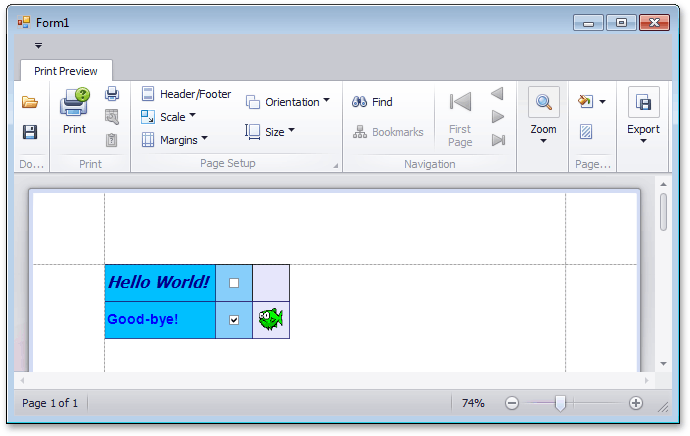
The link created in this lesson generates a document that contains two rows and three columns, with an image brick added to the second row.
Tip
A complete sample project is available in the DevExpress Code Examples database at http://www.devexpress.com/example=E161.
To insert two rows and three columns into the content of a printing link, do the following.
To create a new printing link, declare a new class (Lesson7) derived from the Lesson6 class defined in the previous lesson. The new class implements a new constructor with two parameters: one specifying a printing system, and one specifying an image to print within the report. Make sure to add an image to the project (called fish.bmp).
The CreateRow method is also enhanced to add an empty brick, and then insert an image brick inside it.
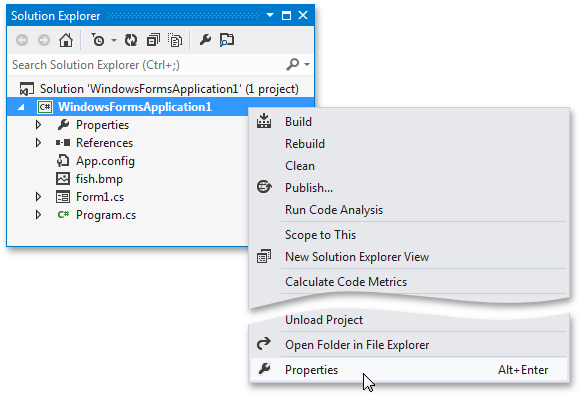
using System.Drawing; using System.Windows.Forms; using DevExpress.XtraPrinting; // ... public class Lesson7 : Lesson6 { Bitmap img; internal Color bkImageColor = Color.Lavender; public Lesson7(PrintingSystem ps, Bitmap img) : base(null) { this.img = img; CreateDocument(ps); } protected override void CreateRow(BrickGraphics graph) { base.CreateRow(graph); // Add an empty rectangle with all borders displayed // to a specific location using a Lavender background color. graph.DrawRect(new Rectangle(200, top, 50, 50), BorderSide.All, bkImageColor, graph.BorderColor); if(img != null) // Add an image without borders // to a specific location using a Transparent color. graph.DrawImage(img, new Rectangle(200 + (50 - img.Width) / 2, top + (50 - img.Height) / 2, img.Width, img.Height), BorderSide.None, Color.Transparent); } } private void button7_Click(object sender, EventArgs e) { Bitmap img = (Bitmap)Bitmap.FromFile("fish.bmp"); img.MakeTransparent(); Lesson7 lesson = new Lesson7(printingSystem1, img); lesson.ShowPreview(); }To add the image to the project’s resources, right-click the application title in the Solution Explorer and select Properties.
Switch to Resources, and select Add Existing File… in the Add Resource drop-down menu.
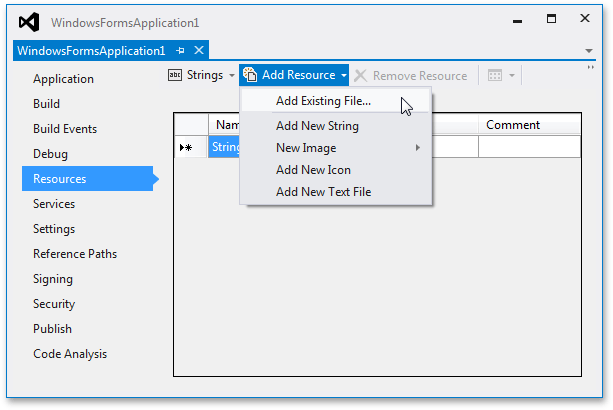
Click Save to apply the changes.
Next, modify the main form’s Load event handler to pass the Printing System of the Document Viewer and the image to the new link.
using System;
using System.Drawing;
using System.Windows.Forms;
using DevExpress.XtraPrinting;
// ...

private void Form1_Load(object sender, System.EventArgs e) {
    Bitmap img = WindowsFormsApplication1.Properties.Resources.fish;
    img.MakeTransparent();
    Lesson7 lesson = new Lesson7(printingSystem1, img);
}
Launch the application and view the result.