Lesson 3 - Draw Formatted Text
- 2 minutes to read
This lesson shows you how to create a link that generates a document containing formatted text surrounded by borders.
Tip
A complete sample project is available in the DevExpress Code Examples database at https://supportcenter.devexpress.com/ticket/details/e161/xtraprinting-getting-started.
To add formatted text to a document via a printing link, do the following.
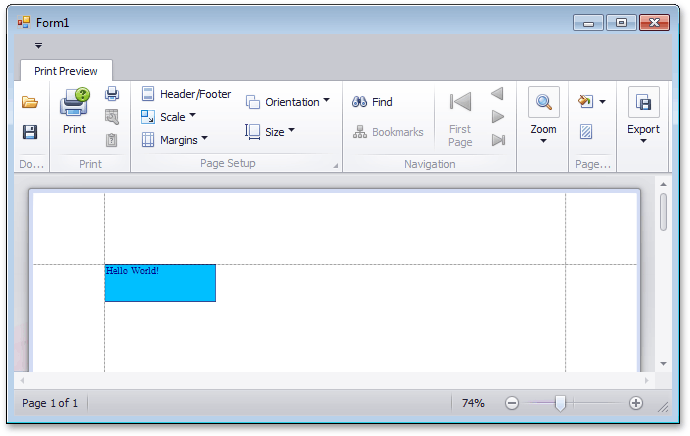
To create a new printing link, declare a new class (called Lesson3) derived from the Lesson2 class defined in the previous lesson. The extended functionality provided by the new class includes the color of the background, border, and font, as well as brick border specified in the Detail section.
using System.Drawing; using DevExpress.XtraPrinting; // ... public class Lesson3 : Lesson2 { public Lesson3(PrintingSystem ps) : base(ps) { } // Set the background color to Deep Sky Blue. protected override void CreateDetail(BrickGraphics graph) { graph.BackColor = Color.DeepSkyBlue; // Set the border color to Midnight Blue. graph.BorderColor = Color.MidnightBlue; // Add a text brick with all borders and the "Hello World!" text. graph.DrawString(caption, Color.DarkBlue, r, BorderSide.All); } }Next, modify the main form’s Load event handler to pass the Printing System of the Document Viewer to the new link.
Launch the application and view the result.