Binding to Regular ADO.NET Sources
- 4 minutes to read
In this tutorial you will bind editors of three different types to the same data source created beforehand.
- Add Data Source
- Single-Value Editors
- Lookups and other Bindable Multi-Value Editors
- Multi-Value Editors without the DataSource Property
Add Data Source
- Create a new WinForms application using the DevExpress Template Gallery, the “Blank Application” template.
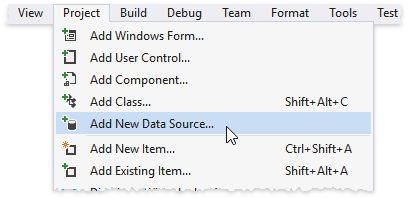
In Visual Studio, click “Project | Add New Data Source…”.
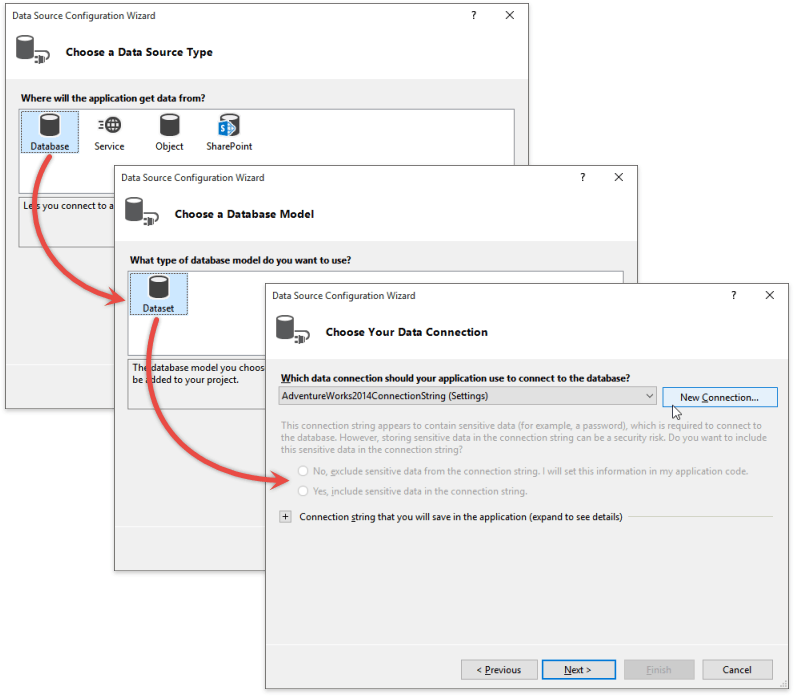
In this tutorial, a data source will be a sample “Northwind.mdf” database running on a local SQL Express Server. Choose “Database | Dataset” and click the “New Connection…” button.
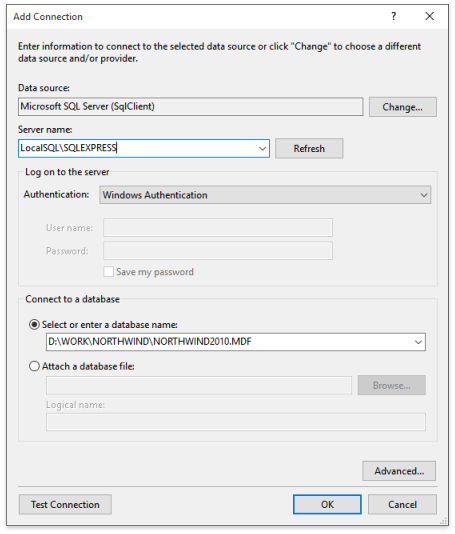
Select a server and a database.
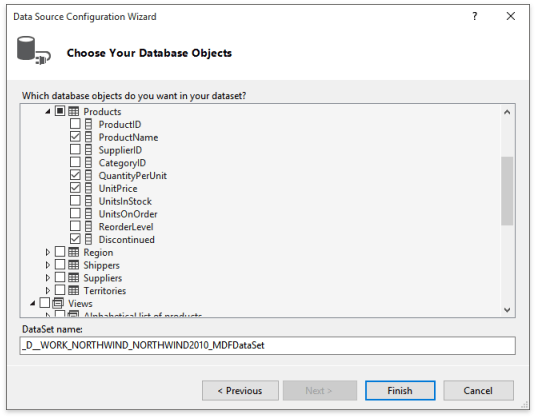
Select a required data table or view, then check data fields you need and click “Finish”.
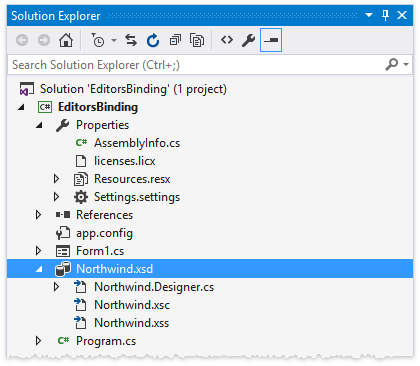
Rebuild your project and make sure your data source is now visible in the VS Solution Explorer window.
Single-Value Editors
Place two editors onto the form - TextEdit and CheckEdit.

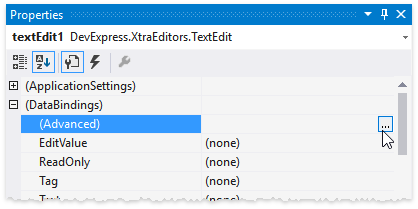
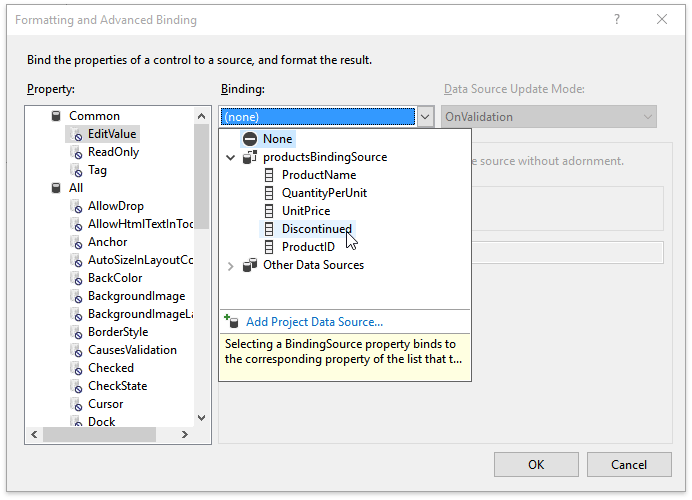
Select the TextEdit control and expand the “Data Bindings” section in the VS Properties window. Click the ellipsis button for the “(Advanced)” row.
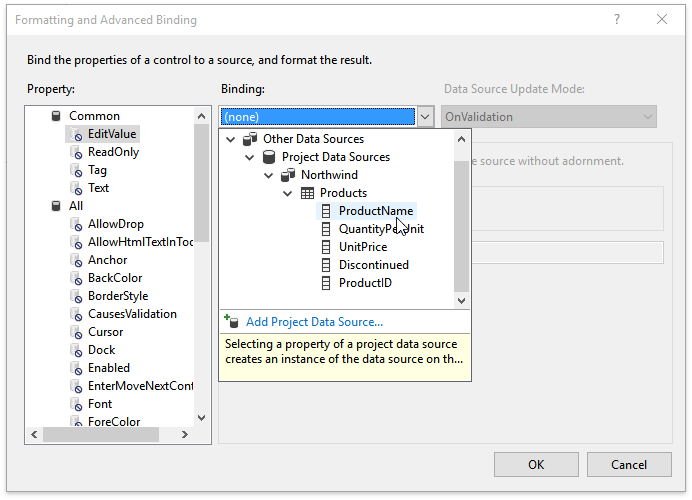
Expand the drop-down “Binding” list and locate your data source under the “Project Data Sources” node. Then, select a data field that should be bound to your editor (e.g., “ProductName”).
After this step you will have the DataSet, DataSource and TableAdapter components added automatically.
Use the same data set to bind the second editor to the boolean “Discontinued” field.
Run the application. Your editors now reflect values stored in the first data source row.

Lookups and other Bindable Multi-Value Editors
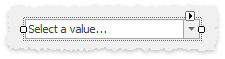
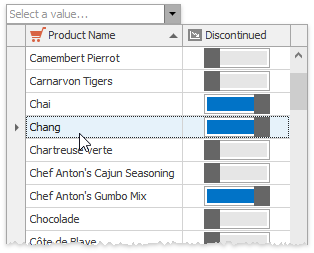
Place a GridLookUpEdit control onto the form.
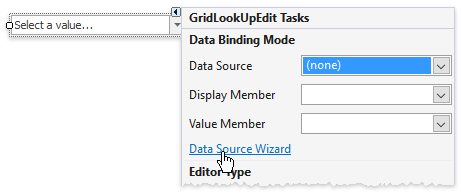
Invoke the editor’s smart tag and launch the Data Source Configuration Wizard by clicking “Data Source Wizard”.
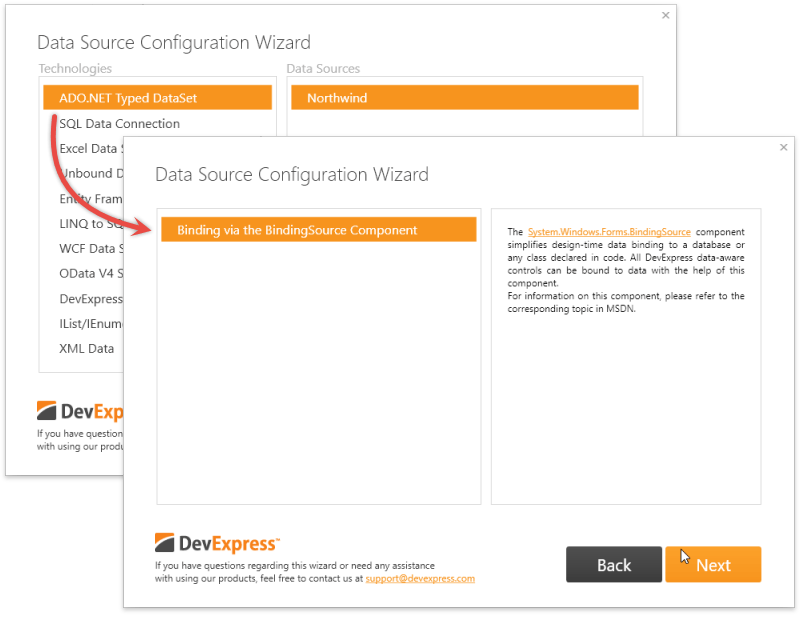
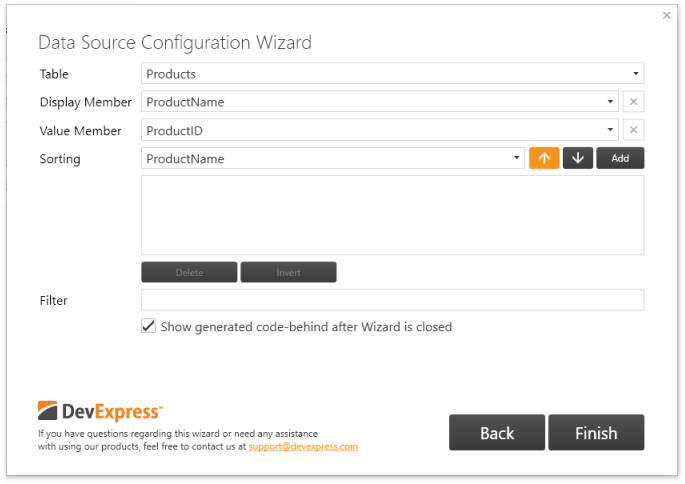
Switch to the “ADO.NET Typed DataSet” wizard tab, select your existing data source and click “Next”. Choose the “Binding via the BindingSource Component” option on the second wizard page.
Select the data field that should correspond to the editor’s display text (the “Display Member” selector) and the editor’s edit value (the “Value Member” selector). Optionally, filter and/or sort your data as required.
The editor is now bound to your data set.
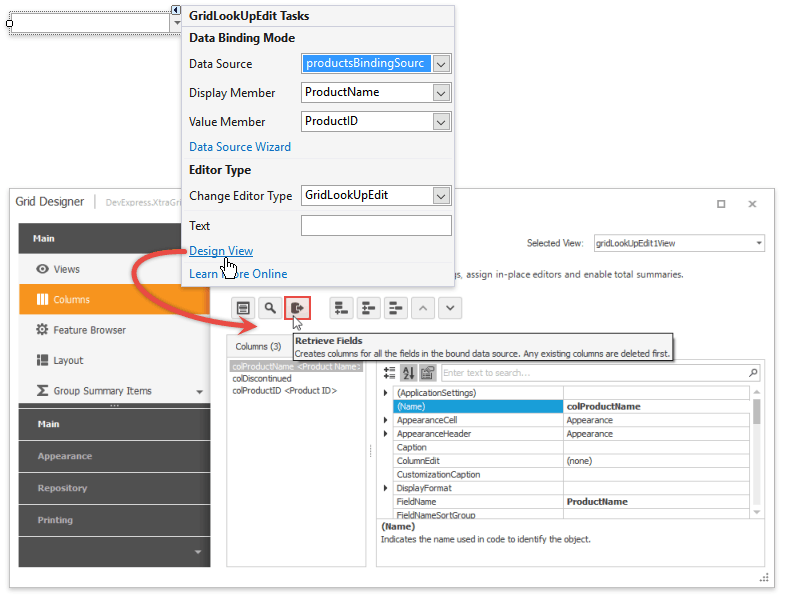
To remove and/or customize GridLookUpEdit columns, invoke the editor’s smart tag and click “Design View”. Switch to the “Columns” tab and click the “Retreive Fields” button to explicitly generate a column for each data field in the data source.
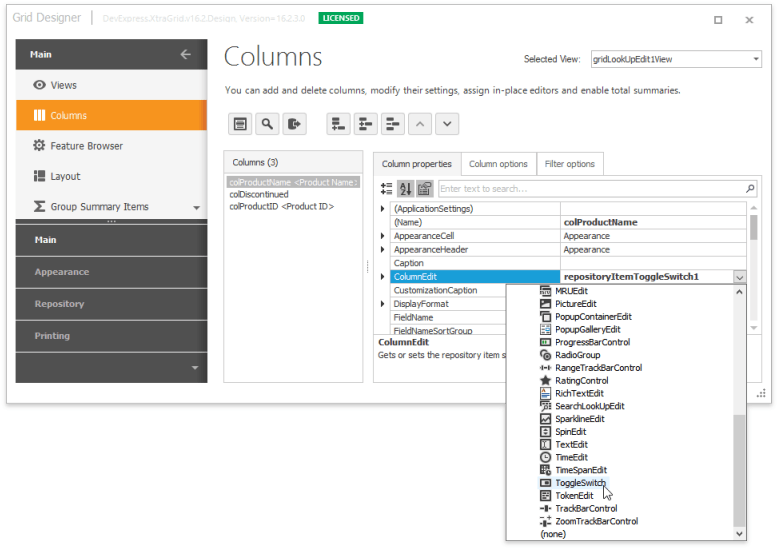
You can now remove columns to hide unwanted data (e.g., the “ProductID” field) and utilize the property grid to customize the remaining columns. For instance, by using the GridColumn.ColumnEdit property, you can replace default check boxes with ToggleSwitch editors for the “Discontinued” column.
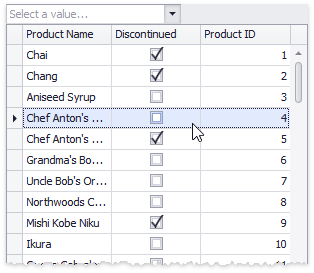
Run the application to see the final result.
See also:
Binding Lookup Editors to Simple Data Types | How to: Create Lookup Editor and Bind It to Data Source
Multi-Value Editors without the DataSource Property
Unlike lookups, editors as well as ComboBox are not data-aware and provide no DataSource property. For such editors, you need to parse data rows and manually create items.
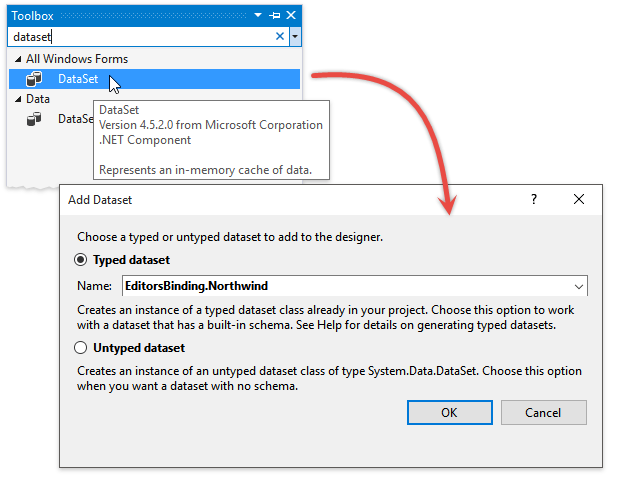
Add a standard DataSet component from the Visual Studio Toolbox. Select your existing data source when prompted.
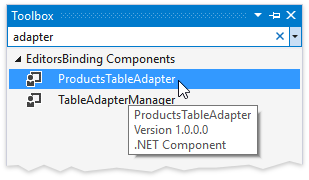
Rebuild your project and add a table adapter from the toolbox.
Populate the data set by calling the adapter’s Fill method as shown below.
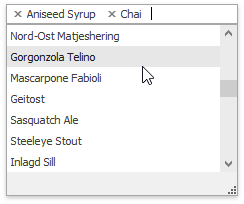
- Place a Token Edit Control onto the form.
Add tokens for each row in the data set. Note that tokens must have unique values to function properly.
private void Form1_Load(object sender, EventArgs e) { this.productsTableAdapter1.Fill(northwindDataSet1.Products); FillTokenEditor(); } public void FillTokenEditor() { foreach (DataRow Row in northwindDataSet1.Products.Rows) { TokenEditToken token = new TokenEditToken() { Value = Row["ProductID"], Description = Row["ProductName"].ToString() }; tokenEdit1.Properties.Tokens.Add(token); } }Run the application to see the result.