How to: Create a RichEditControl with a Bar UI
- 3 minutes to read
This tutorial describes how to use the WinForms Rich Text Editor to create a word processing application with the bar user interface and adjust its appearance.
In this document:
Create an Application
Create a new Windows Forms Application project in Visual Studio.
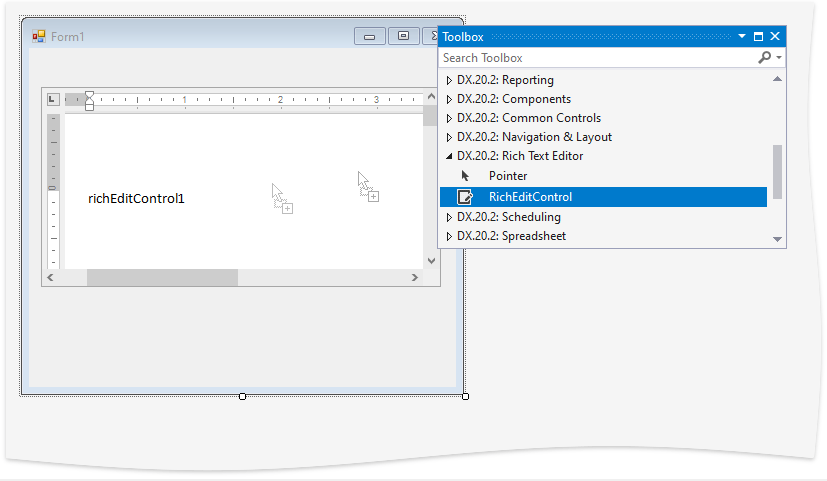
Drop the RichEditControl item from the DX.20.2: Rich Text Editor toolbox tab onto the form.
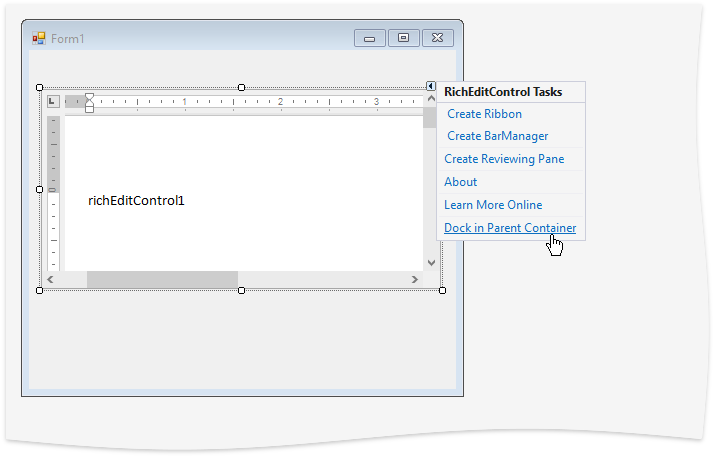
Click the RichEditControl’s smart tag and select Dock in Parent Container in the invoked RichEditControl Tasks menu to stretch the control to fill the parent form.
Create Bar Items
Design Time
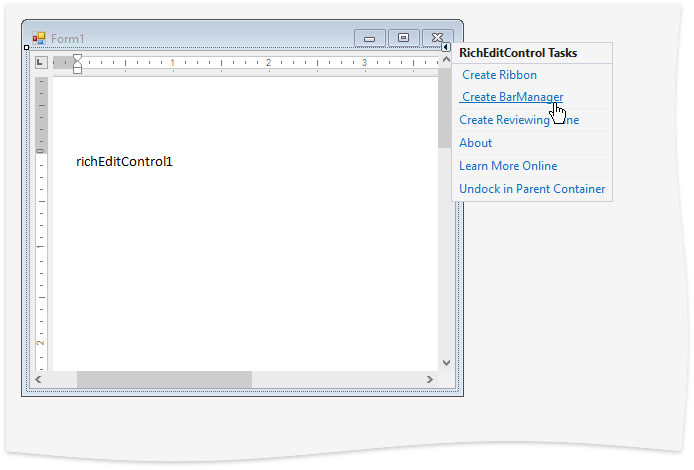
Click the RichEditControl’s smart tag once again, and select Create BarManager in the invoked menu to add a BarManager to the form.
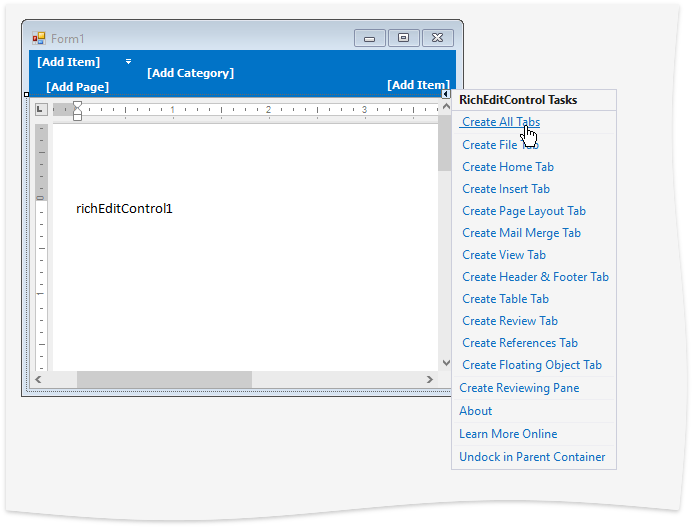
Select Create All Bars in the RichEditControl Tasks menu to add all available bar groups at once (or click the required item(s) to add a particular bar group(s) to the form).
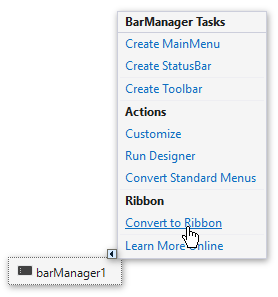
Note that you can convert traditional bars and menus to the modern ribbon interface at any time by clicking the BarManager’s smart tag and selecting Convert to Ribbon.
Runtime
Use the RichEditControl.CreateBars() method overloads to add available bar groups to the RichEdit control at runtime. Paste this code to the form constructor or to the Load event handler.
Result
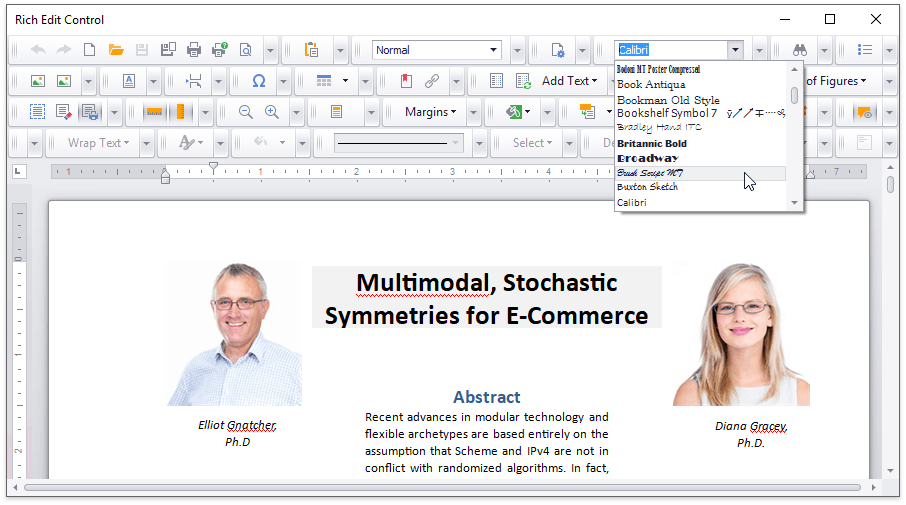
A simple word processing application is now ready. Run it and view the result. For example, type and format text, insert pictures and explore the various toolbar buttons.
Note
Commands executed using the Bar (Ribbon) user interface can throw unhandled exceptions if a problem occurs. Consider the situation when a document is being saved to a locked or read-only file. To prevent application failure, subscribe to the RichEditControl.UnhandledException event and set the RichEditUnhandledExceptionEventArgs.Handled property to true.
Change the Application’s Appearance
Change the Application’s Skin
At Design Time | In Code |
|---|---|
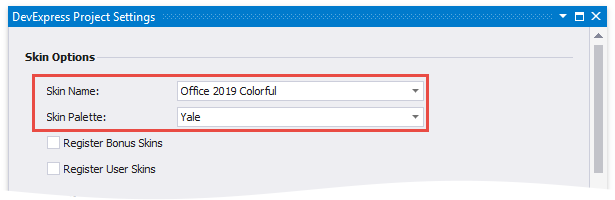
Invoke the DevExpress Project Settings page and select a desired skin in the Skin Options group.
| Call the UserLookAndFeel.Default static object’s UserLookAndFeel.SetSkinStyle method: |
Use Bitmap or Vector Icons
The newly create word processing application uses vector icons. This ensures that the application is rendered correctly on high-DPI devices.
Set the static WindowsFormsSettings.AllowDefaultSvgImages property to DefaultBoolean.False at the application’s startup to use bitmap icons in you application.
static void Main()
{
  DevExpress.XtraEditors.WindowsFormsSettings.AllowDefaultSvgImages = DevExpress.Utils.DefaultBoolean.False;
  // ...
}
The following images illustrate the standard RichEditControl’s bar UI with default vector and bitmap icons:
SVG Icons

Bitmap Icons

Tip
You can disable or hide any command button. Specify restriction settings for a RichEditControl by setting the required properties of the RichEditBehaviorOptions (RichEditControl.Options.Behavior) and DocumentCapabilitiesOptions (RichEditControl.Options.DocumentCapabilities) objects to the DocumentCapability value to solve the task.
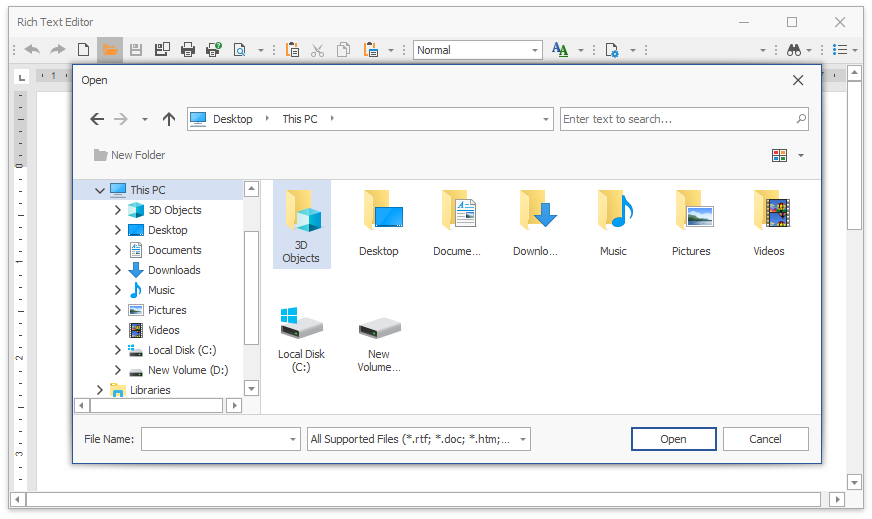
Use Skinned Open/Save File Dialogs
You can replace standard WinForms Open File and Save File dialogs with skinned DevExpress counterparts.
Set the static WindowsFormsSettings.UseDXDialogs property to DefaultBoolean.True at the application’s startup to enable skinned dialogs in your application.
Note
Add the required assembly references to use skinned DevExpress dialogs. Refer to the Deployment topic for more information.
static void Main()
{
  DevExpress.XtraEditors.WindowsFormsSettings.UseDXDialogs = DefaultBoolean.True;
}
Tip
Refer to the Examples section for more examples on how to work with the Rich Text Editor.