How to: Preview, Export and Print a Windows Forms Control
- 3 minutes to read
This topic demonstrates how you can create a print preview for a document generated based on a Windows Forms control. In this tutorial, a print preview is created to show a GridControl‘s content. You can use the same techniques to preview the content of any control that implements the IPrintable interface.
To get started with this tutorial, create a Windows Forms Application with a print preview, similar to the one created in the following tutorial: How to: Add a Print Preview to a Windows Forms Application.
This tutorial consists of the following sections.
Add a Grid Control
- Add a new page (“Grid“) to the Ribbon toolbar using the Ribbon Control Designer. To learn how to manage ribbon items, see the Ribbon Items Page topic.
To add a grid to the main form, press CTRL+ALT+X to open the Toolbox. Next, drag the GridControl control from the DX.18.2: Data & Analytics category and drop it on the form.
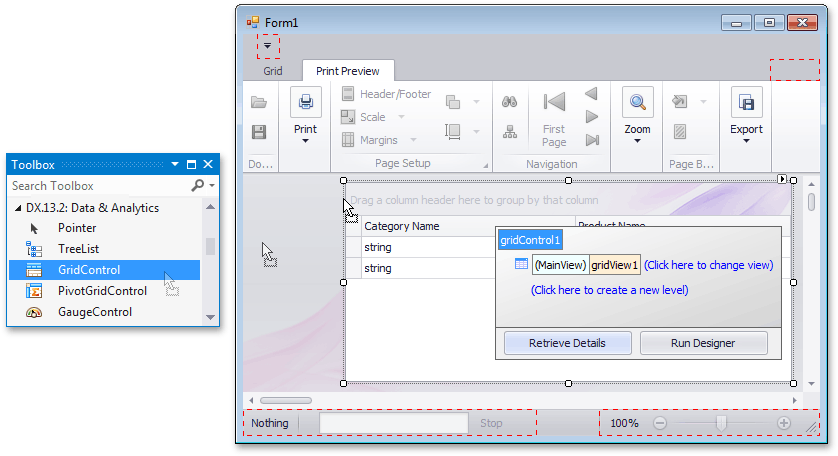
- Bind the grid control to data. To learn how to bind the grid control to data sources of different types, see the Examples: Data Binding topic.
To use the Ribbon control’s pages to quickly switch between the grid and print preview, handle the RibbonControl.SelectedPageChanged event, and add the following code to the event handler.
private void ribbonControl1_SelectedPageChanged(object sender, EventArgs e) {
    switch(ribbonControl1.SelectedPage.Name) {
        case "Grid":
            documentViewer1.Visible = false;
            gridControl1.Visible = true;
            break;
        case "printPreview":
            gridControl1.Visible = false;
            documentViewer1.Visible = true;
            printableComponentLink1.CreateDocument();
            break;
    }
}
Create a Printing Link
To generate a printable document from document sources of different kinds, the Printing System class provides printing links that are used to provide a printable presentation to a control’s data. For general information on this, refer to the Printing Links topic.
To create a printing link for a grid control, do the following.
To add a printing system to the print preview, select the DocumentViewer control and click its smart tag. Next, expand the Document Source property drop-down list, and select the PrintingSystem item in the Standard Sources category.
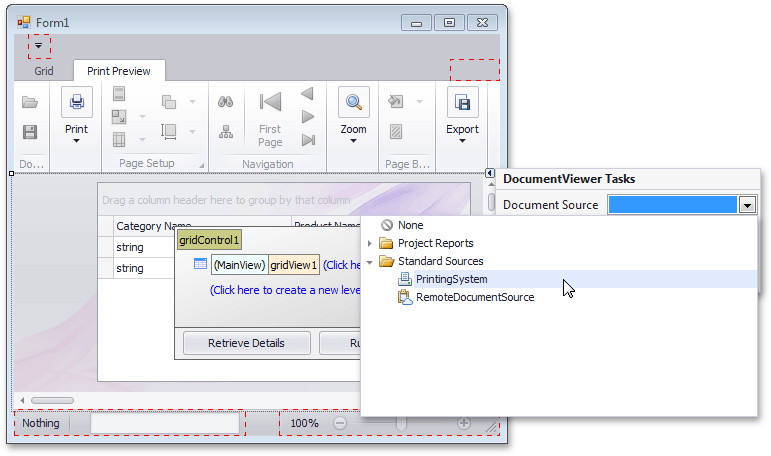
This will add a new printing system to the application and assign it to the DocumentViewer.DocumentSource property of the document viewer.
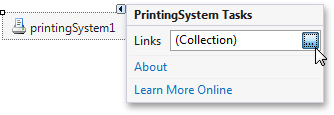
A printing system hosts links that can print different controls. To print Windows Forms controls that implement the IPrintable interface, add a PrintableComponentLink to the PrintingSystem.Links collection. To do this, select the printing system in the component tray, click its smart tag, and click the ellipsis button for the Links property in the invoked actions list.
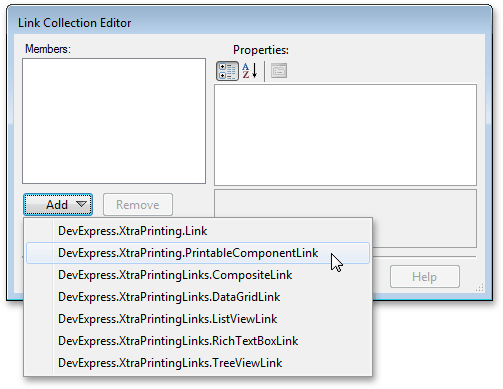
In the invoked Link Collection Editor, click Add and select DevExpress.XtraPrinting.PrintableComponentLink from the drop-down list.
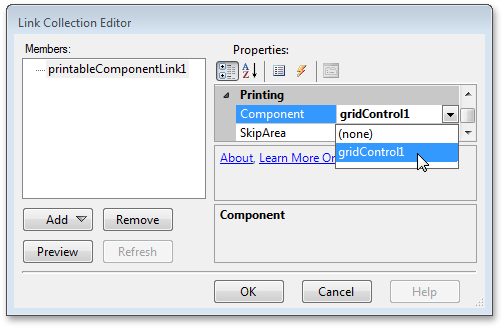
To assign the Grid Control to the created link, select the link in the Members list, and expand the drop-down list for its PrintableComponentLinkBase.Component property. Select Grid Control and click OK, to save the changes and close the dialog.
Publish the Document
A Windows Forms application with a print preview is now ready. You can change the GridControl layout by applying grouping, filtering or sorting.
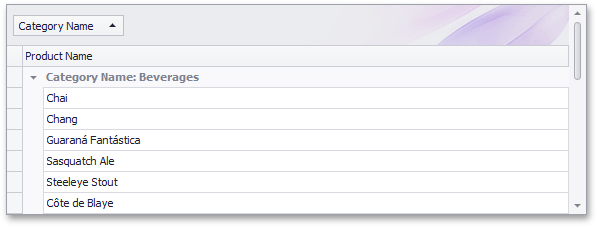
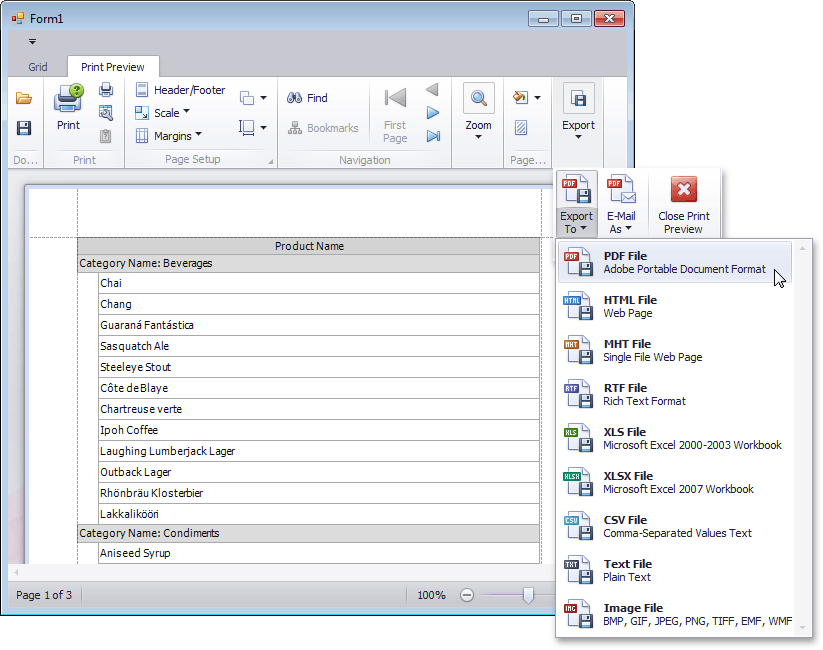
To preview the document, click the Print Preview tab on the Ribbon. Use the menu options in this tab to print and/or export the document.