How to: Add a Print Preview to a Windows Forms Application
- 2 minutes to read
This document describes the steps required to provide a Windows Forms Application with print preview capability, to display printable documents from different sources.
To create a print preview, do the following.
- Run Visual Studio 2012, 2013, 2015 or 2017, and create a new Windows Forms Application.
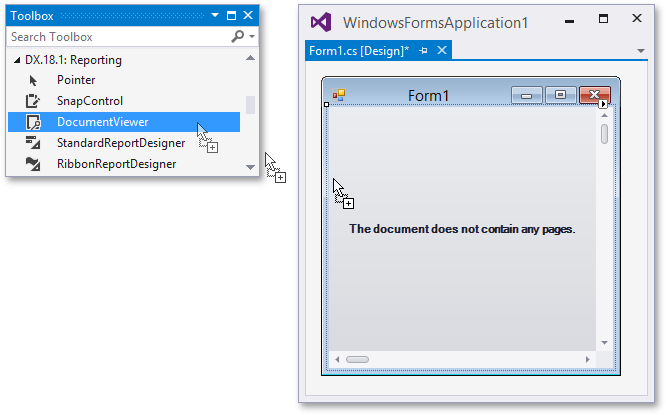
To add a print preview to your application, switch to the application’s main form in Visual Studio, and press CTRL+ALT+X to open the Toolbox. Next, drag the DocumentViewer control from the DX.18.2: Reporting category and drop it onto the form.
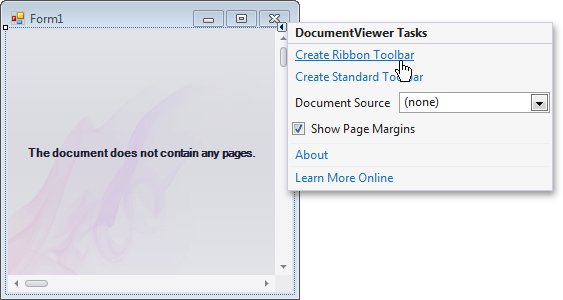
Click the smart tag of the control, and in the invoked actions list, select a toolbar that matches the user interface style of your application. In this tutorial, the Ribbon toolbar is used.
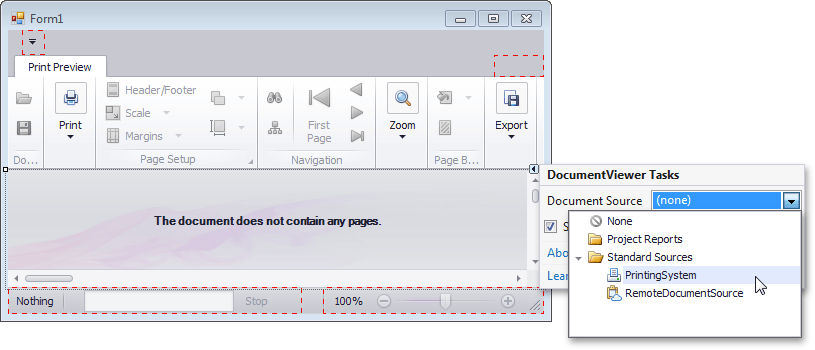
To assign a document source to the Document Viewer, click its smart tag again and in the drop-down menu of the DocumentViewer.DocumentSource property, select the option that meets your requirements.
To learn how to assign different document sources, proceed with the following topics:
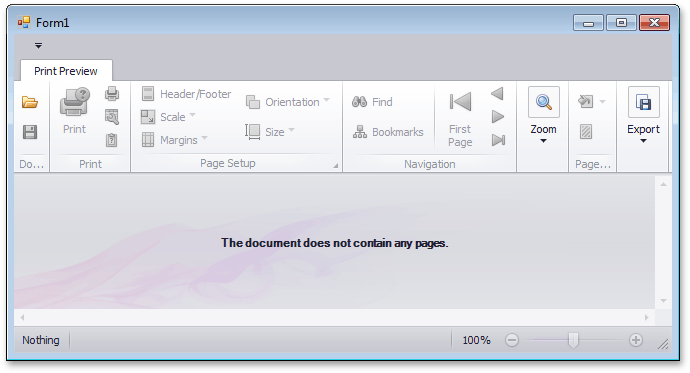
The following image illustrates a Document Viewer with no document source assigned to it.