Creating Tabbed Groups
- 2 minutes to read
This document shows how you can create tabbed groups at design and runtime.
Creating Tabbed Groups at Design Time
To create a new tabbed group do the following.
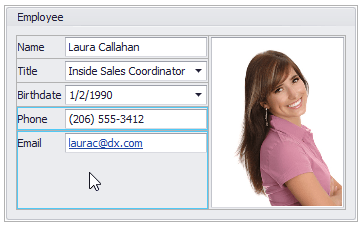
Select a layout item by clicking it with the mouse (or select multiple adjacent layout items by clicking them while holding the SHIFT key down).
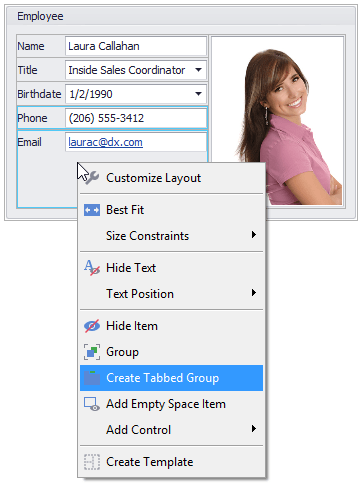
Right-click the selection to open the Context Menu and then choose the Create Tabbed Group command.
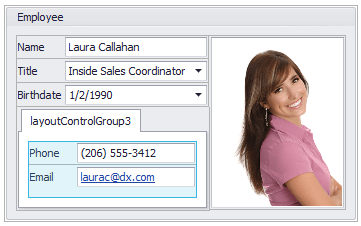
A new tabbed group will be created. The selected items will be placed into a new regular layout group, and then this group will be added as a tab to the created tabbed group.
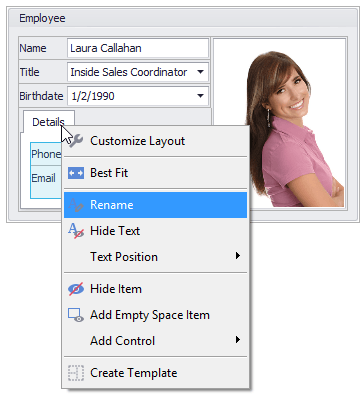
Right-click the tab and select Rename in the context menu to give a meaningful caption to the tab.
Tip
Alternatively, you can rename the tab by setting the Text property in the Properties grid (click the tab to list its settings in the Properties grid).
To add a new tab, right-click the tab group’s header region and select the Add Tab command. You can then add existing items to this tab using drag-and-drop.

Another way to add a tab is by dragging an existing group to the tab header region.
Creating Tabbed Groups at Runtime
Tabbed groups can be created in code using the following methods.
- LayoutControlGroup.AddTabbedGroup. The created group is automatically added to the current group.
- LayoutControl.AddTabbedGroup. The new group is added to the Layout Control’s root group.
- TabbedControlGroup‘s constructor. The created group then needs to be added to another group, which will become its parent. The LayoutGroup.Add and LayoutGroup.Move method can be used to do this.
A newly created tabbed group is always empty. To add tab pages to this group, use the TabbedControlGroup.AddTabPage method.
Task-Based Help
- How to: Create a tabbed group in code
- How to: Create a layout in Regular mode in code
- How to: Create layout groups and items in code