Lesson 3 - Create a Mail Merge Report
- 3 minutes to read
This tutorial describes the steps required to create and publish a mail merge report with Snap.
The tutorial consists of the following sections.
Provide a Document Template
To provide a template for a mail merge document, do the following.
- Run the Snap application that was created in Lesson 1 - Create a Snap Application.
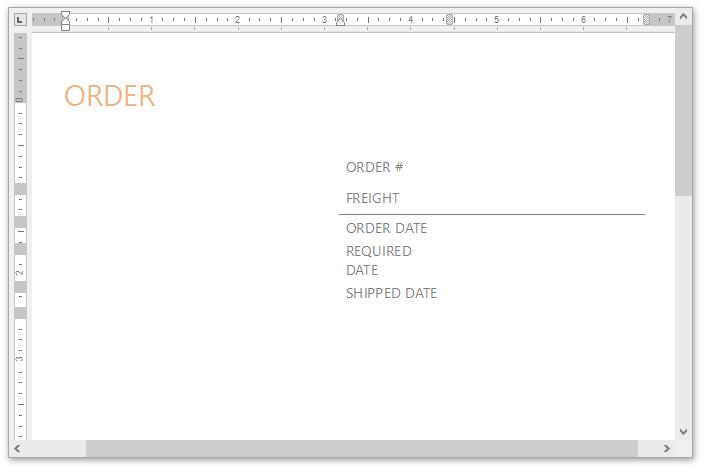
Create a document layout by using the rich text editing tools of the Snap application, or open an existing document in one of the supported third-party formats.
Add Dynamic Content
To create a Snap report using a document template, do the following.
- Provide the document with a master-detail data connection, as described in Lesson 2 - Connect a Document to Data. This tutorial uses a connection to the sample Northwind database (the nwind.mdb file included in the product installation).
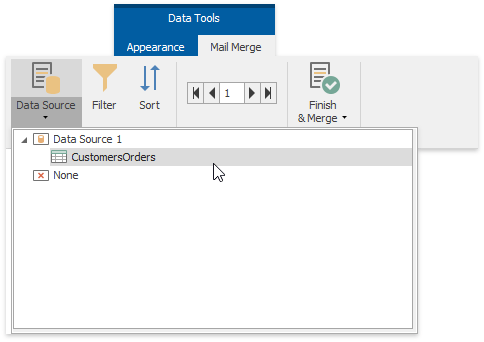
Next, specify which data source will be used for mail merge. To do this, click the Data Source button on the Data Tools: Mail Merge tab of the main toolbar and select the required data source in the invoked drop-down list.
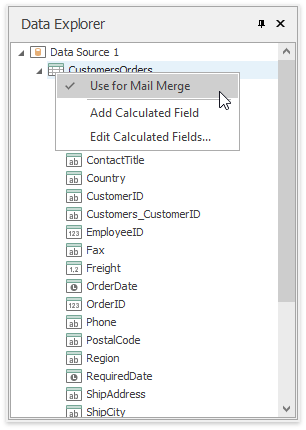
Alternatively, right-click the required data source in the Data Explorer and select Use For Mail Merge in the invoked drop-down menu.
Note
We do not recommend using data sources which are not marked as Use for Mail Merge to perform mail merge.
To insert data bound fields into the document, drag-and-drop data fields from the Data Explorer onto the Design Surface.
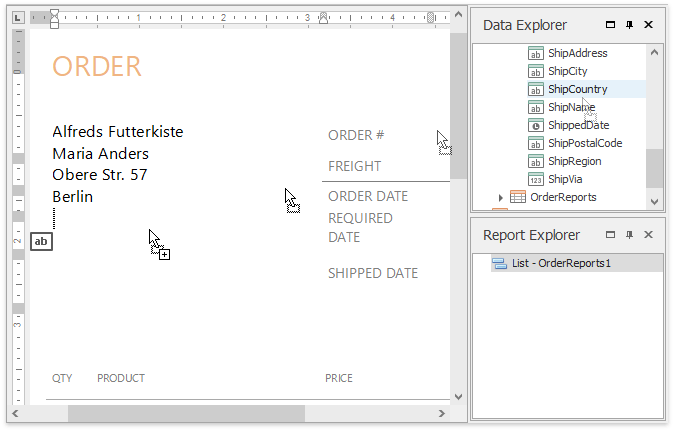
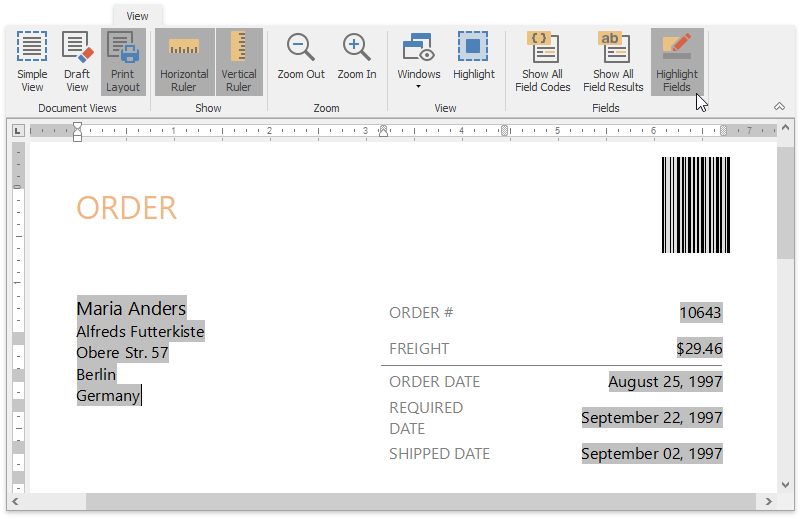
Activate the Highlight Fields option from the View tab of the main toolbar to highlight all mail merge fields in a document. This allows you to easily distinguish between dynamic and static content.
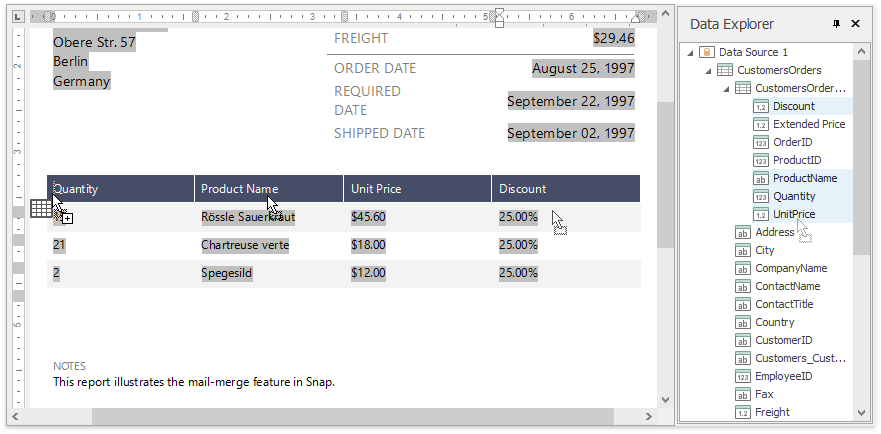
To insert a detail report part, drag-and-drop fields from a subordinate node of the data source. Fields of a nested level of a mail-merge data source are inserted into a template as columns of a Snap List.
This tutorial focuses on a very limited set of actions when using Snap. For more information on the reporting functionality supplied with Snap, see the following tutorials in the Snap Examples section.
- How to: Sort Data (Runtime Sample)
- How to: Group Data (Runtime Sample)
- How to: Filter Data (Runtime Sample)
- How to: Create a Report with a Chart
Preview and Publish the Document
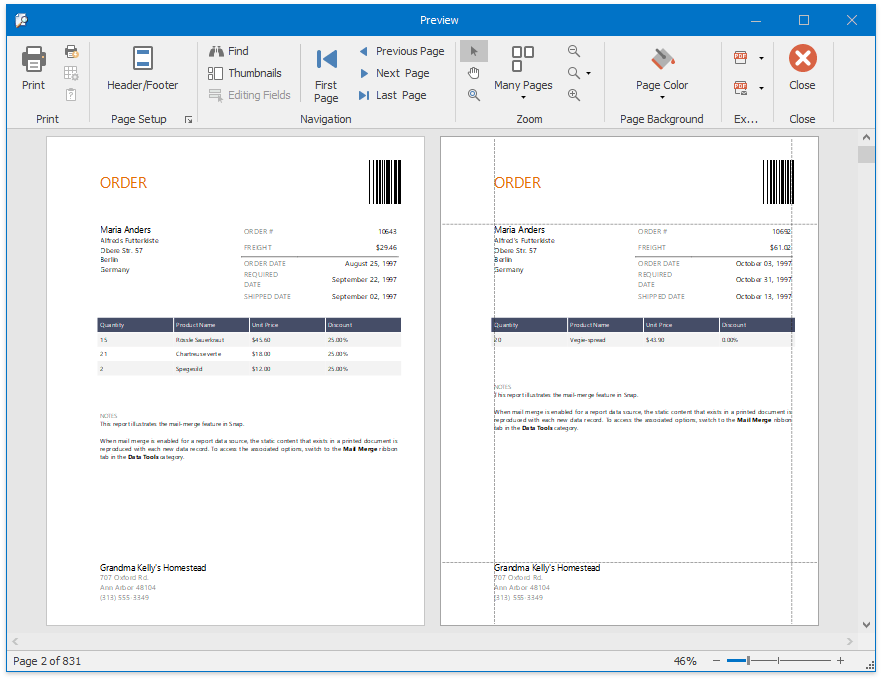
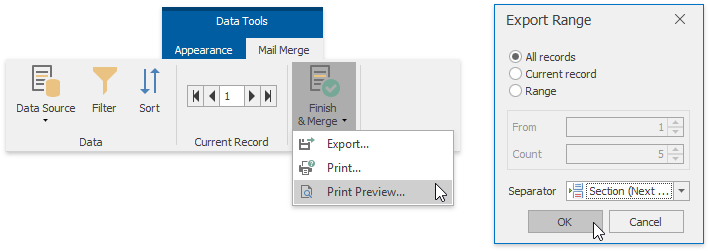
The Snap mail merge document is now ready. To view the result, click the Finish & Merge button in the Mail Merge tab of the main toolbar, and select Print Preview… in the invoked drop-down menu. In the invoked Export Range dialog, select All records and click OK.
The following image illustrates a print preview for the final document.