Get Started with the WinForms Spreadsheet Control
- 4 minutes to read
This tutorial describes how to use the WinForms Spreadsheet control to create a simple spreadsheet application with a ribbon interface.
Create a Spreadsheet Application
- Start Visual Studio and create a new Windows Forms Application project.
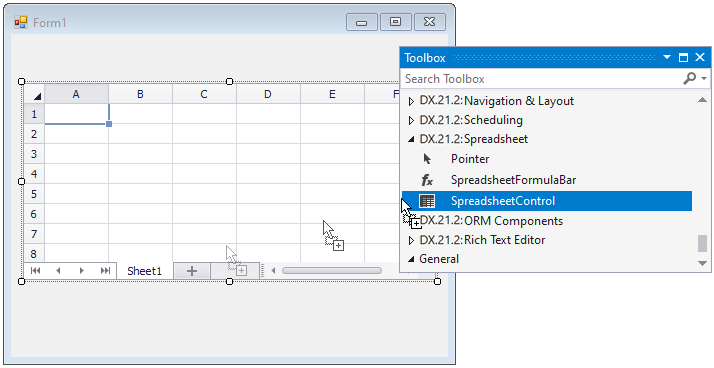
Drop the SpreadsheetControl item from the DX.21.2: Spreadsheet toolbox tab onto the form.
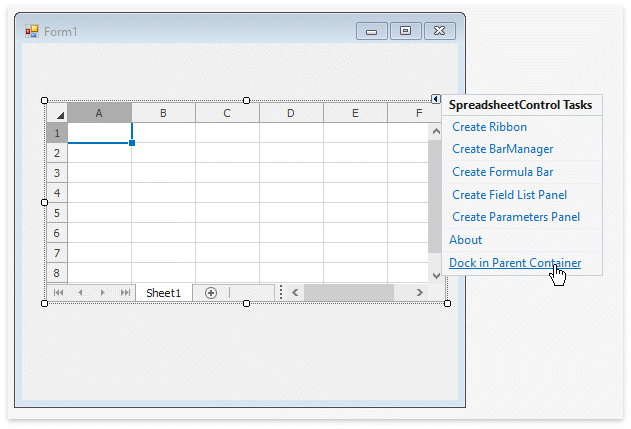
Click the SpreadsheetControl’s smart tag and select Dock in Parent Container in the SpreadsheetControl Tasks menu. This allows the SpreadsheetControl to expand to the form’s size.
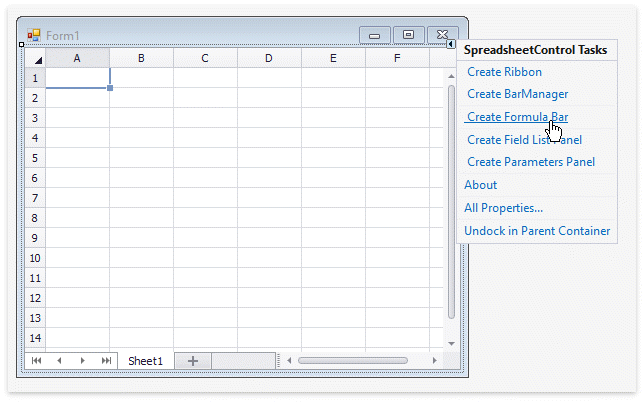
Select Create Formula Bar in the SpreadsheetControl Tasks menu. This action adds the SpreadsheetFormulaBar control to the form and binds it to the SpreadsheetControl.
Create Ribbon Pages
Design Time
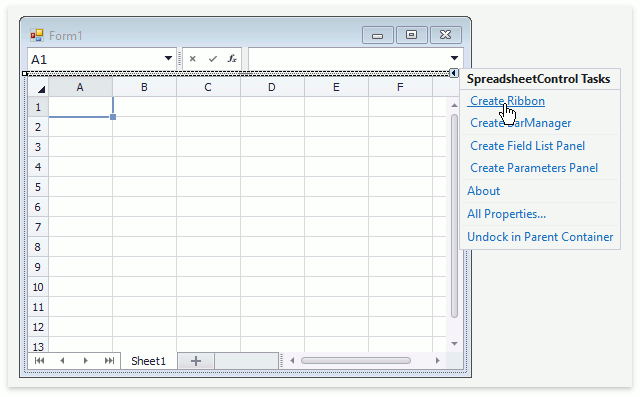
Select Create Ribbon in the SpreadsheetControl Tasks menu to add a RibbonControl to the spreadsheet.
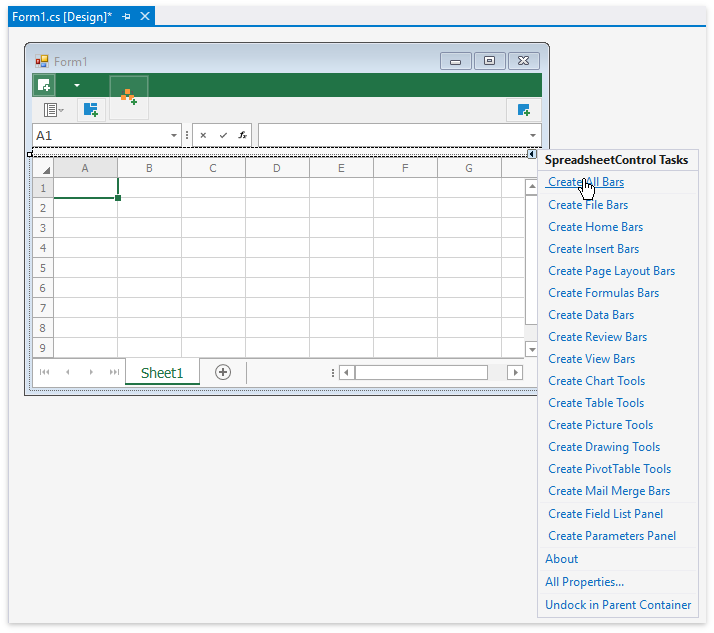
Select necessary ribbon pages in the SpreadsheetControl Tasks menu or click Create All Bars to add all available spreadsheet ribbon pages at once. You can customize the created ribbon afterward: change the ribbon style, add new ribbon elements, modify or remove the existing items.
Click the RibbonControl’s smart tag and select Convert To Ribbon Form in the RibbonControl Tasks menu to convert the application form to a Ribbon Form.

Runtime
Use the CreateRibbon method overloads to add a ribbon to the Spreadsheet control at runtime.
using DevExpress.XtraBars.Ribbon;
using DevExpress.XtraSpreadsheet;
// ...

public Form1()
{
    InitializeComponent();

    // Create all spreadsheet ribbon tabs.
    RibbonControl ribbon = spreadsheetControl1.CreateRibbon(SpreadsheetToolbarType.All);
    this.Controls.Add(ribbon);
}
Add a Status Bar
Design Time
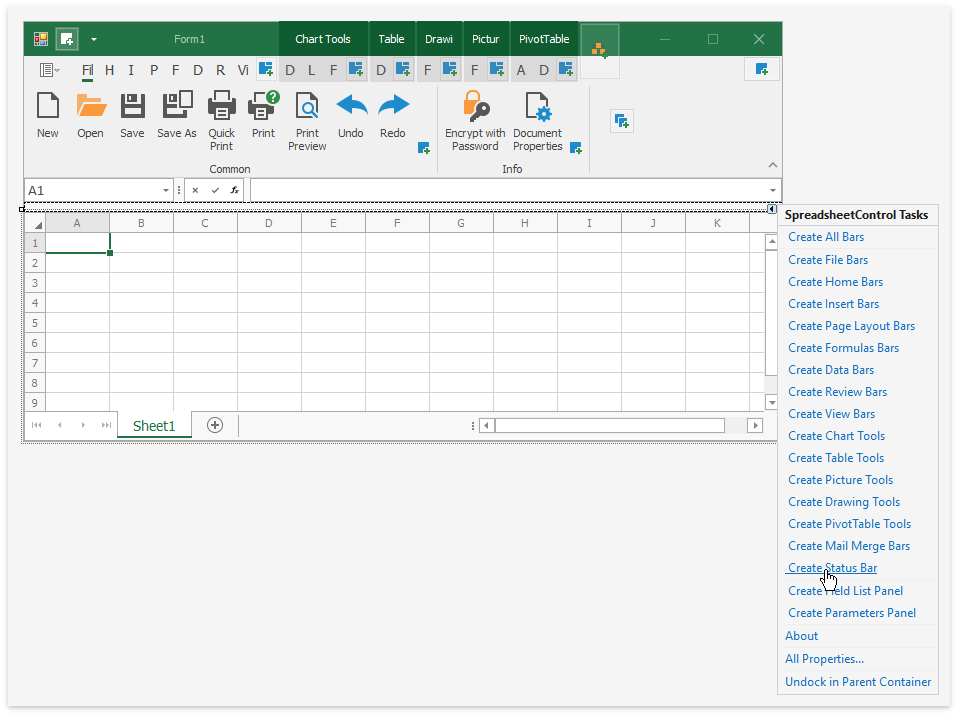
- After you generate a ribbon, you can add a status bar to your Spreadsheet application. Click the SpreadsheetControl’s smart tag and select Create Status Bar in the SpreadsheetControl Tasks menu.
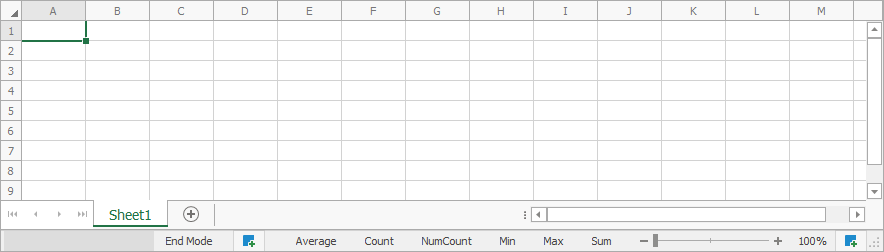
The created status bar contains all the available items (listed in the SpreadsheetStatusBarItems enumeration). You can add new elements to the status bar, remove existing items, or delete the entire status bar.
Runtime
Use the CreateRibbonStatusBar method overloads to add a status bar to the Spreadsheet application with a Ribbon UI.
using DevExpress.XtraBars.Ribbon;
using DevExpress.XtraSpreadsheet;
// ...

public Form1()
{
    InitializeComponent();

    // Create a ribbon.
    // ...

    // Create a status bar with all available items and bind it to the existing ribbon.
    RibbonStatusBar statusBar = spreadsheetControl1.CreateRibbonStatusBar(ribbon, SpreadsheetStatusBarItems.All);
    this.Controls.Add(statusBar);
}
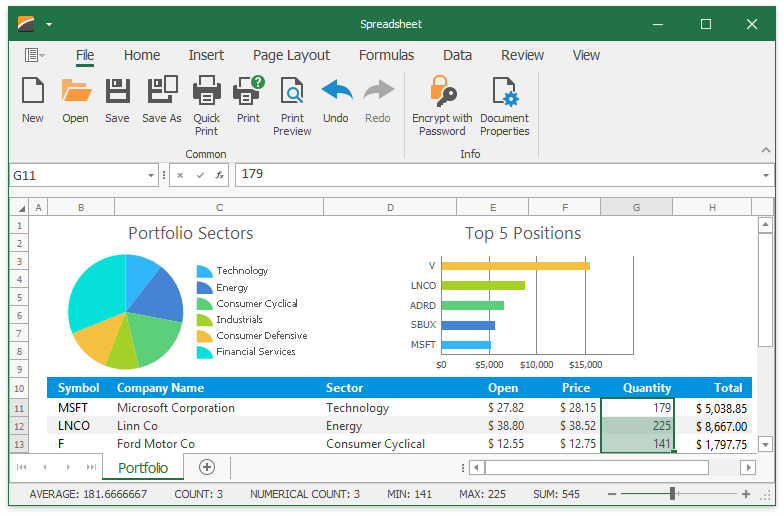
Result
Run the application and try the Spreadsheet features. Load a workbook, enter cell values, create formulas, and apply cell formatting.
Note
Commands executed via the ribbon UI can throw unhandled exceptions if a problem occurs. For instance, when a user saves a document to a locked or read-only file. To avoid this, subscribe to the SpreadsheetControl.UnhandledException event and set the SpreadsheetUnhandledExceptionEventArgs.Handled property to true.
Change the Application’s Appearance
Change the Application’s Skin
At Design Time | In Code |
|---|---|
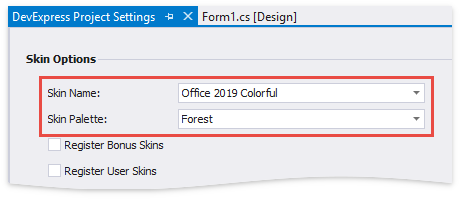
Invoke the DevExpress Project Settings page and select a skin in the Skin Options group.
| Call the UserLookAndFeel.Default static object’s UserLookAndFeel.SetSkinStyle method: |
Use Bitmap or Vector Icons
The newly created spreadsheet application uses vector icons. This ensures the application is rendered correctly on high-DPI devices.
Set the static WindowsFormsSettings.AllowDefaultSvgImages property to DefaultBoolean.False at the application’s startup to use bitmap icons in your application.
static void Main()
{
    DevExpress.XtraEditors.WindowsFormsSettings.AllowDefaultSvgImages = DevExpress.Utils.DefaultBoolean.False;
    // ...
}
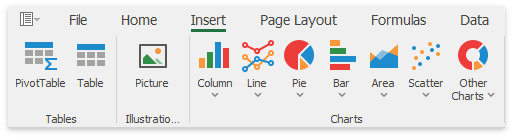
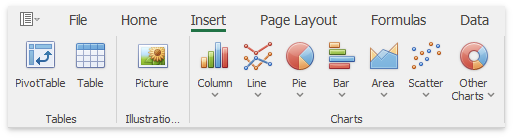
The following images illustrate the Spreadsheet’s ribbon UI with default vector and bitmap icons:
- SVG Icons
- Bitmap Icons
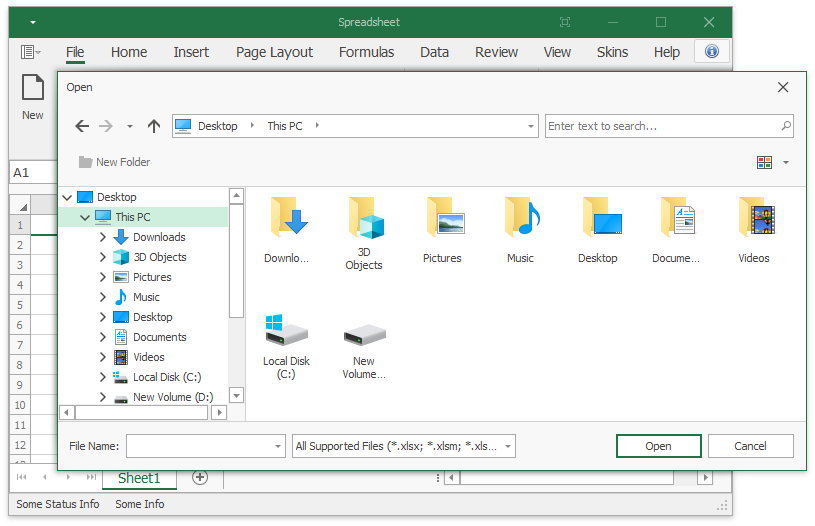
Use Skinned Open and Save File Dialogs
Replace standard WinForms Open and Save dialogs with their skinned DevExpress counterparts.
Set the static WindowsFormsSettings.UseDXDialogs property to DefaultBoolean.True at the application’s startup to enable DevExpress Open/Save dialogs in your application.
Note
Ensure your project contains all the assemblies skinned DevExpress dialogs require. Refer to the Deployment topic for the assembly list.
static void Main()
{
    DevExpress.XtraEditors.WindowsFormsSettings.UseDXDialogs = DefaultBoolean.True;
    // ...
}