How To: Generate an Application Based on the Existing Data Access Level
- 3 minutes to read
This tutorial contains detailed steps that guide you through generating a ready-to-use application with the desired UI type. To successfully complete this tutorial, you first need to create a valid Data Access Layer acceptable by Scaffolding Wizard.
Right-click a project in the Visual Studio’s Solution Explorer window, then select the “Add | New Item” option (or press “CTRL+SHIFT+A”).
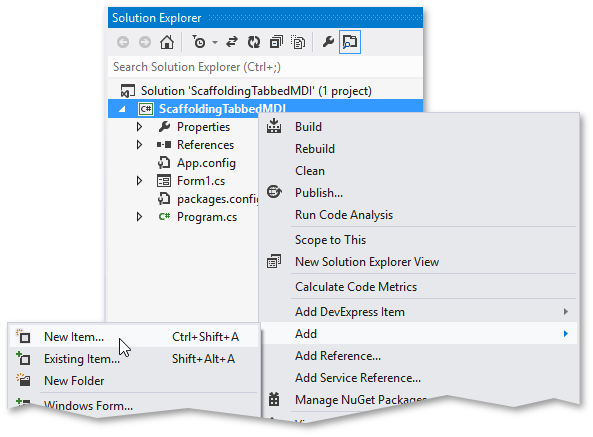
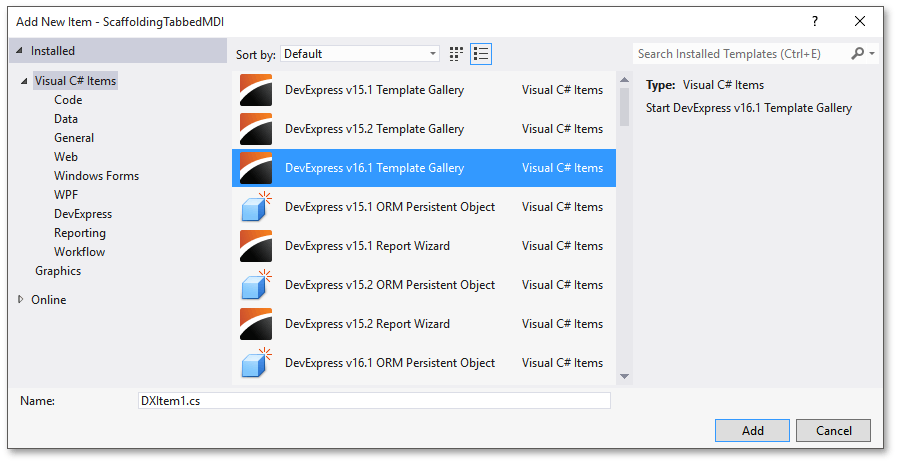
Search for the DevExpress Template Gallery item in the invoked dialog and click “Add”.
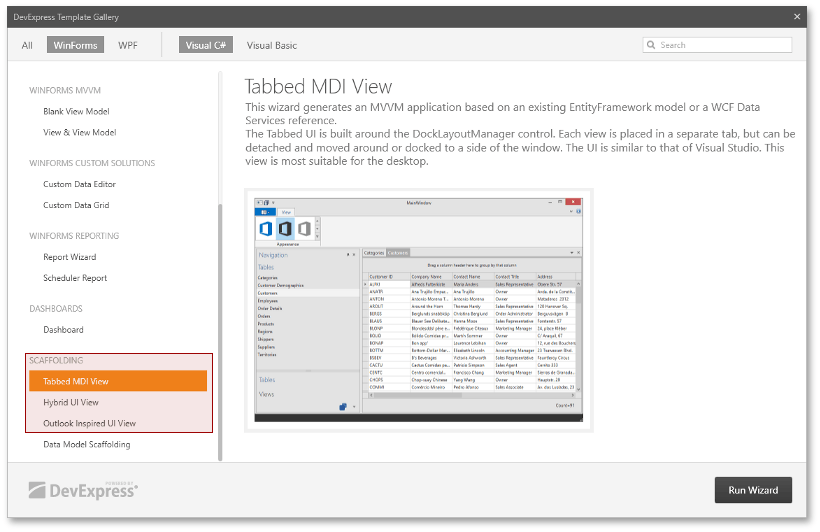
Scroll the Template Gallery down to the “SCAFFOLDING” heading and select the required application UI type. Do not choose the last option in this group, “Data Model Scaffolding”, as it will not generate any predefined UI and you will have to create all required Views manually. This approach is described separately in the this MVVM tutorial.
Choose the existing DbContext and an EF provider that will work with this context. It is recommended that you select the same EF provider as specified by your .edmx model.
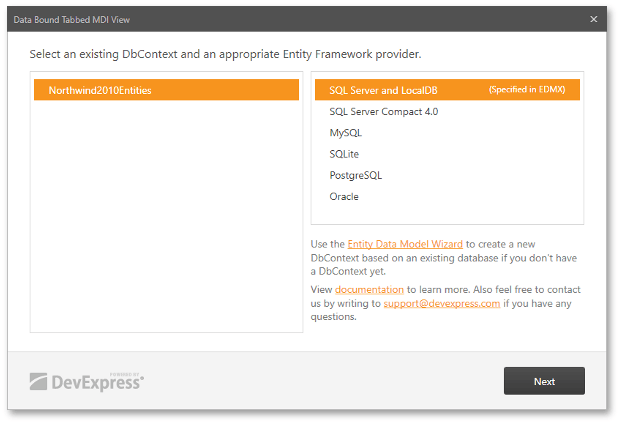
Note
The Scaffolding Wizard searches for Data Access Layers in references to projects that are only contained in the current solution.
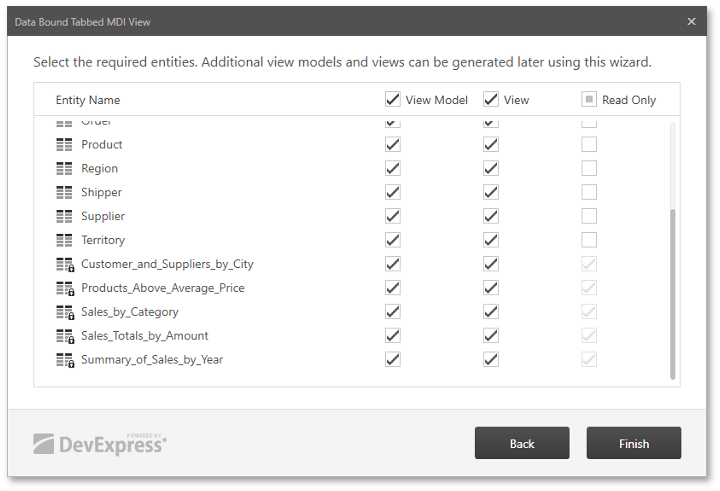
The following Wizard page lists all tables and views found in the selected model. You can clear the “View Model” and “View” check boxes to skip generating related classes for desired data tables/views. The “Read Only” check box column allows you choose whether or not the Wizard should generate a detail (edit) View for the data table. If this check box is cleared, end-users will not be able to add, remove or modify records in the table. Note that unlike tables, data views are always read-only. Check the required options and click “Finish” to start generating the app.
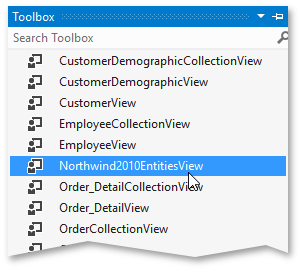
After the Wizard finishes generating all Views and View Models, you will have lots of new files and folders added to your project. The Class Structure article will help you to get familiar with all these new items. For now, locate the “[Name_of_DbContext]View” UserControl in the VS Toolbox.
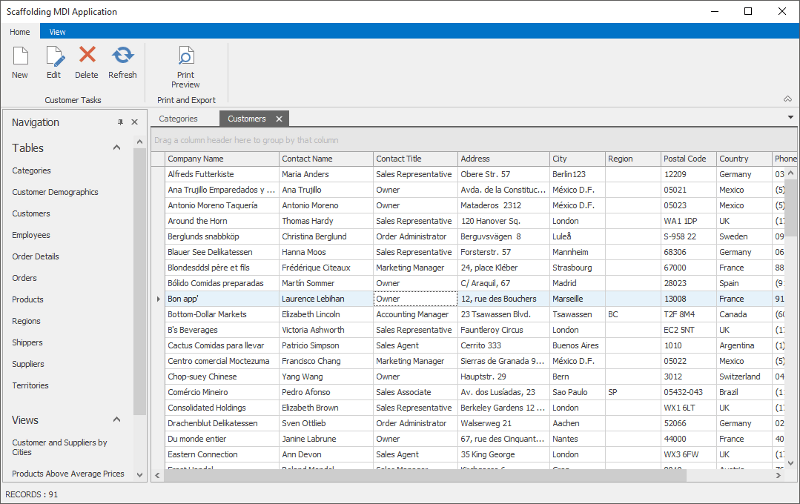
This UserControl is your main start-up View. Drop it onto your main form and set its Dock property to Fill. For best visual results, apply an appropriate DevExpress skin and convert your default form to either XtraForm or RibbonForm. Then, launch the app to see the result. The following figure illustrates a running application with Tabbed UI.
To learn about all runtime capabilities provided by your application, refer to the Embedded Functionality article.