Tutorial: Tile View - Basics
- 2 minutes to read
This walkthrough is a transcript of the Tile View - Basics video available on the DevExpress YouTube Channel.
In this tutorial, you will see how to switch the usual GridView data layout to Tile View, which displays information using Windows 10 style tiles. You will learn the basics of tile template configuration, such as adding data bound and unbound elements and positioning them within the template.
Starting Point
Start with an existing project that already has a grid control bound to a data source. The database contains employee information including their first and last names, location, title and photo.

Switching to the Tile View Format
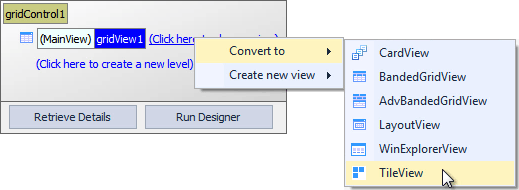
Display the same data using the Windows 10 style tiles. Use the GridControl’s Level Designer to change the View to Tile View.
If you launch the application right away, you will see empty tiles. A tile for each data row has been generated automatically, but no field values are displayed in them.

Changing Tile Size
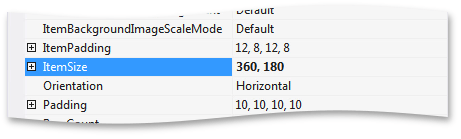
Return to design time and before adding data to tiles, change their size using the TileViewItemOptions.ItemSize property.
Customizing Tile Template
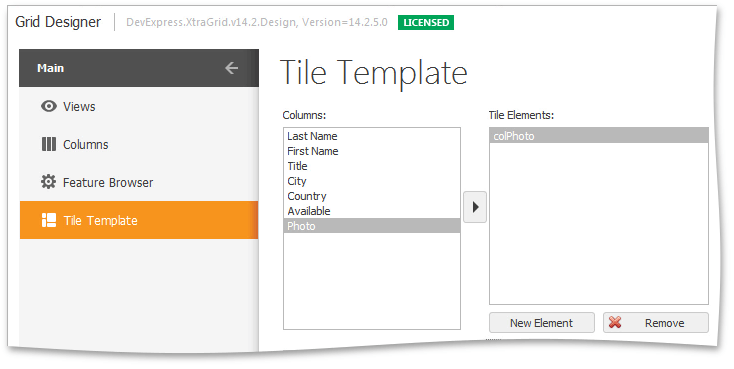
Run the grid control’s Designer and switch to the Tile Template page. The list on the left hand side displays all the columns that you had in the GridView before conversion.
Adding and Positioning a Bound Element
Select the Photo column and click the Right Arrow button to create a new tile element.
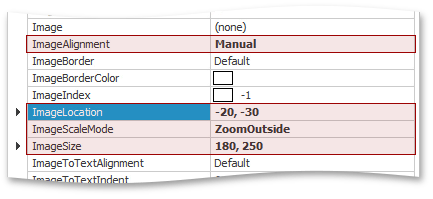
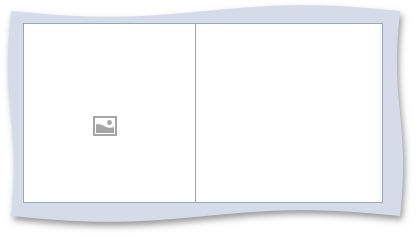
Initialize its properties to setup proper arrangement for the images within tiles. Set TileItemElement.ImageAlignment to TileItemContentAlignment.Manual, then increase the TileItemElement.ImageSize, set the TileItemElement.ImageScaleMode to TileItemImageScaleMode.ZoomOutside and finally set the TileItemElement.ImageLocation.
The preview section shows the image borders. As you can see, the image will go outside the tile’s area thus creating a nice-looking effect.
Run the application to see the result with actual photos displayed in tiles.

Adding and Positioning an Unbound Element
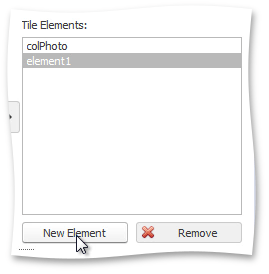
Return to the designer and click the New Element button to create an unbound element.
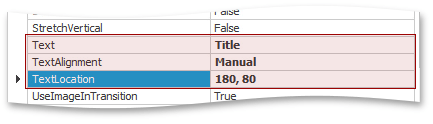
Set its TileItemElement.Text to Title, TileItemElement.TextAlignment to TileItemContentAlignment.Manual and specify its position in pixels.
Launch the app to see the result.

In the next tutorial, you will continue working on this template by adding more fields and customizing appearance settings.